How to Cut Mens Hair With Clippers
Cutting men's hair with clippers is simple when you have the right tools, techniques, and preparation. Here's what you need to know:
- Tools: Use high-quality clippers (corded or cordless), clipper guards (sizes 0-8 for different lengths), cleaning brushes, clipper oil, and blade alignment tools.
- Preparation: Start with clean, towel-dried hair. Consult with the client to understand their desired style and choose the appropriate guard size.
- Techniques: Work in sections, starting at the nape and moving upward. Use fading and blending for smooth transitions and detail trimmers for sharp edges.
- Finishing: Style with products like pomade or gel based on hair type, and clean up the neckline and edges for a polished look.
- Safety: Keep tools clean, sanitize your workspace, and follow proper hygiene practices.
Pro Tip: Always start with a longer guard to avoid cutting too much hair. Practice regularly to perfect fades, blends, and sharp edges.
This guide covers everything from choosing tools to mastering techniques, ensuring professional results every time.
How To Cut Men's Hair With Clippers - Beginners Guide
Tools and Equipment Needed
Getting professional-level haircuts starts with choosing the right tools and keeping them in top condition. Each tool contributes to clean, precise cuts and a great client experience.
Choosing the Right Clippers
When it comes to clippers, you’ll find two main types: corded and cordless. Corded clippers, like the WAHL 5 Star series, deliver consistent power all day long without worrying about battery life. On the other hand, cordless clippers give you more freedom to move, making them perfect for reaching challenging angles.
For professional use, look for clippers with these features:
- Motor Type: Opt for models with strong magnetic or rotary motors for reliable performance.
- Blade Material: High-quality stainless steel or titanium blades last longer and stay sharp.
- Ergonomic Design: A comfortable grip helps reduce hand fatigue during long cutting sessions.
The Mythic Clipper, featuring a 9V magnetic motor, is a standout option for precise and smooth cuts [1].
Understanding Clipper Guards
Clipper guards determine the length of the hair left after cutting. They’re numbered from 0 to 8, with each number matching a specific hair length:
| Guard Size | Hair Length | Ideal For |
|---|---|---|
| #0 | 1/16 inch | Ultra-short cuts |
| #1 | 1/8 inch | Short fades |
| #4 | 1/2 inch | Medium-length cuts |
| #8 | 1 inch | Longer styles |
Having a variety of guard sizes on hand allows you to create a range of styles and techniques.
Maintenance Essentials
Keeping your clippers in top shape requires a few key tools:
- Cleaning Brushes: Use these to clear out hair after every couple of cuts to prevent clogging.
- Clipper Oil: Apply regularly to minimize blade friction and wear.
- Blade Alignment Tools: Ensure blades are properly aligned for precise cuts.
- Storage Case: Protect your tools when they’re not in use.
Routine cleaning, oiling, and proper storage not only extend your clippers’ lifespan but also ensure they perform at their best. Once your tools are ready, you’re all set to prepare your client and their hair for the perfect cut.
Preparing for the Haircut
Getting the hair ready and understanding what the client wants are key steps for delivering a professional haircut.
Hair Prep
Start with clean hair to create the best conditions for cutting. Use a mild shampoo to wash away dirt, oils, or any leftover styling products that might interfere with the clippers. After washing, towel-dry the hair until it’s slightly damp - avoid cutting hair that’s too wet.
Use a wide-toothed comb to gently detangle the hair. Make sure it lies naturally, paying attention to cowlicks or unique growth patterns.
Client Consultation and Guard Choice
With the hair prepped, take time to talk with the client about the haircut they want. This step ensures you’re on the same page about their style and preferences. Discuss the look they’re going for and assess their hair type.
Here’s what to keep in mind during the consultation:
| Hair Characteristic | What to Consider | Guard Selection Tips |
|---|---|---|
| Hair Type | Fine, coarse, thick, or thin | Choose guard size and technique based on texture |
| Growth Pattern | Cowlicks, whorls | Work with the natural flow of the hair |
Pro Tip: Always start with a longer guard than you think you’ll need. It’s easier to cut more hair off than to fix a cut that’s too short. This method helps avoid mistakes and keeps clients happy.
For instance, if your client requests a classic fade, you could begin with a #4 guard (1/2 inch) for the top and then use progressively shorter guards for the sides and back.
Once the consultation is complete and the hair is ready, it’s time to move on to the actual cutting with your clipper techniques.
Cutting Techniques
Basic Clipper Cutting
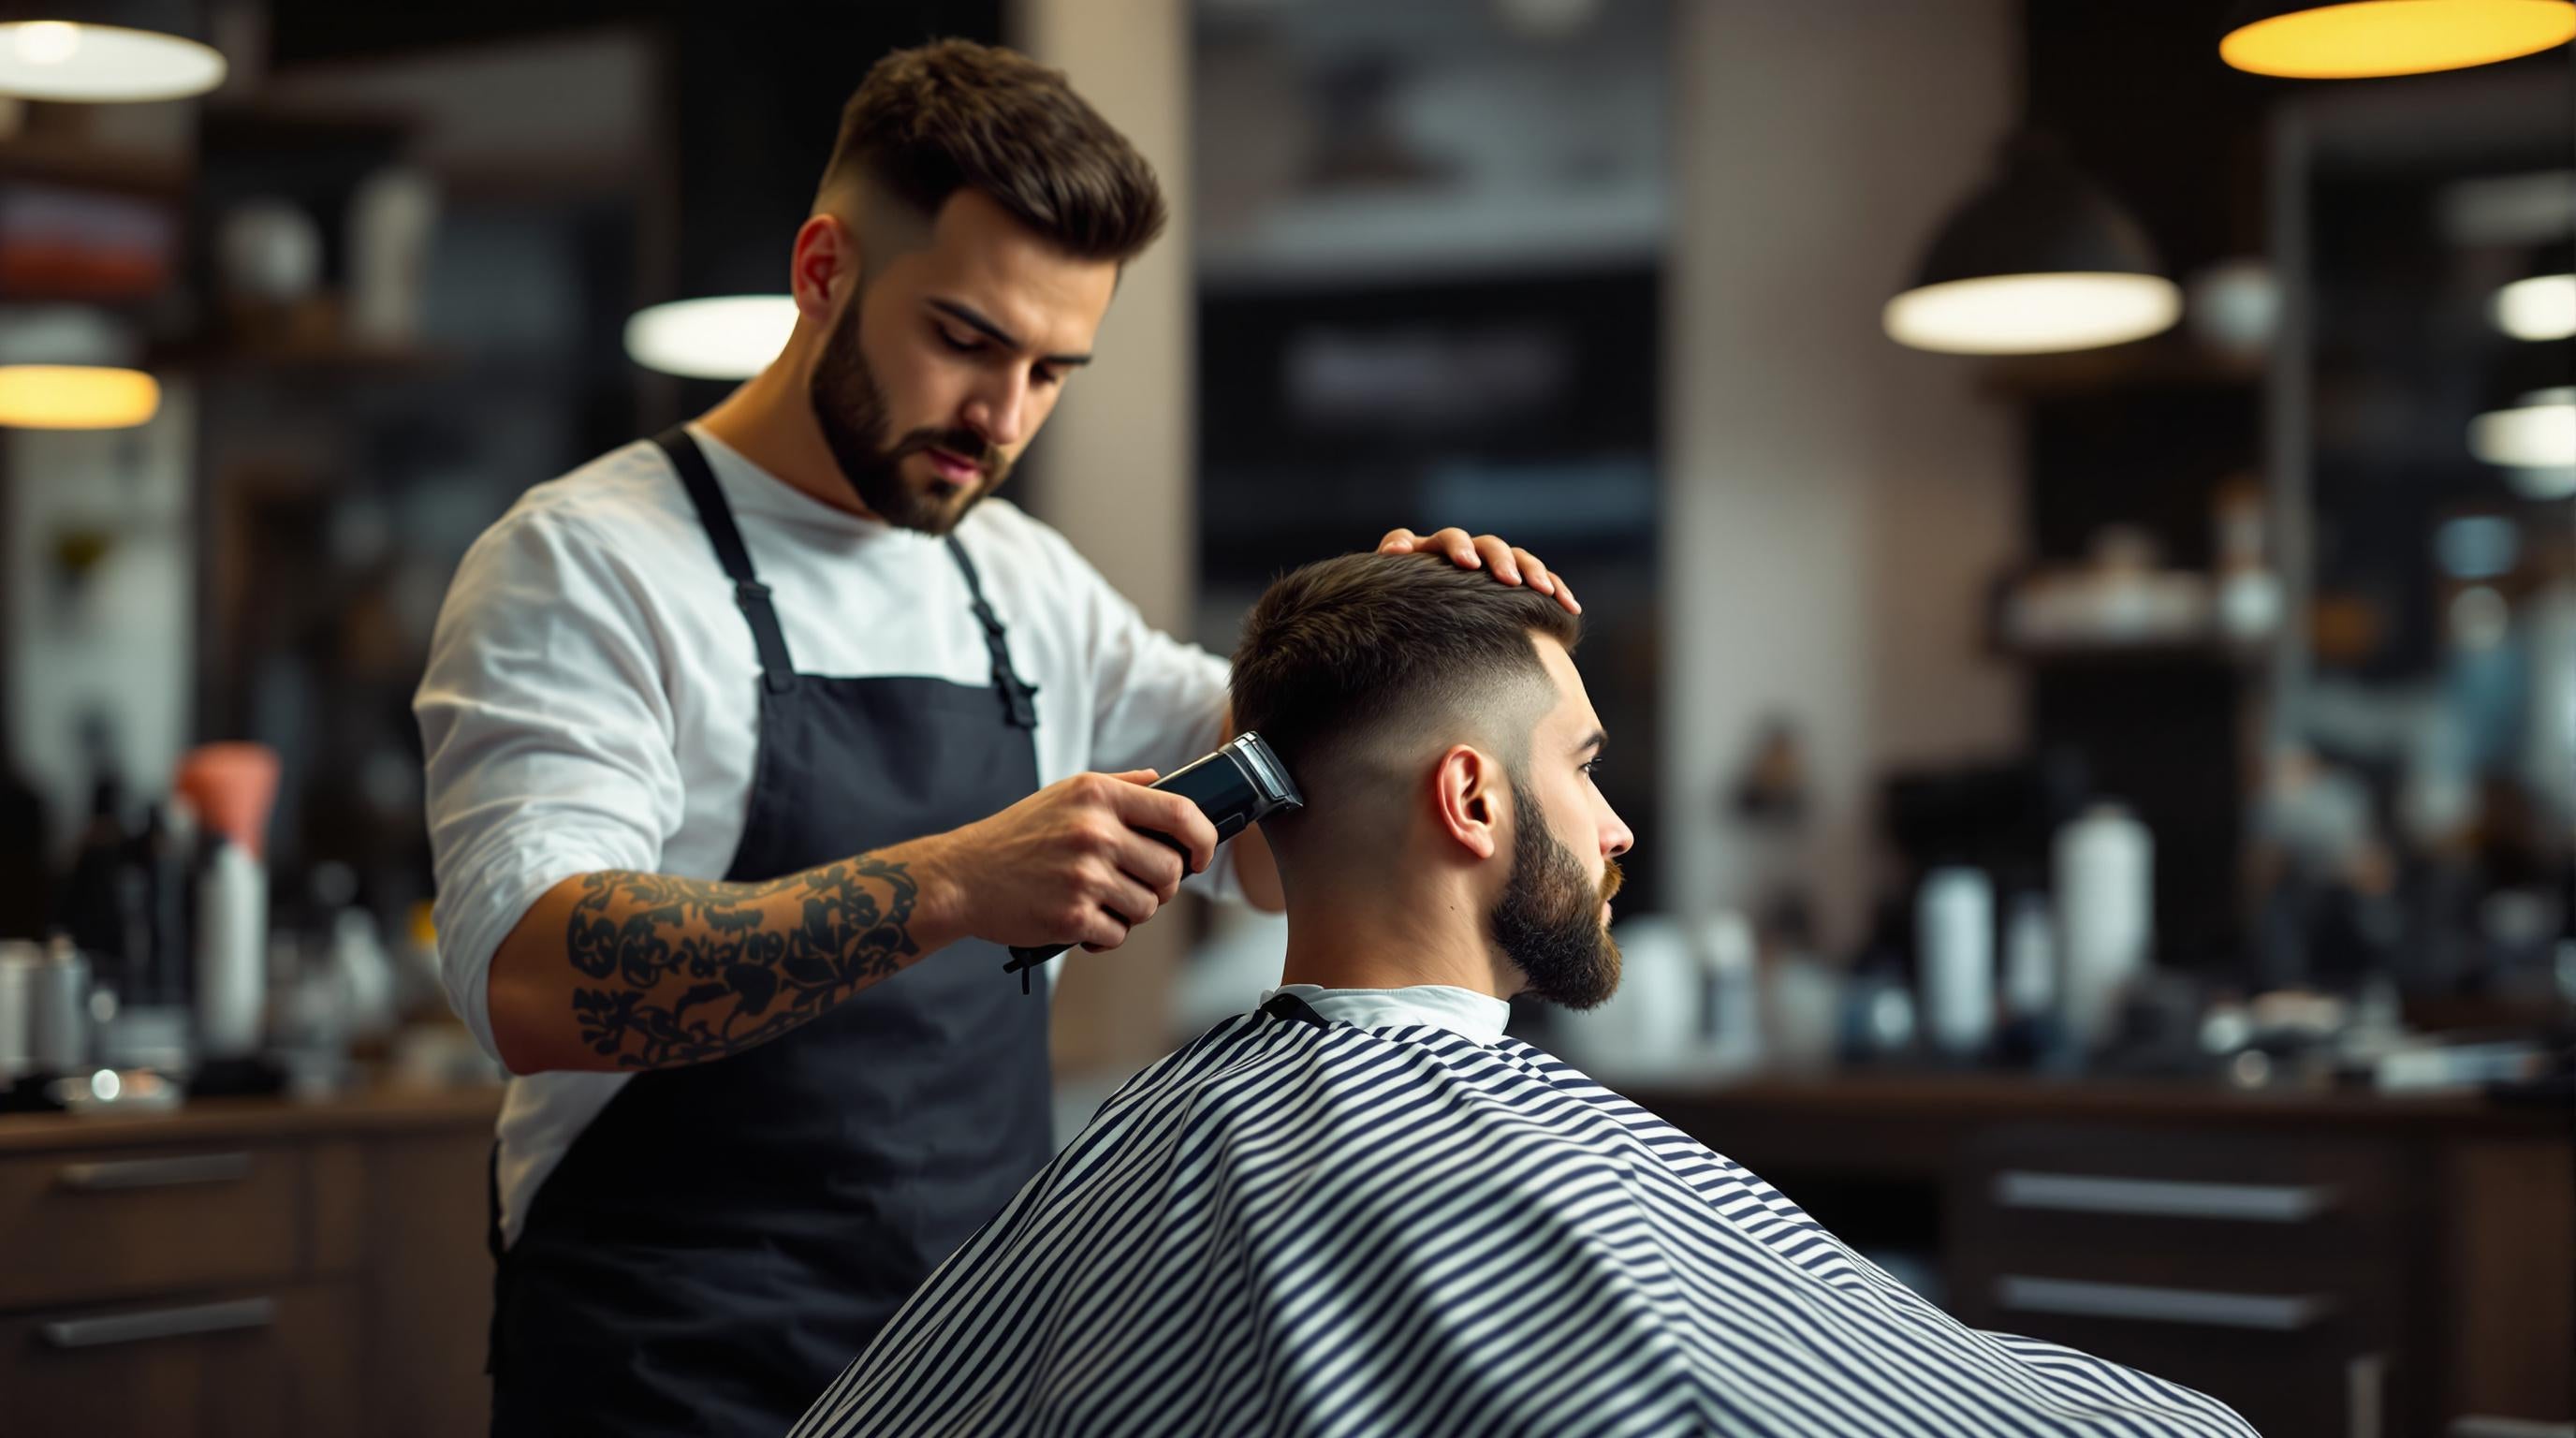
Start at the nape of the neck and work upward using smooth, steady strokes. Keep the clipper blade flat against the scalp to maintain an even length and avoid creating uneven spots. Overlap your strokes, working in sections about 1–1.5 inches wide, to ensure you don’t miss any areas.
Fading and Blending
Begin with the longest guard at the top of the head, then switch to shorter guards as you move to the sides and back. Use a gentle, flicking motion with the clippers to blend the lengths smoothly. This method helps create a natural transition between different lengths.
Once you’ve established the base length, refine the haircut with fading and blending techniques. For a fade:
- Start with the longest guard for the top section.
- Move to a shorter guard for the middle section.
- Use the shortest guard for the bottom section.
Neckline and Edges
To clean up the neckline, remove the guard and hold the clippers upside down. Outline the desired shape, starting from the bottom and working upward, using the corner of the clipper blade for precision. Keep the skin tight and make small, controlled strokes. For any stray hairs, use detail trimmers for a sharp finish.
Necklines can be styled in different ways: blocked (straight across), rounded (a natural curve), or tapered (faded gradually). The choice depends on the client’s face shape and personal style.
After finishing the cut, style and clean up the hair for a polished, professional result.
Styling and Finishing
Styling Options
Once the main cut is done, styling takes it to the next level, turning a basic haircut into a polished look. Start by drying the hair thoroughly with a clean towel. For textured styles, use a hair dryer on low heat, guiding the hair into place to create volume and control.
When it comes to products, choose based on hair type and the desired finish:
- Light pomade: Great for fine to medium hair, offering a natural matte look.
- Gel: Ideal for thick hair, providing a firm hold and a wet finish.
- Hair spray: Perfect for light hold and natural movement.
- Serum: Smooths frizz and adds shine.
Use a dime-sized amount of product, applying it evenly from roots to tips. For better control, work with damp hair. Thoughtful styling not only completes the look but also highlights the precision of the cut.
Final Cleanup
After styling, refine the haircut with a detail trimmer. Pay close attention to the hairline, temples, and areas around the ears. Check the cut from all angles to ensure balance, and clean up the neckline for a sharp finish. Use a soft brush to remove loose hairs.
For longer hairstyles, show clients how to style their hair at home to maintain the look. A quick spray of cooling mist can close the hair cuticles, add shine, and reduce any irritation after the cut. These finishing touches make all the difference in creating a professional, polished result.
Tips for Beginners and Safety
Practice Tips
Getting the hang of clipper cutting takes time and steady practice. Start with mannequin heads to focus on one technique at a time. This helps you build the skills needed for clean fades, sharp edges, and balanced styles before working with real clients.
Here are three key skills to focus on as you practice:
- Guard Transitions: Work on creating smooth blends between different guard sizes.
- Sectioning: Learn how to divide hair into clear, manageable sections.
- Clipper Angles: Practice holding the clippers at consistent 45-degree angles for clean, even cuts.
By dedicating time to these basics, you'll gain the confidence and precision needed to deliver professional results.
Safety Measures
Keeping your tools and workspace clean is essential for protecting both you and your clients. Make sure to clean your clippers thoroughly after every 2-3 uses to prevent skin irritation and maintain smooth performance [3]. A clean, safe environment not only ensures client safety but also boosts your professionalism.
Here’s a quick guide to essential safety practices:
| Safety Aspect | Required Action | Frequency |
|---|---|---|
| Tool Cleaning | Clean blades, oil regularly, check for damage | After every 2-3 cuts |
| Workspace Sanitation | Clean floors, sanitize surfaces | Before each client |
| Personal Protection | Wear gloves, use a cape | Every cut |
Additionally, keep your workspace well-lit and organized. Arrange your tools within reach but away from water to avoid accidents. Pay attention to your posture and your client’s position to prevent unnecessary strain or mishaps.
Safety Checklist:
- Daily Cleaning: Use a brush and sanitizing solution to remove hair and debris.
- Equipment Check: Inspect guards and clippers for any damage before every cut.
- Workspace Setup: Ensure proper lighting and keep tools organized.
Conclusion and Key Points
Becoming skilled at clipper cuts takes dedication, practice, and attention to detail. Using quality tools, preparing properly, and executing cleanly are the cornerstones of delivering outstanding results. By focusing on these basics, you can achieve consistent, sharp outcomes every time.
Here’s a breakdown of what makes a successful clipper cut:
| Component | Key Consideration | Impact on Results |
|---|---|---|
| Technique | Using correct angles and steady pressure | Achieves smooth fades and seamless blends |
| Finishing | Precision detail work and styling | Delivers a polished, professional look |
| Client Care | Clear communication and tailored service | Builds client trust and satisfaction |
Each step, from perfecting fades to detailing sharp edges, builds on the skills discussed in this guide. Keeping your tools clean and well-maintained is equally important for consistent performance.
Improving your clipper cutting skills is an ongoing process. Stay committed to learning, take care of your equipment, and always prioritize safety. With the preparation, tools, and techniques covered here, you’ll continue to grow your expertise and meet a wide range of client expectations.
FAQs
Now that we've gone through the techniques and tools, let's clear up a few common questions to help sharpen your skills.
When using the clipper over comb technique, what should you do?
This technique requires steady hand coordination. Use your non-dominant hand to hold the comb at a 90° angle, lifting the hair. With your dominant hand, guide the clipper upward to create an even trim. This method helps achieve smooth transitions between different hair lengths.
Where should you start with the clipper and scissor over comb technique?
Start by sectioning the top from the sides at the recession area. Place the comb horizontally and cut a weight line that follows the head's shape, keeping about 2 inches of hair. This approach establishes a uniform cutting guide.
Pro Tip: Keep the same pressure and angle throughout the process for precise results [1][2].
These advanced techniques can elevate your ability to deliver clean and professional cuts.

