How to Master the Textured Waves Trend
Want to master textured waves? This guide breaks down everything you need to know about achieving this timeless, low-maintenance hairstyle. Whether you have fine, thick, or coarse hair, here’s a quick overview of the essentials:
Key Steps:
- Preparation: Use heat protectants and styling products suited to your hair type.
- Tools: Curling irons, flat irons, and wave wands with the right barrel size (1–2 inches).
- Styling: Alternate curling directions, leave ends straight for a modern look, and finish with texturizing spray.
- Customization: Adjust heat settings (350–400°F) and techniques based on hair texture.
Top Tips for Long-Lasting Waves:
- Use lightweight products for fine hair and moisture-rich creams for thick hair.
- Maintain waves with humidity-control sprays and silk pillowcases.
- Modify the style for work, casual outings, or formal events.
Quick Comparison of Tools:
| Tool Type | Best For | Key Feature |
|---|---|---|
| Curling Iron | Defined waves | Barrel size determines wave tightness |
| Flat Iron | Sleek, modern waves | Versatile for straightening and curling |
| Texturizing Spray | All hair types | Adds volume and hold without stiffness |
With these steps and tools, you can achieve natural-looking, textured waves for any occasion. Let’s dive deeper into the techniques and products to perfect your style.
Tools and Products for Textured Waves
Curling Irons and Wands
Curling irons and wands are essential for creating textured waves, offering flexibility to achieve anything from soft, natural movement to more defined curls. The barrel size you choose plays a big role in the final look:
| Barrel Size | Ideal For | Results |
|---|---|---|
| 1-1.5 inch | Fine to medium hair | Defined, bouncy waves |
| 1.5-2 inch | Medium to thick hair | Loose, natural waves |
| Ceramic/Tourmaline | All hair types | Reduces frizz, ensures even heating |
Texturizing Sprays and Styling Products
Texturizing sprays are a must-have for waves that last. Start with a heat protectant before styling, then layer products for the best effect. Sabrina, a stylist from Country & Town House, shares:
"Texturizing sprays are key to achieving the carefree, low-maintenance appeal of textured waves, a style that continues to gain momentum for its simplicity and timelessness."
Focus texturizing sprays on the mid-lengths and ends to enhance the wave pattern, while adding volume at the roots for a fuller look.
Flat Irons and Additional Tools
Flat irons aren’t just for straightening - they can help create waves with the right technique. Plus, tools like sectioning clips and wide-tooth combs make styling more precise and ensure even product application. Always use a heat protectant to shield your hair from damage.
For heat settings, stick to 350-400°F for most hair types. Use lower temperatures for fine hair and higher ones for coarse textures.
With these tools and products, you're all set to create beautiful, textured waves with ease.
Steps to Create Textured Waves
1. Preparing the Hair
Getting your hair ready is the first step to achieving long-lasting waves. Start by washing your hair with a shampoo and conditioner designed to enhance waves. After towel-drying, apply a heat protectant to shield your hair from potential damage while maintaining its natural texture.
Choose styling products based on your hair type:
- For fine hair, use a lightweight mousse applied from the roots to mid-lengths.
- For medium hair, go for a volumizing spray focused on the roots and mid-shaft.
- For thick hair, smoothing cream works best on the mid-lengths to ends.
Once prepped, you’re ready to move on to sectioning and curling.
2. Sectioning and Curling
Dividing your hair into sections and using varied curling techniques is essential for achieving natural, textured waves. Separate your hair into small, manageable sections, about 1-2 inches each, and work from one side of your face to the other.
Here’s how to create the waves:
- Use a 1-inch barrel curling iron. Alternate the curling direction for each section to keep the waves looking natural.
- Leave the ends straight for a more modern finish.
- Adjust the curling iron temperature between 350-400°F, depending on your hair's thickness.
3. Finishing the Style
This is where your curls transform into soft, textured waves. Let the curls cool completely before gently using your fingers to loosen them, giving them that relaxed, effortless vibe.
For a polished finish:
- Apply a lightweight texturizing spray to the mid-lengths and ends to enhance movement without adding weight.
- Avoid overworking the waves to keep them looking natural and soft.
Pro tip: For extra hold without stiffness, lightly spray a wide-tooth comb with hairspray and run it through your waves. This ensures even product application while maintaining the flow and movement of the style.
Undone Textured Waves Tutorial
Tailoring Techniques for Different Hair Types
Creating natural-looking textured waves that last means adjusting your approach based on the client's hair type. Here's how to fine-tune your techniques for different textures.
Fine or Thin Hair
The goal here is to add volume and hold without making the hair feel heavy. A 1-inch curling iron works well for tighter curls that create more bounce. Try these tips:
- Use a lightweight volumizing spray at the roots for lift.
- Apply styling products only from mid-length to the ends to avoid flattening the roots.
- Alternate the direction of each wave to create a more natural, dynamic look.
Thick or Coarse Hair
Thick hair needs a different approach to avoid excessive bulk. Higher heat settings (375-400°F) and larger curling barrels (1.5-2 inches) are ideal for controlled, softer waves. Here’s how to handle it:
- Start with a smoothing cream on damp hair to tame frizz before styling.
- Work in larger sections to save time and create more relaxed waves.
- Always use a strong heat protectant to shield hair from the higher temperatures.
Product Recommendations
The right products are key to achieving long-lasting waves that complement your client’s hair type. Here’s a quick guide:
| Hair Type | Heat Protectant | Styling Product | Finishing Spray |
|---|---|---|---|
| Fine/Thin | Moroccanoil Heat Styling Protection | Bumble and bumble Surf Spray | L'Oréal Paris EverStyle Beach Wave Spray |
| Thick/Coarse | TRESemmé Thermal Creations Heat Tamer | Moroccanoil Moisture Repair Cream | TRESemmé TRES Two Extra Hold Hairspray |
For fine hair, opt for lightweight products like sea salt sprays to add texture without weighing it down. For thicker hair, moisture-rich creams help lock in hydration and keep frizz under control.
Once you've mastered these tailored techniques, you’ll be ready to ensure your textured waves look flawless all day and can be styled for any occasion.
sbb-itb-3cc0078
Maintaining and Modifying the Style
1. Keeping Waves All Day
To keep textured waves looking great all day, use the right products and techniques. Start with a humidity-control spray to shield your hair from moisture in the air. For quick touch-ups during the day, a travel-sized texturizing spray is a must-have. When your waves start to lose their bounce, apply the spray to the roots and mid-lengths. Avoid spraying the ends to keep them from feeling dry or stiff.
Here’s a quick guide to maintaining waves in different situations:
| Situation | Product Recommendation | How to Apply |
|---|---|---|
| High Humidity | Living Proof No Frizz Humidity Shield | Lightly mist before styling |
| Busy Schedule | Moroccanoil Dry Texture Spray | Spritz at roots between activities |
| Overnight Care | Slip Silk Pillowcase | Use a loose braid or silk scrunchie |
With these tips, your waves can last longer and look great no matter the challenge.
2. Modifying for Different Occasions
Textured waves can be styled to suit any event. For a professional office look, smooth the ends slightly with a flat iron while leaving the body of the waves intact. This creates a polished finish without losing the texture.
Heading to an evening event? Add volume at the crown with a root-lifting spray, then use a 1.5-inch curling iron to create bold waves. Let the curls cool completely before gently separating them with your fingers for a glamorous effect.
For a casual weekend vibe, embrace your natural texture. Scrunch damp hair with a lightweight sea salt spray to enhance the waves. Adjust your heat tools to 350-375°F for fine hair and 375-400°F for thicker hair to protect your strands while achieving the perfect style. These adjustments let you switch up your look effortlessly.
Common Errors and Advanced Techniques
Now that you've got the basics of maintaining waves down, let's tackle some common mistakes and explore advanced methods to refine your skills.
Avoiding Over-Curling and Too Much Product
The secret to great textured waves is keeping them natural and relaxed. Too much heat or product can ruin the look. Stick to the heat settings mentioned earlier to prevent over-curling, which can make waves look overly styled.
Using too much product can lead to:
- A stiff, crunchy feel
- Visible residue
- Reduced natural movement
- A greasy or heavy appearance
If your waves feel sticky or weighed down, cut back on the amount of product. Focus application on the mid-lengths and ends, avoiding the roots entirely to keep the look light and fresh.
Adding Extra Dimension
Want to give your waves more depth? Combine techniques for a layered, dynamic effect. For example, use a flat iron to add bends to random sections, and alternate curling iron barrel sizes to mimic the look of natural waves.
Here are a couple of advanced tricks to try:
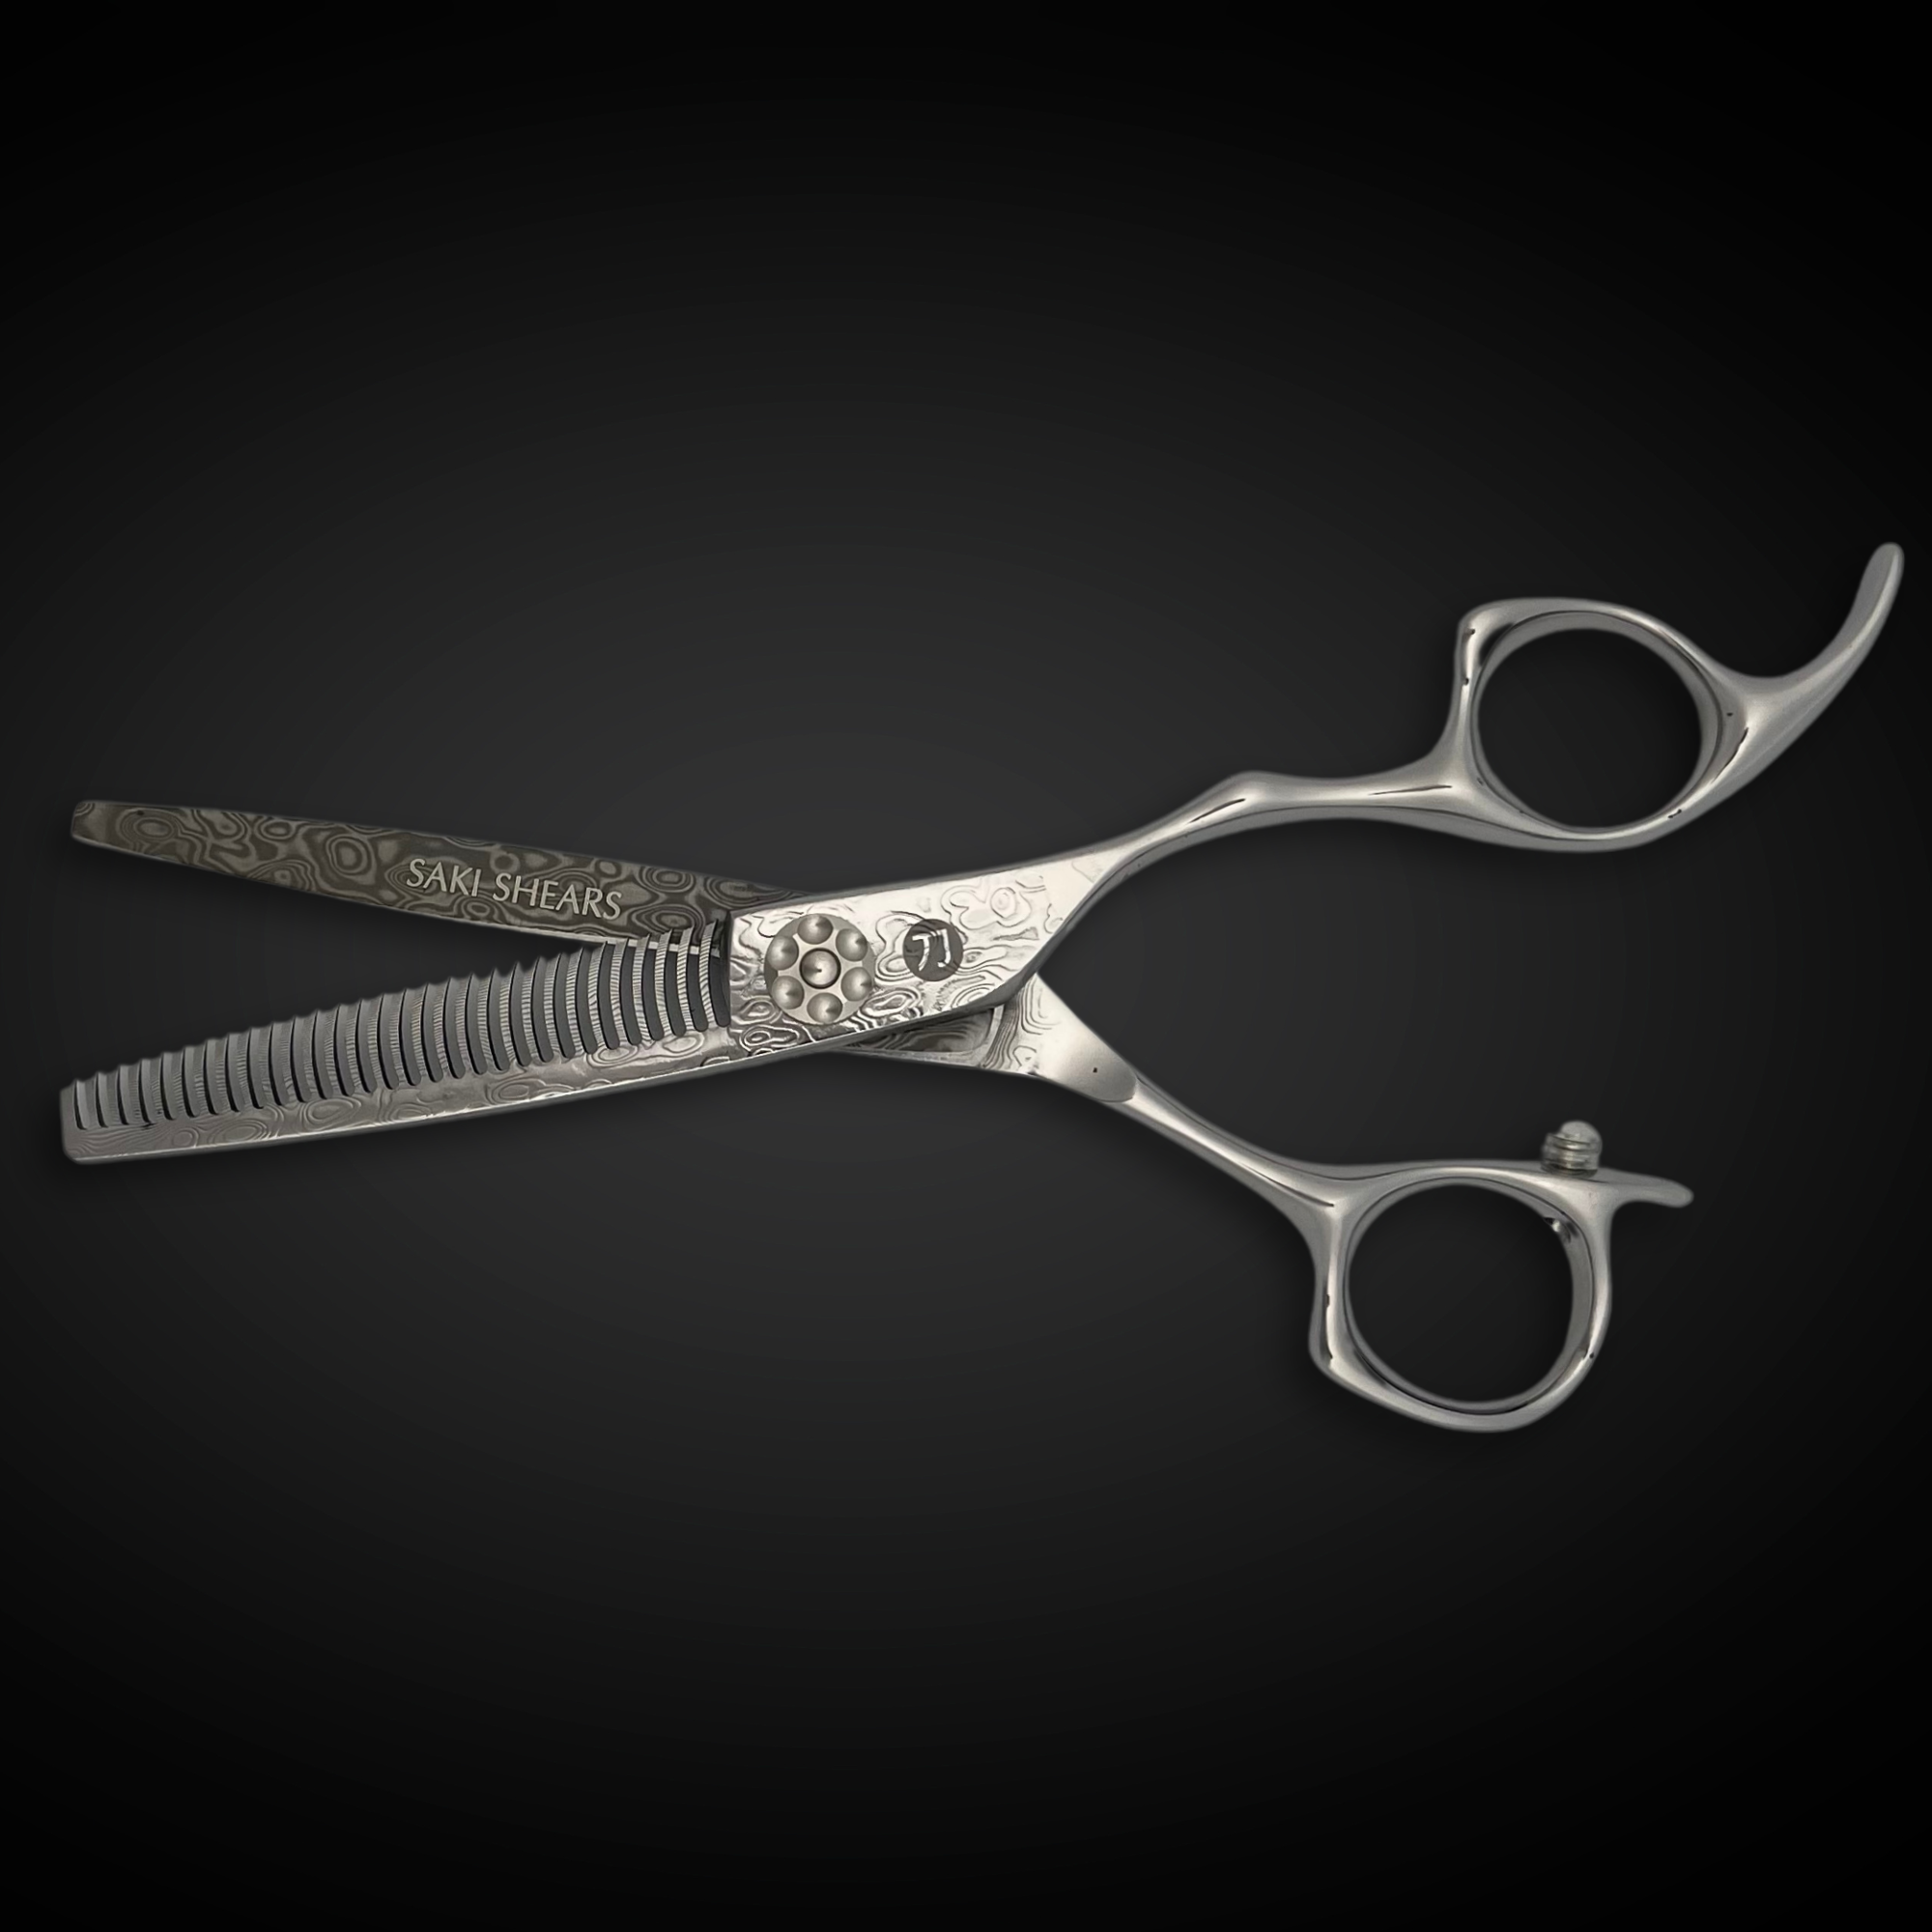
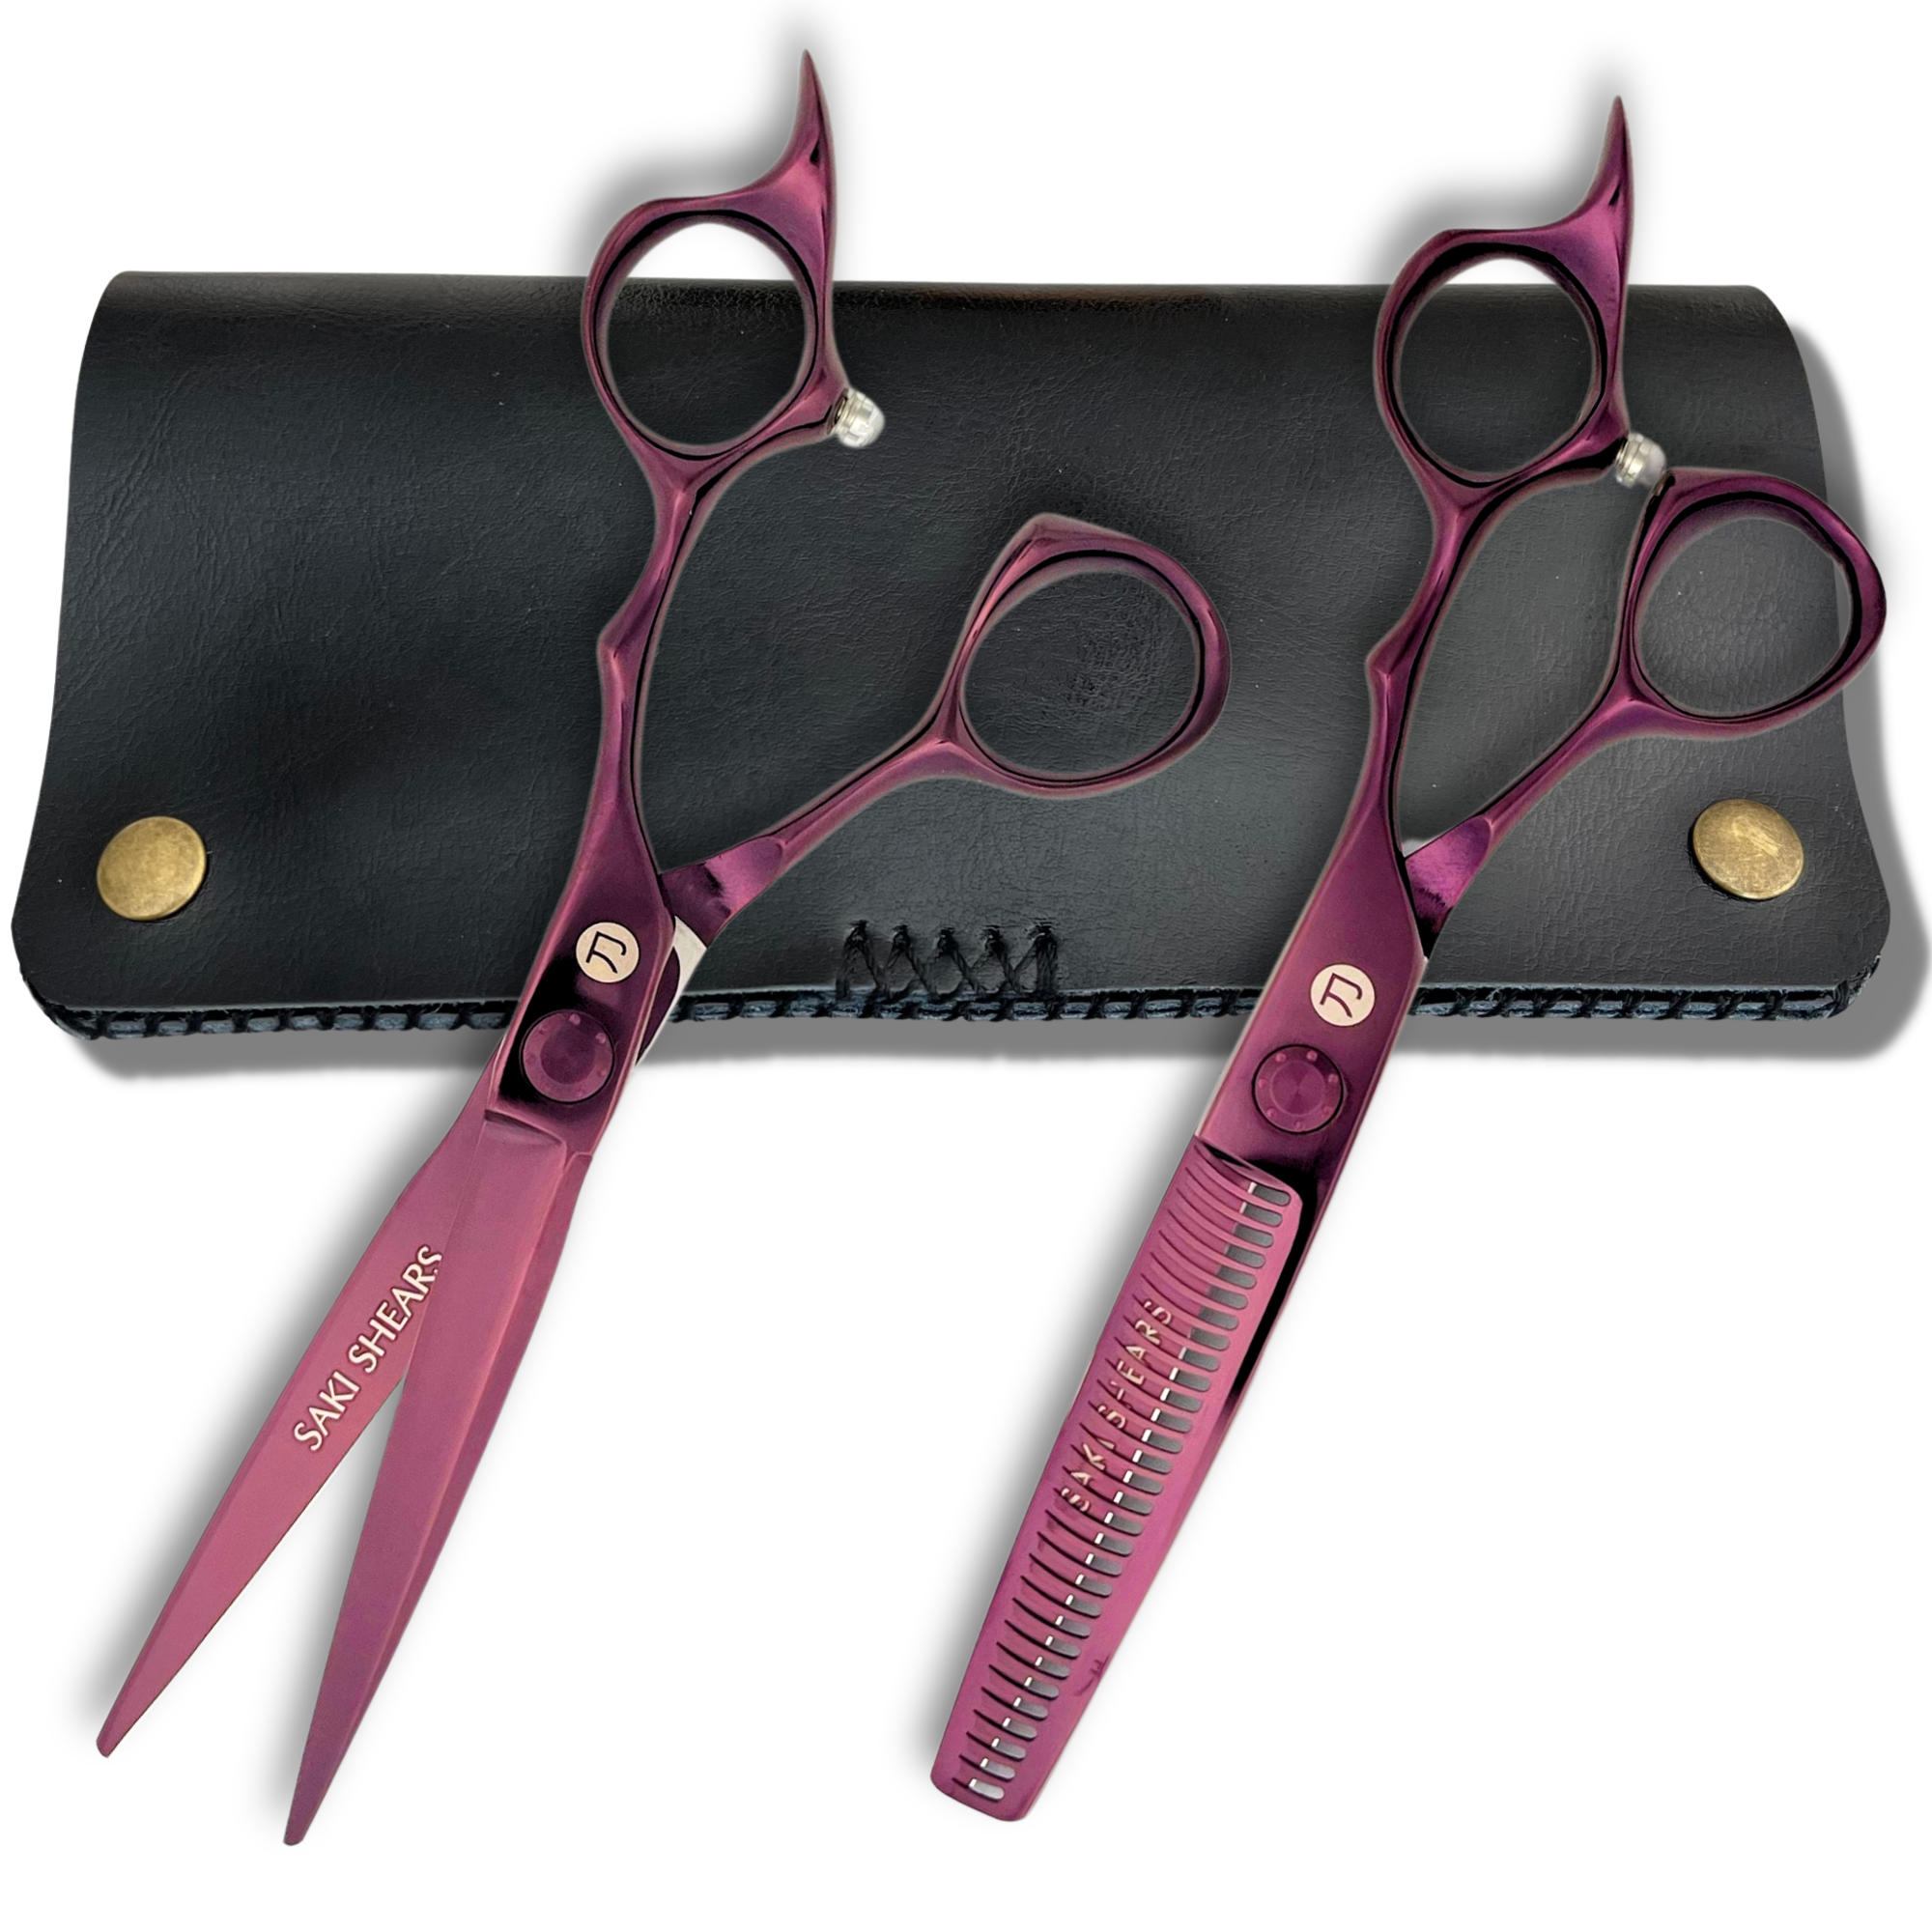
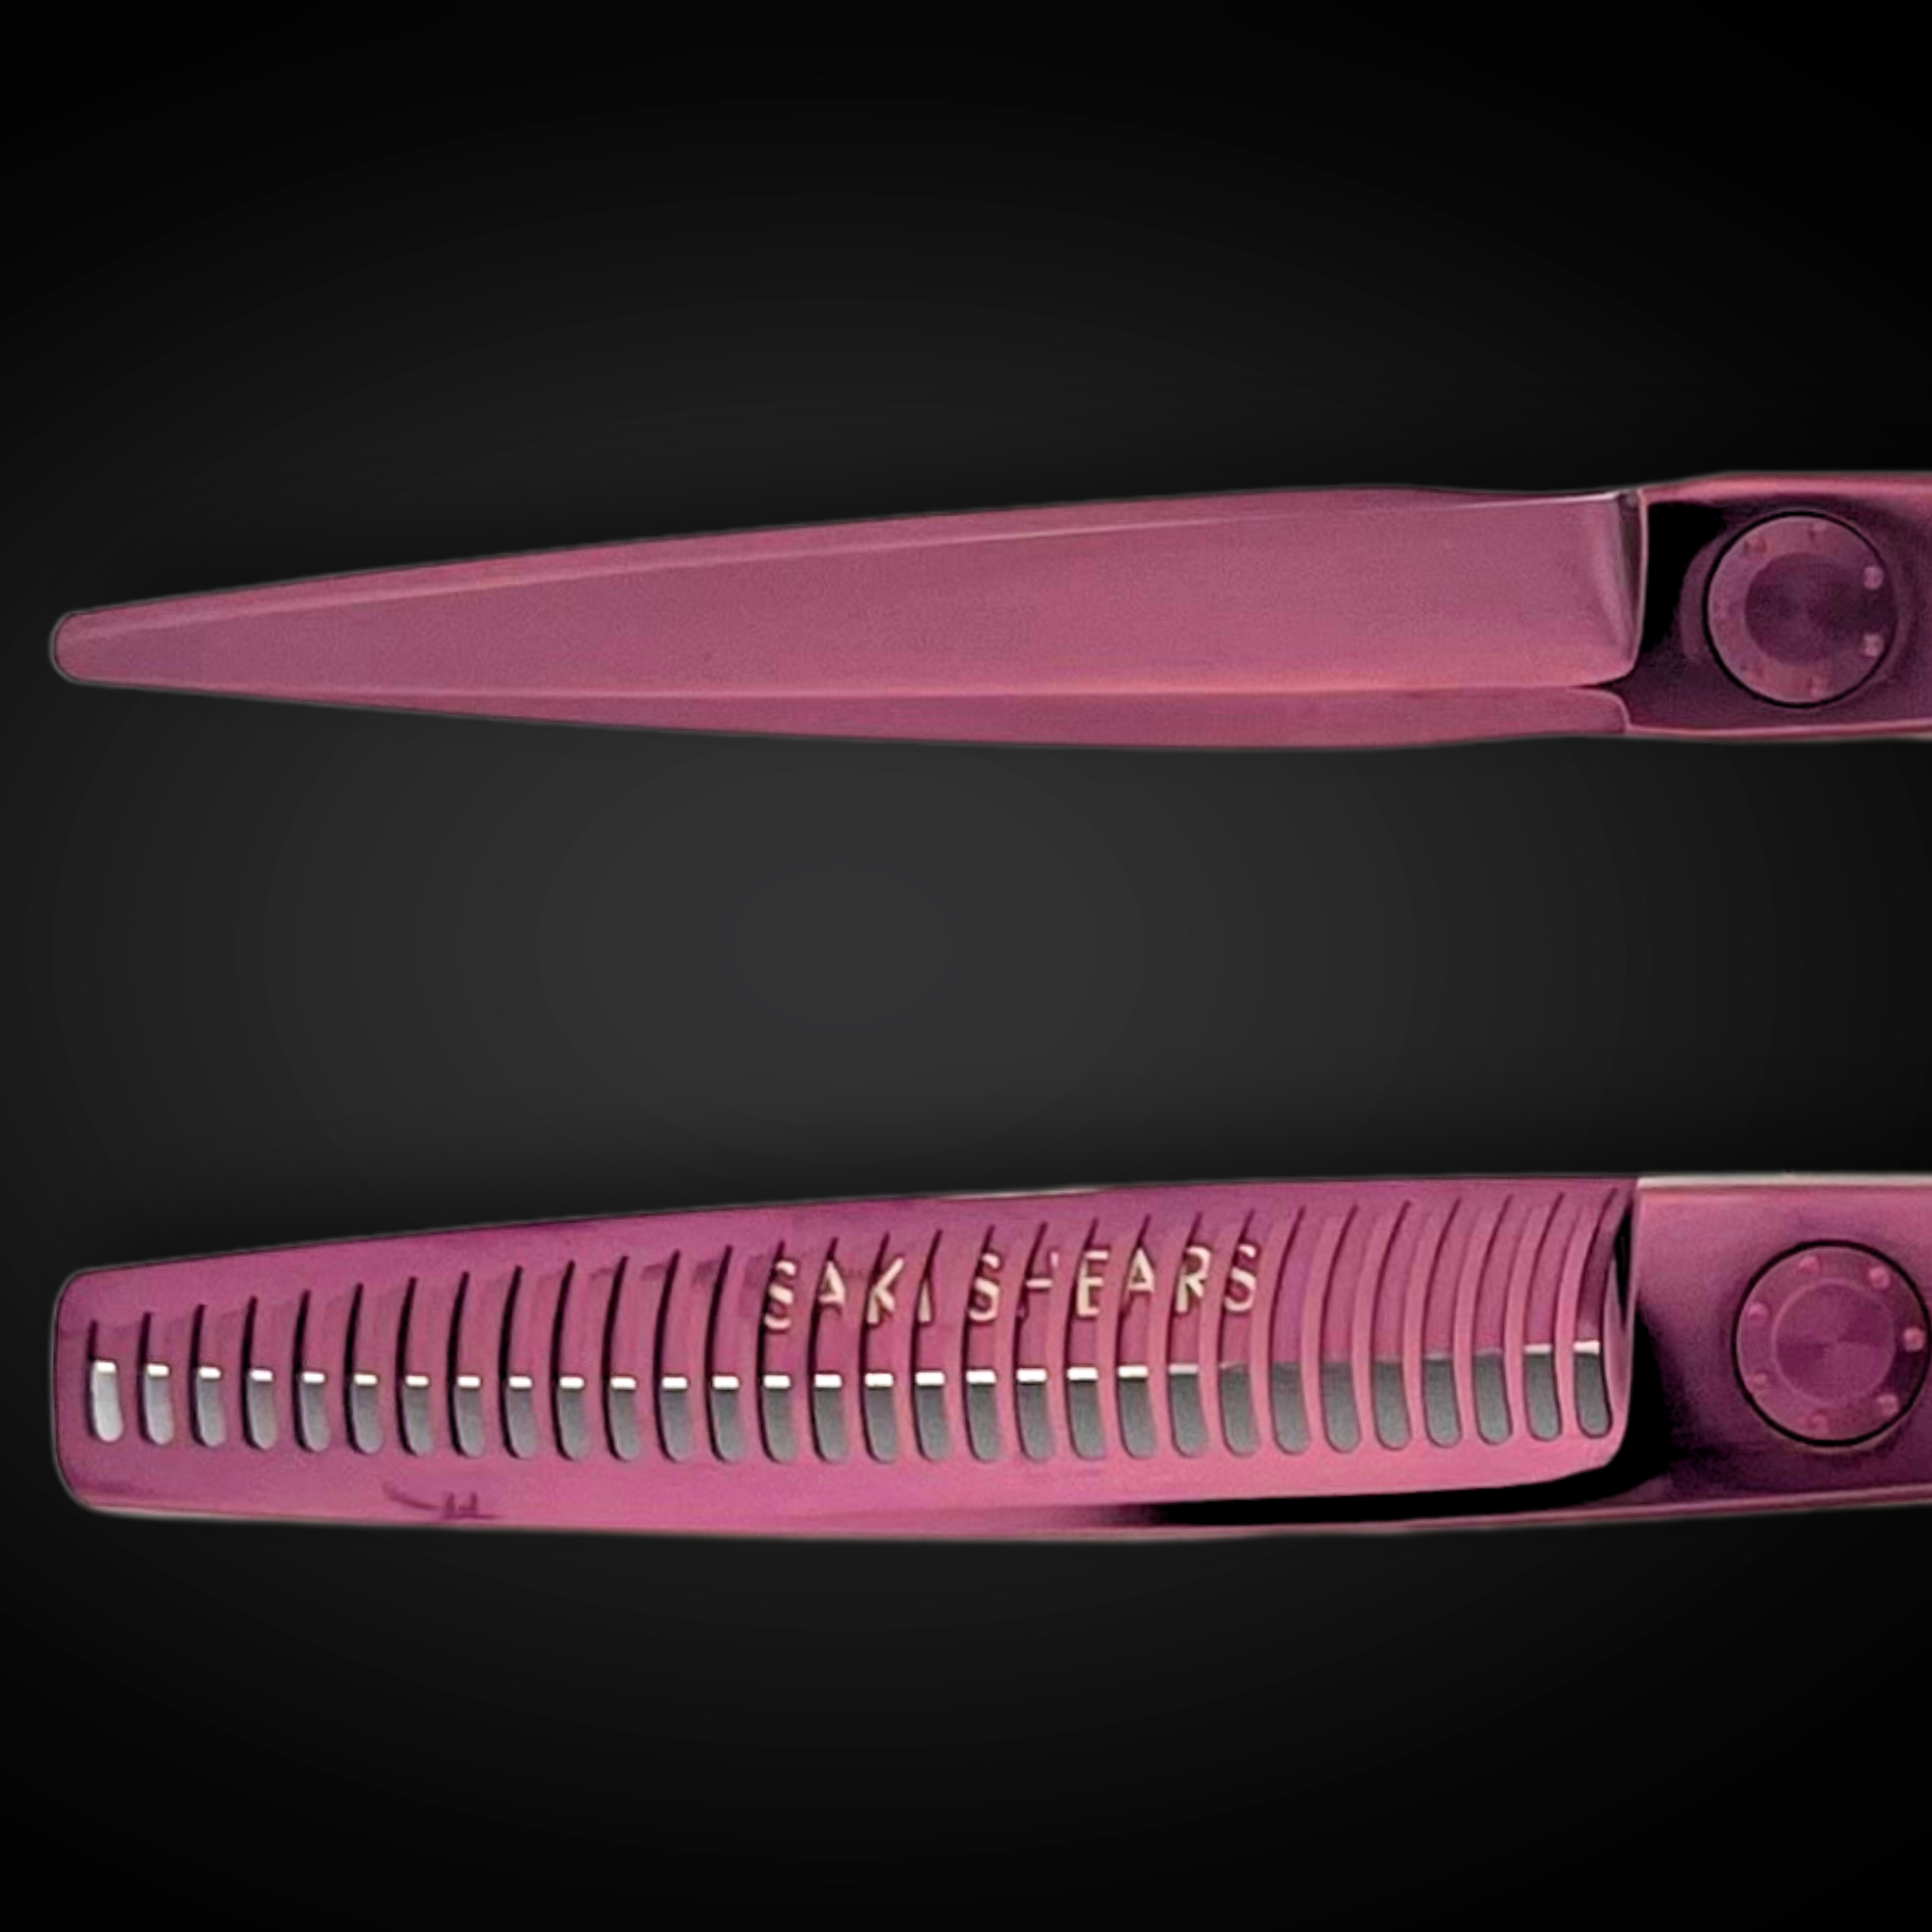
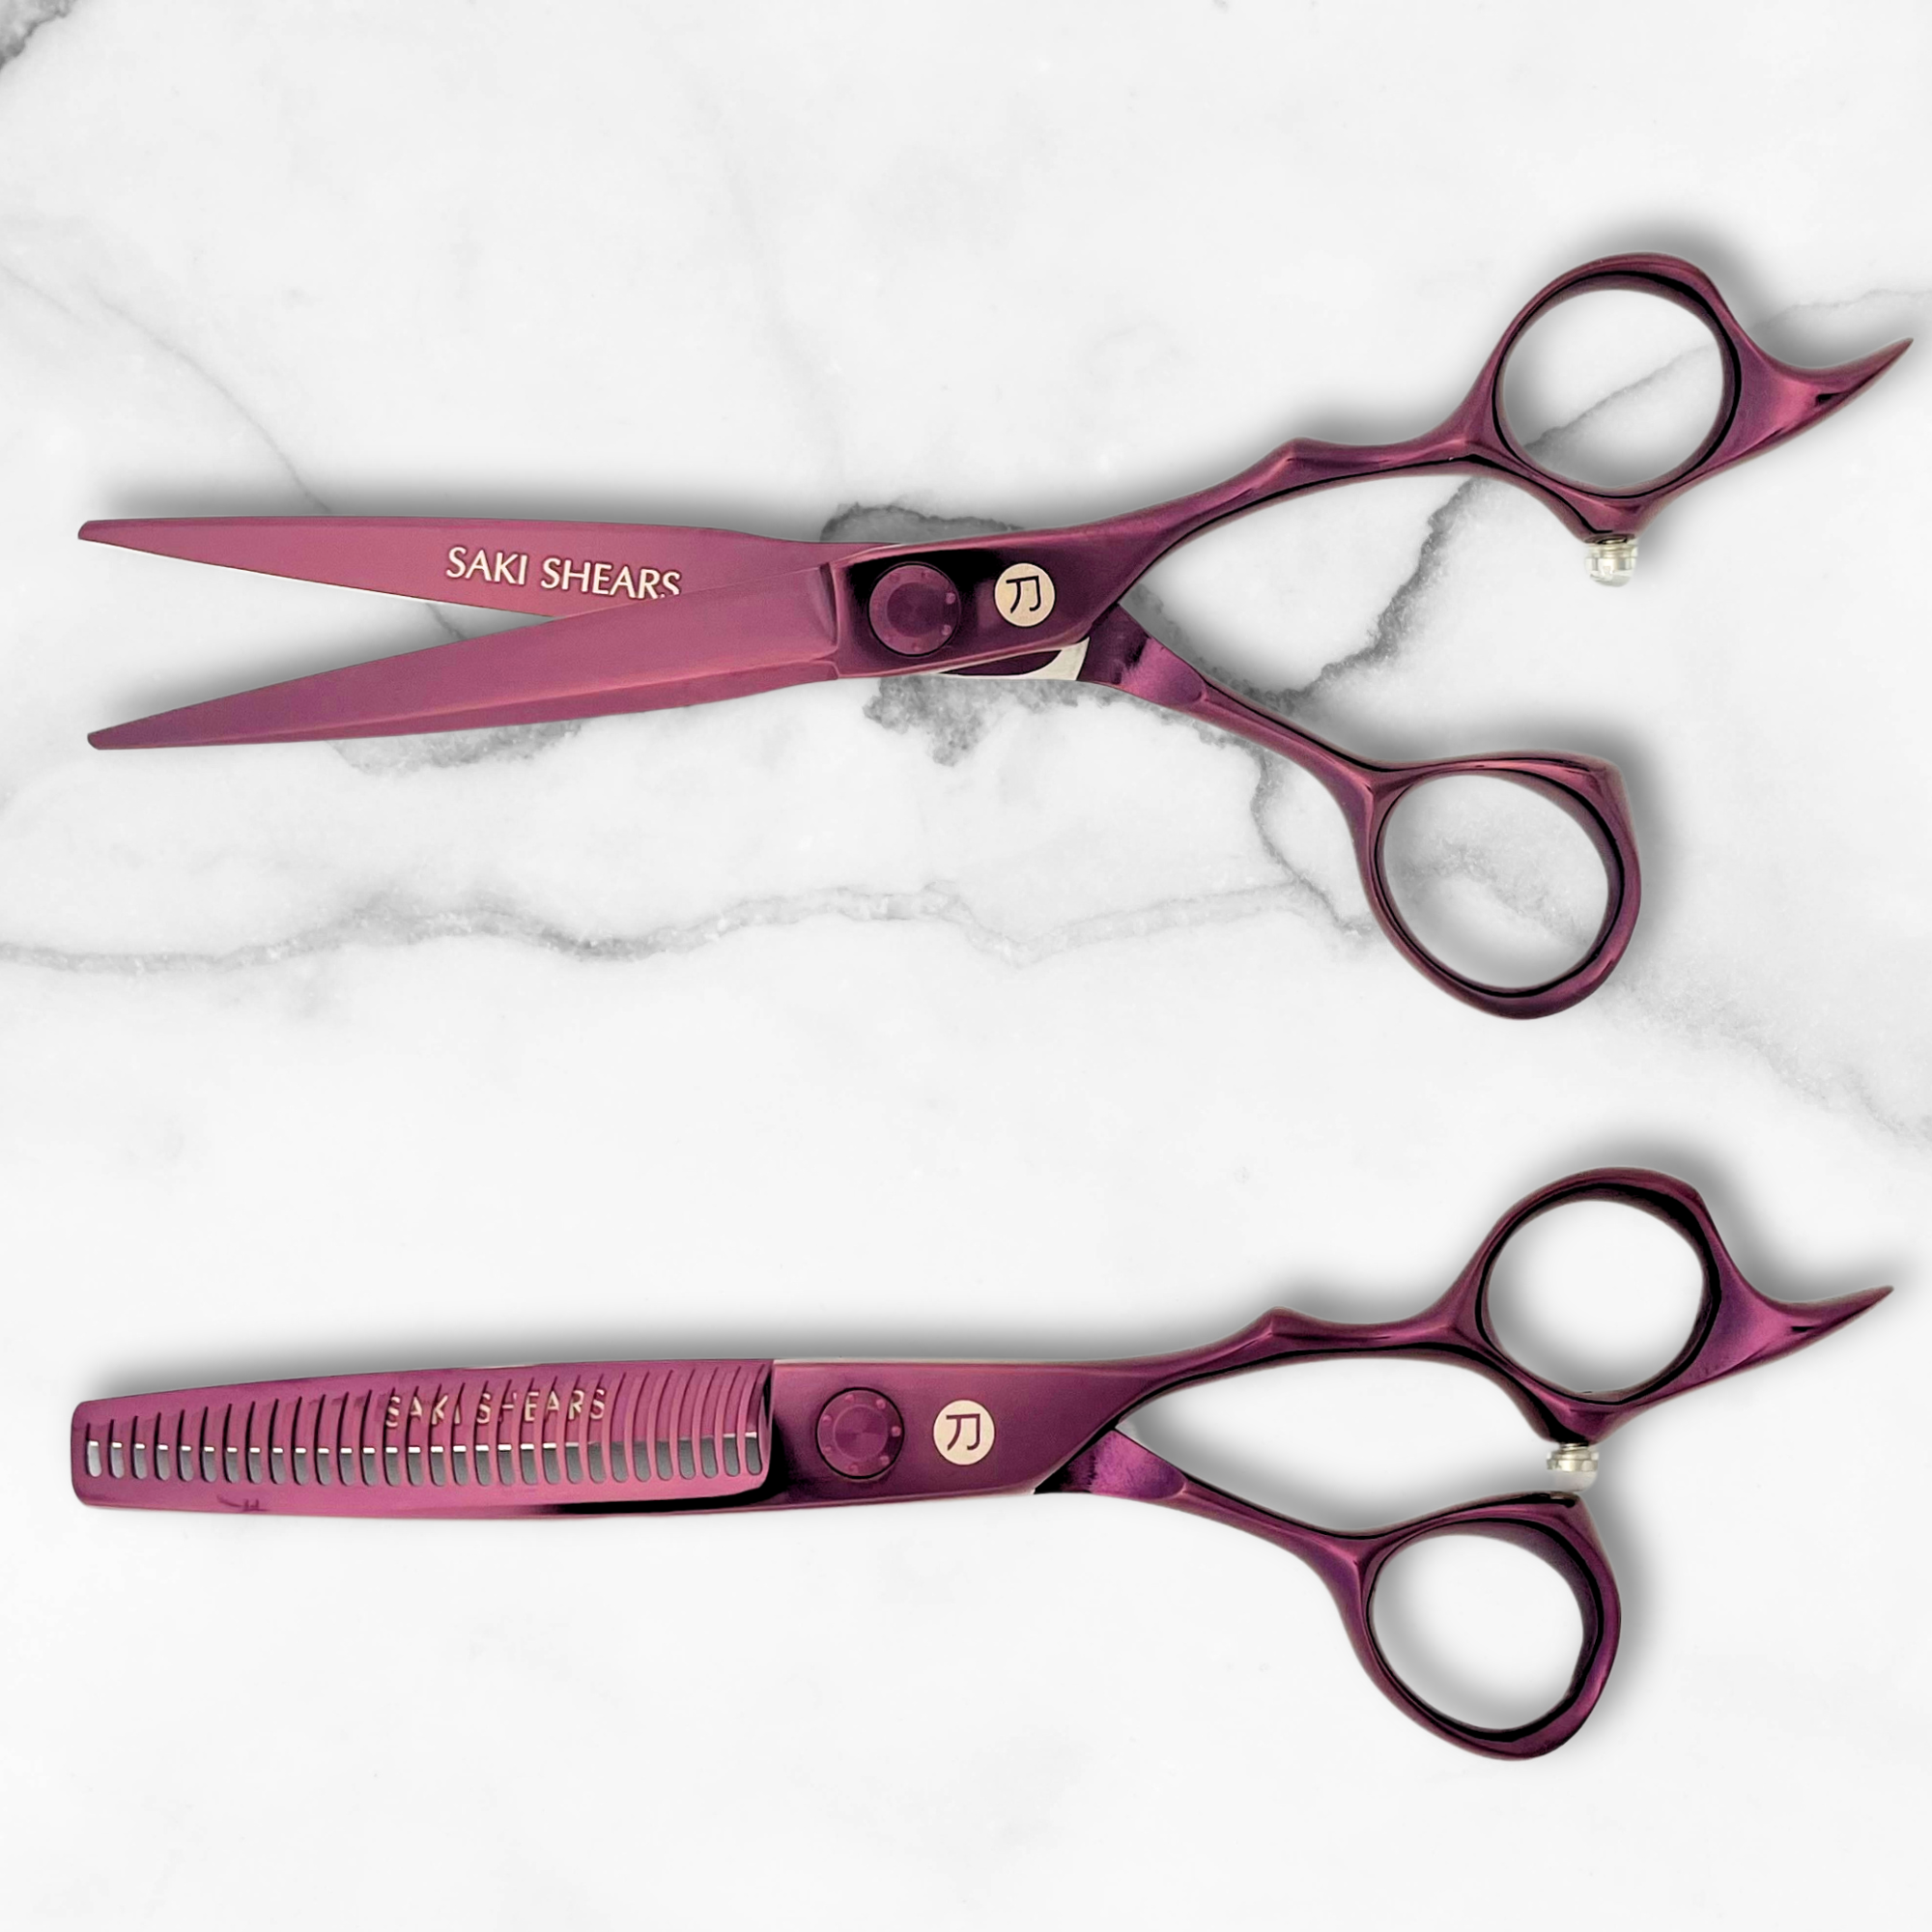
- Texturizing Shears for Layering: For thicker hair, point-cutting with texturizing shears can thin out bulk and add movement, resulting in a soft, airy finish.
- Mixed-Tool Method: Use different barrel sizes - like a 1-inch for face-framing sections and a 1.5-inch for the crown - to create a mix of wave patterns. Leave the ends slightly straighter for a more undone, modern vibe.
Finish with a light-hold texturizing spray at the roots and a medium-hold wave spray through the mid-lengths. These techniques will give your waves a polished yet effortless look that lasts.
Mastering Textured Waves
Creating flawless textured waves is all about combining the right techniques, tools, and products. The key is to adjust your approach based on the hair type you're working with. Achieving natural-looking waves comes down to details like heat settings, alternating wave directions, and choosing products that suit your client's specific hair needs.
Key Steps for Success: Start with proper preparation. Choose products that match the hair type you're working on. For example, sulfate-free shampoos and moisturizing conditioners are ideal for chemically treated hair [2][3].
Improving Your Skills: Focus on refining techniques like sectioning, curling, layering products, and controlling heat. Mastering these skills will help you confidently adjust to changing trends and meet client preferences.
Textured waves are incredibly versatile. Whether you're styling fine, thick, or coarse hair, the methods outlined in this guide can help you achieve that sought-after, effortless look. Keep practicing and experimenting with tools and techniques to stay ahead of the curve.
Staying Ahead: As textured waves grow in popularity, staying informed and flexible will keep your skills sharp and in demand. With natural, easygoing styles on the rise, these techniques are a must for any stylist. Keep pushing your craft and trying new approaches to lead the way in hairstyling trends.
FAQs
Is texturizing spray the same as sea salt spray?
Texturizing sprays are often used to create textured waves, but how do they stack up against sea salt sprays? Knowing the difference can help stylists choose the right product for achieving and maintaining gorgeous textured waves.
No, they’re not the same. Texturizing sprays provide texture while moisturizing, help absorb excess oil, and extend the life of a style - all without drying out the hair or making it feel heavy. Sea salt sprays, on the other hand, are designed to mimic the effect of saltwater, often giving hair a more matte, beachy look but can sometimes leave it feeling dry.
For best results, here’s how to use texturizing spray based on hair type:
| Hair Type | How to Apply | Suggested Products |
|---|---|---|
| Fine/Thin | Apply lightly, focusing on roots | TRESemmé Get Sleek Heat Protectant Spray |
| Thick/Coarse | Apply generously all over | Oribe Dry Texturizing Spray |
| All Types | Pair with heat protectant | Bumble and bumble Texture Spray |
Sabrina from Country & Town House shares her thoughts on the enduring appeal of textured styles:
"Bedhead waves are likely to evolve as a timeless yet adaptable style... Carefree and low-maintenance styles which focus on simplicity are set to gain more momentum in 2025." [1]
Pro Tip: Use texturizing spray sparingly, focusing on the ends to create a natural look without buildup. And if you’re using hot tools, don’t skip the heat protectant!

