
The Best Tools and Techniques for a Flawless Fade
Achieving a flawless fade haircut requires precision, the right tools, and solid techniques. Here's what you need to know upfront:
- Essential Tools: Invest in professional clippers with adjustable blades, precision trimmers for sharp edges, foil shavers for skin fades, and high-quality Japanese steel shears for blending.
- Key Techniques: Use methods like point cutting, slide cutting, and deep parallel point cutting to blend seamlessly and add texture.
- Common Fixes: Address harsh blending lines with thinning shears or point cutting, and ensure even length by gradually switching guard sizes.
Pro Tip: Regular maintenance, like oiling clippers and sharpening shears every 500–700 haircuts, keeps your tools in top condition.
With the right tools, techniques, and attention to detail, you can master the art of clean, precise fades that suit every client.
Flawless FADE technique - BARBER Tutorial
Required Tools for Fade Haircuts
Creating a flawless fade requires the right tools to achieve smooth transitions and clean finishes.
Professional Clippers and Guards
When choosing clippers, focus on features like:
- A strong motor for consistent performance
- Adjustable blades for precise control
- Long-lasting battery life
- A variety of guards for different lengths
Keep your clippers in top shape by oiling the blades before use and cleaning them after every client. Precision tools can then be used to refine the details.
Precision Trimmers and Shavers
For sharp lines and close cuts, include these in your kit:
- T-blade trimmers for clean edges and defined lines
- Foil shavers for achieving skin fades
- Detachable blade systems for flexibility in cutting lengths
These tools work alongside clippers to refine edges and add precision for a polished look.
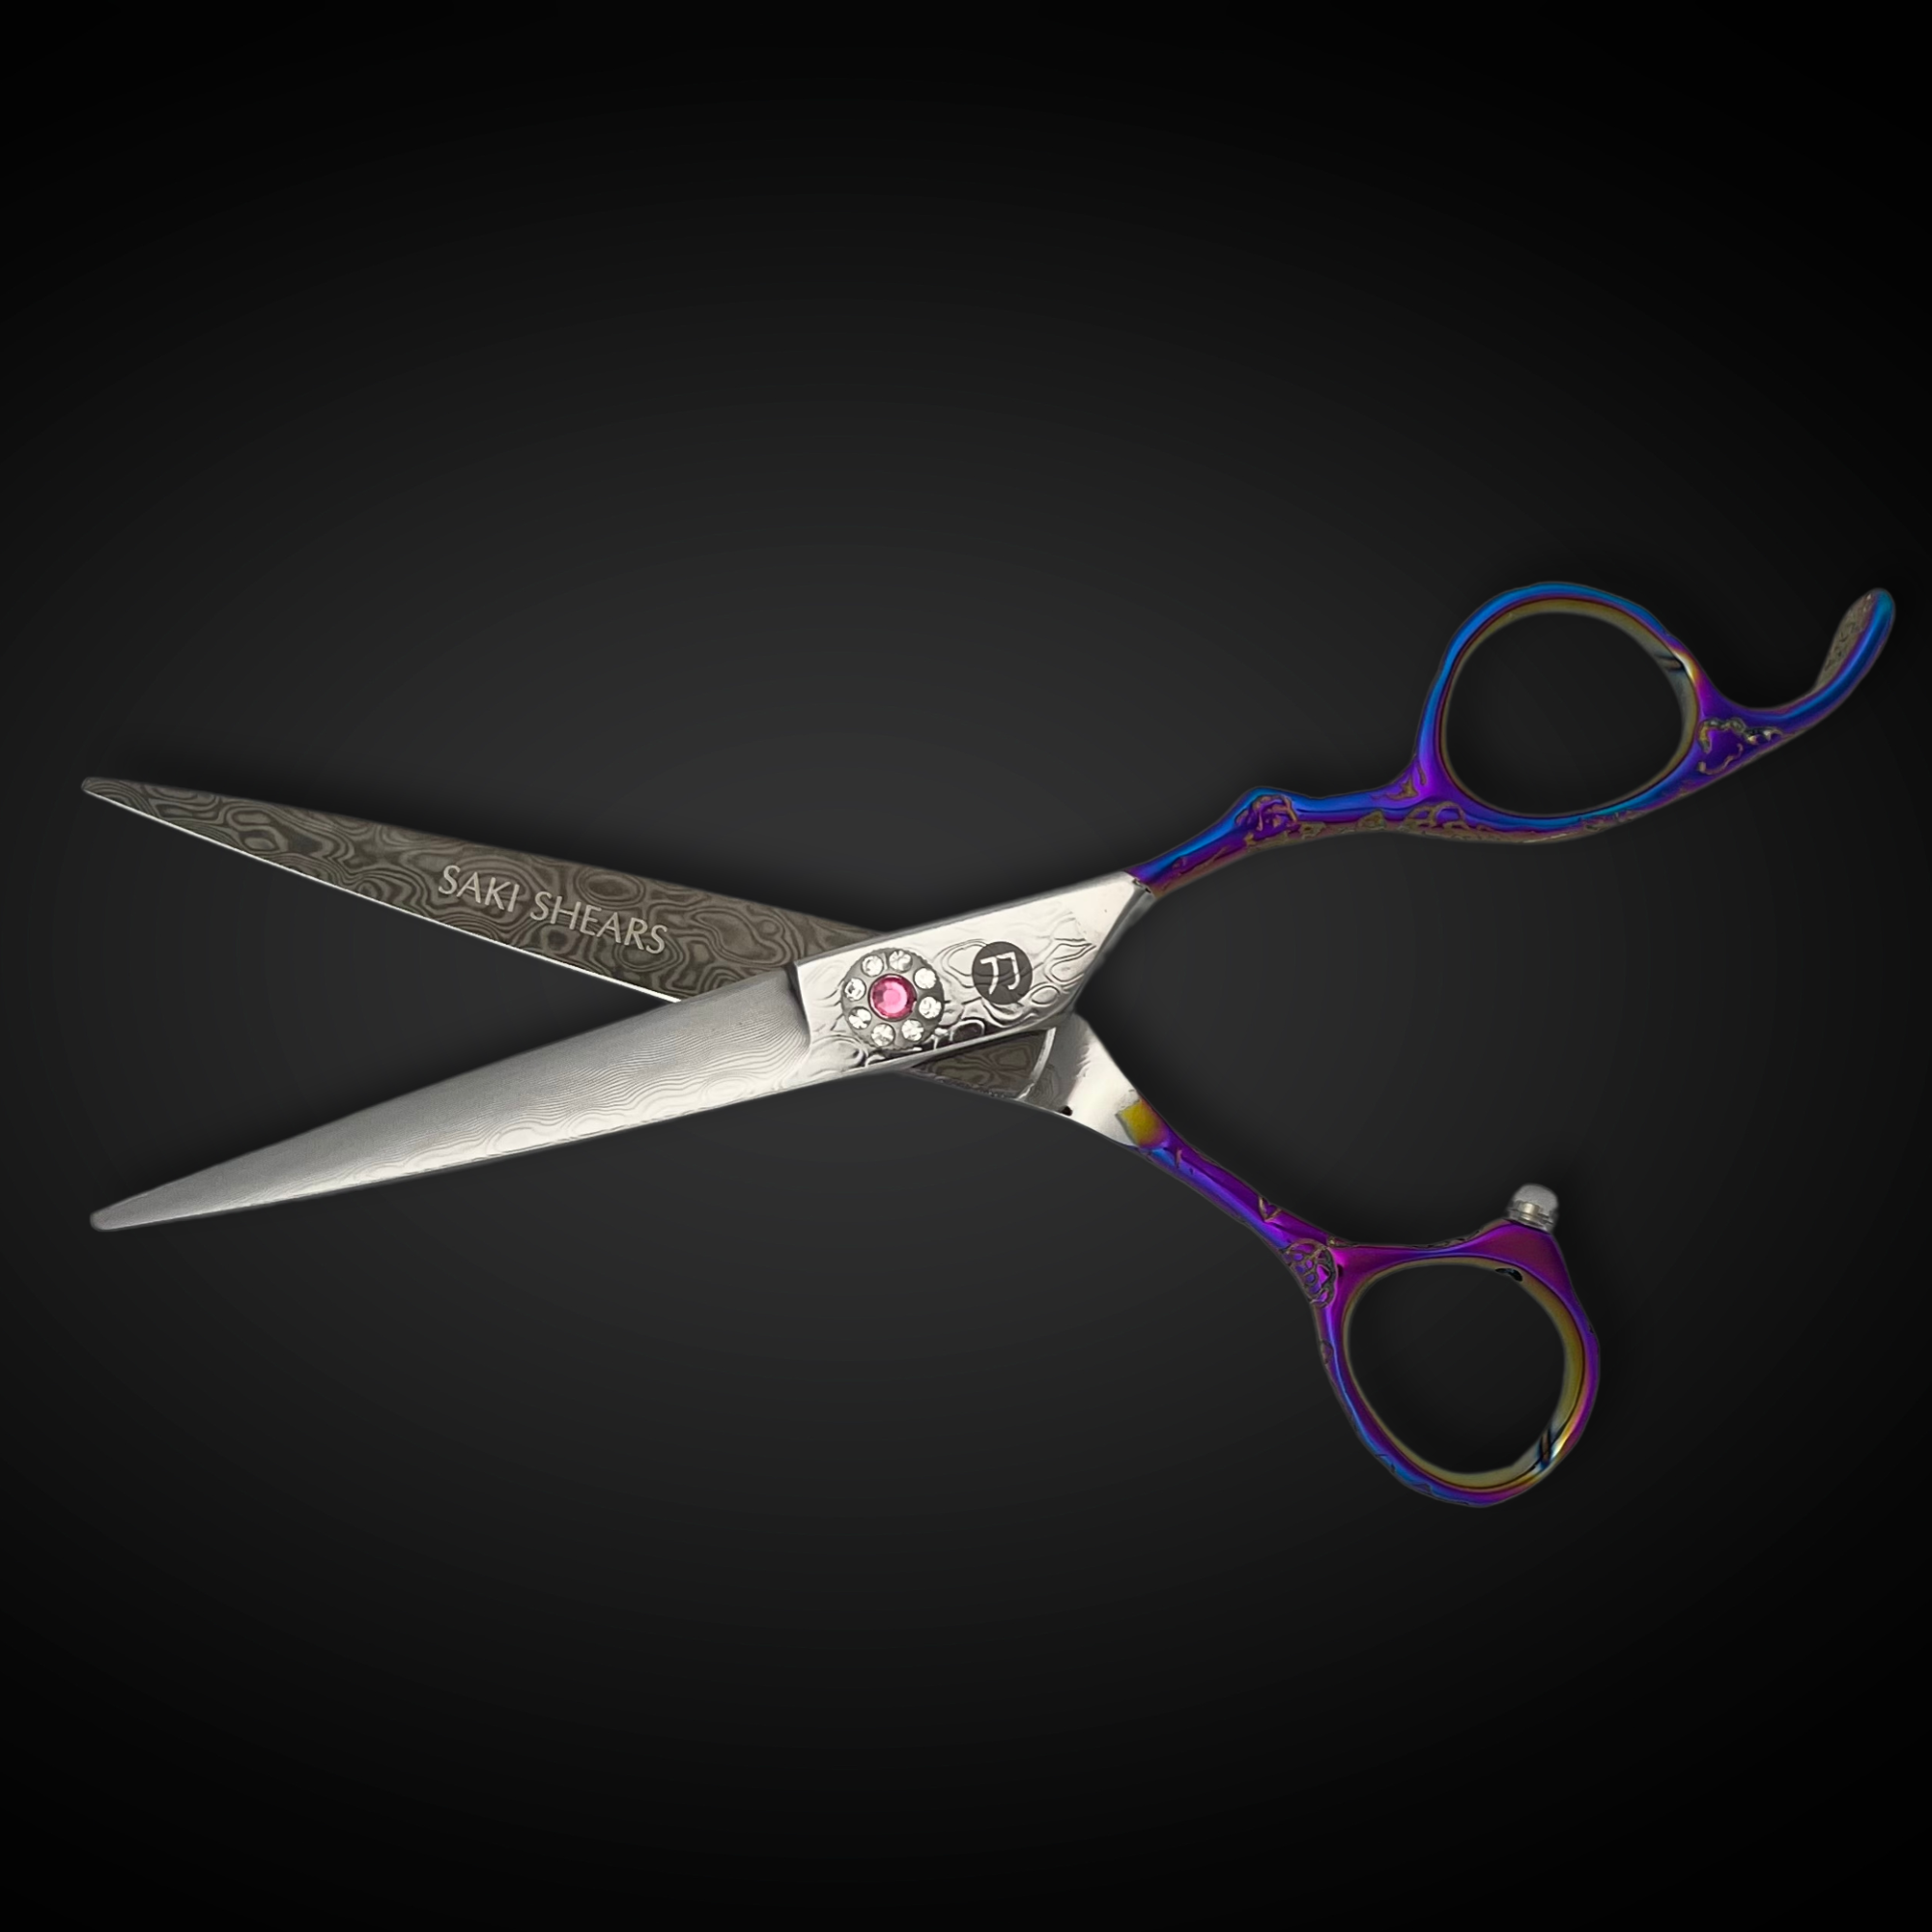
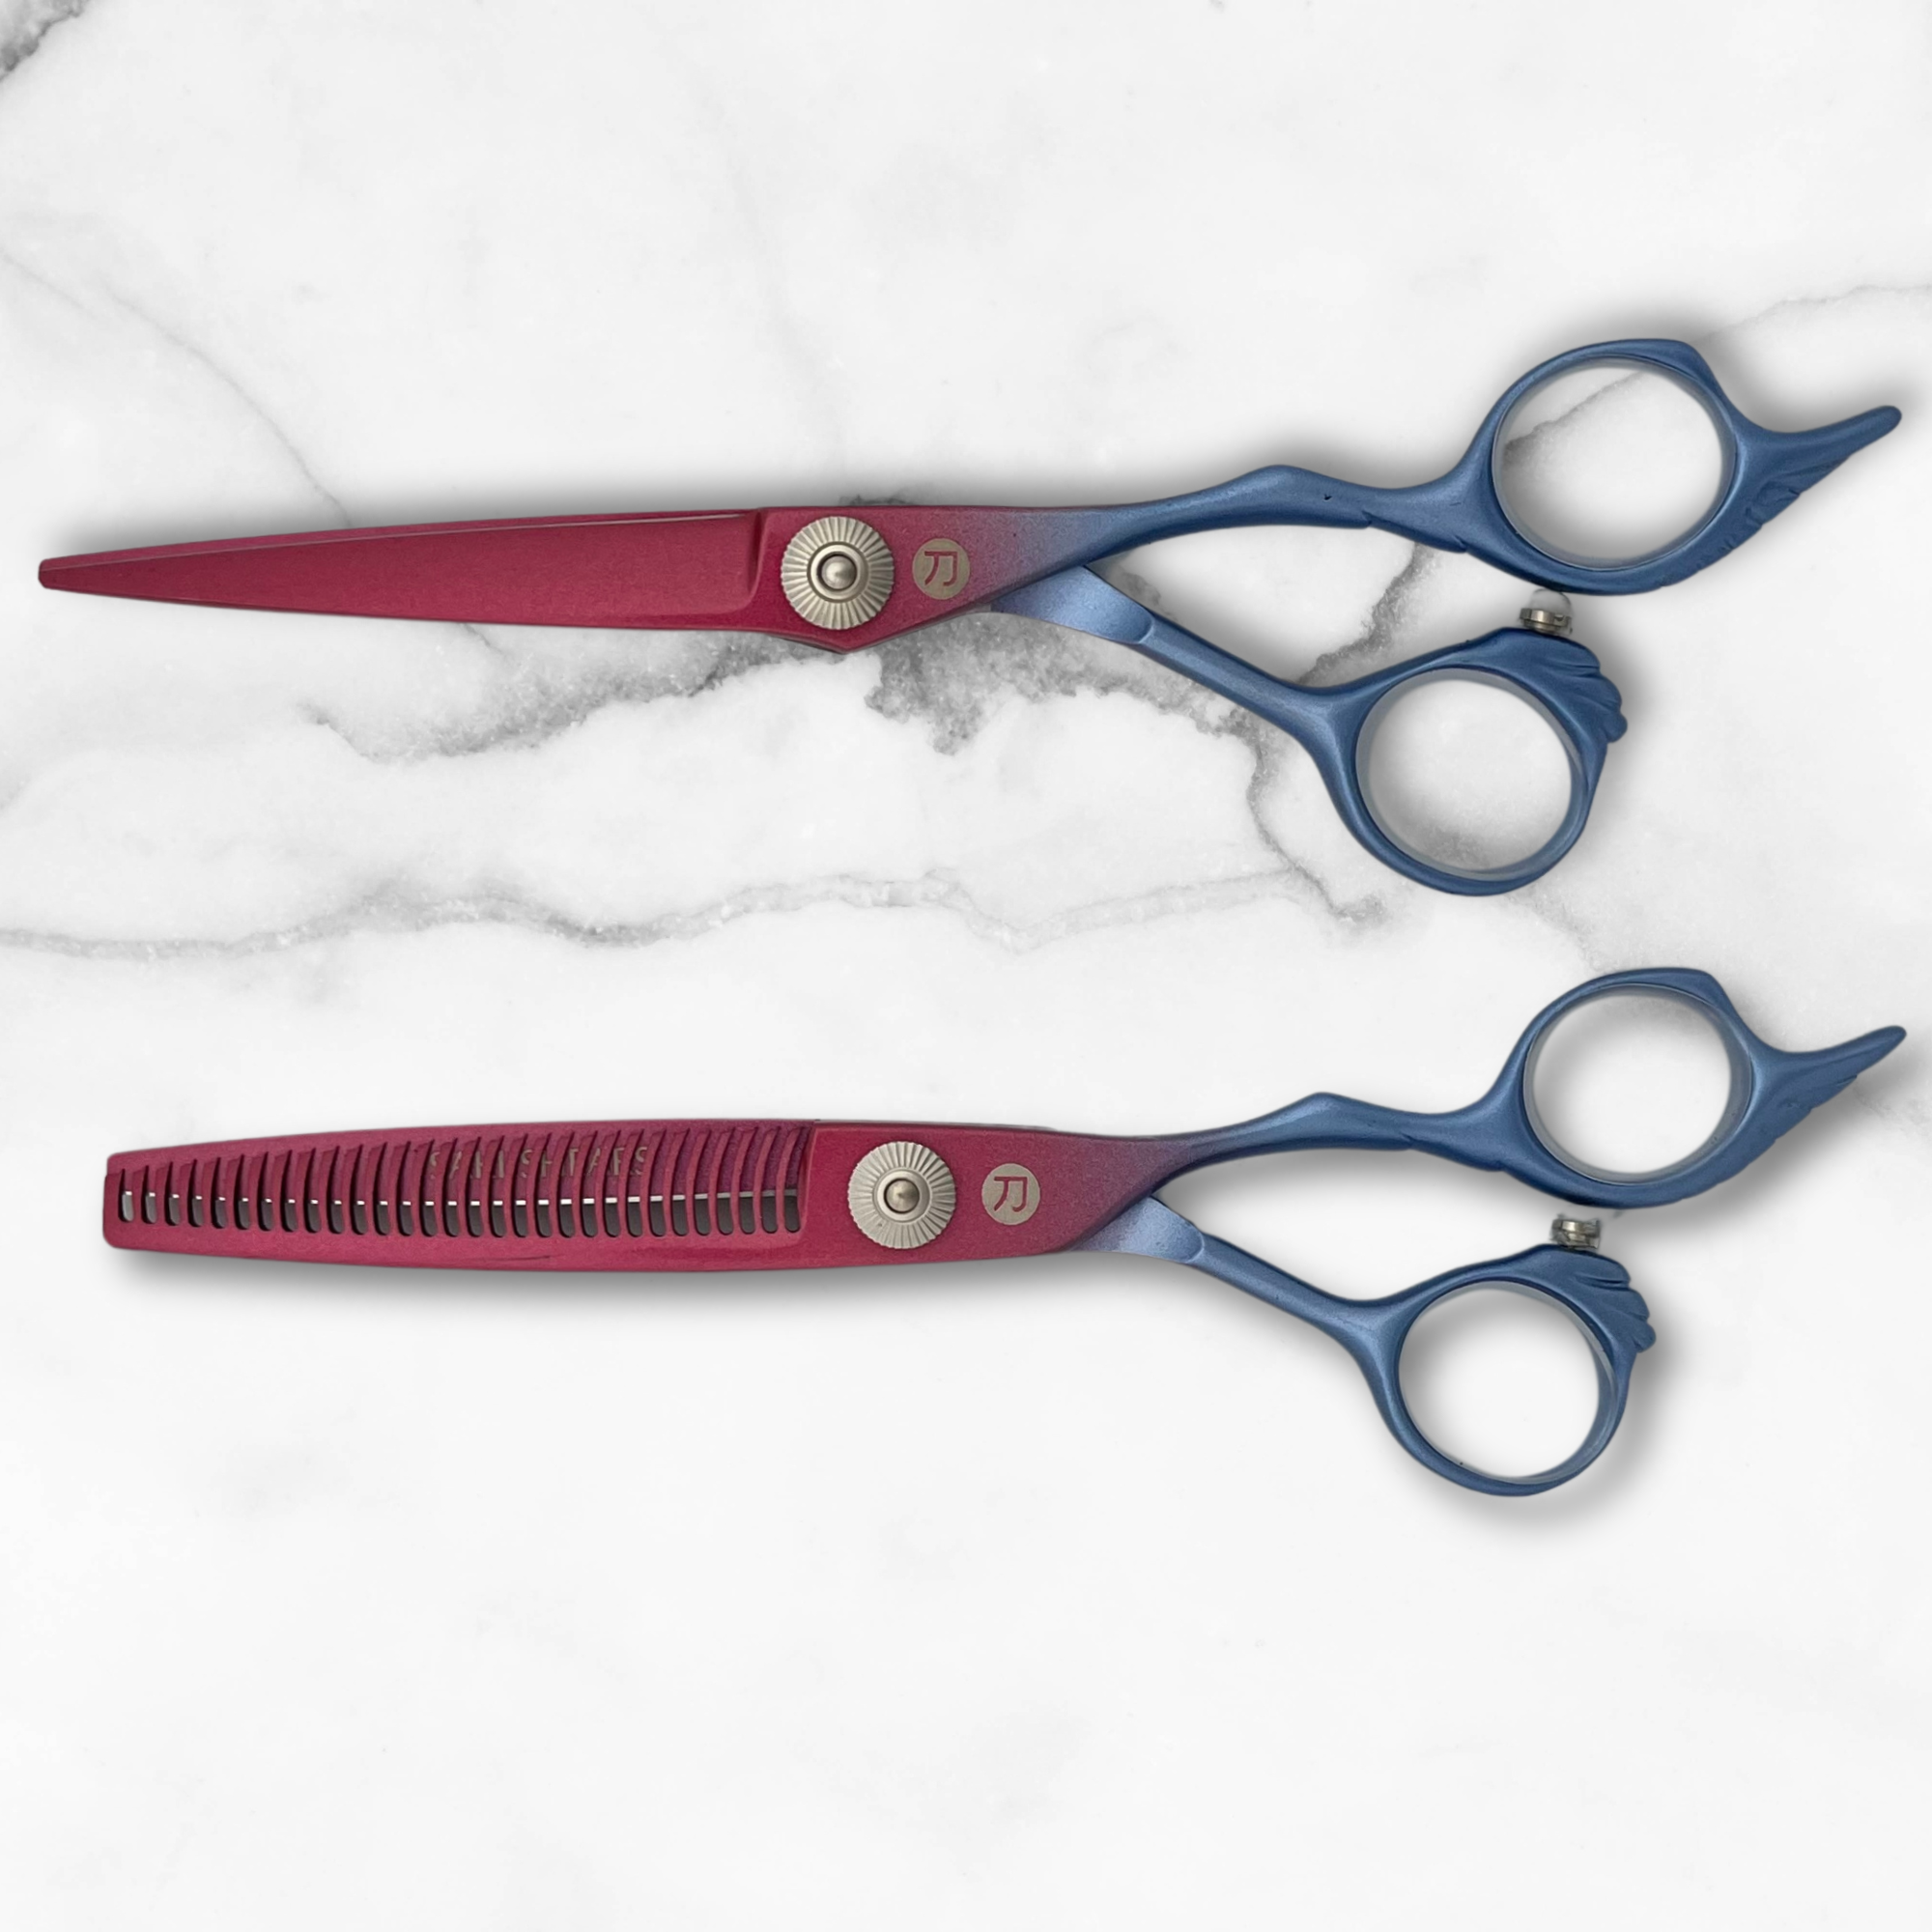
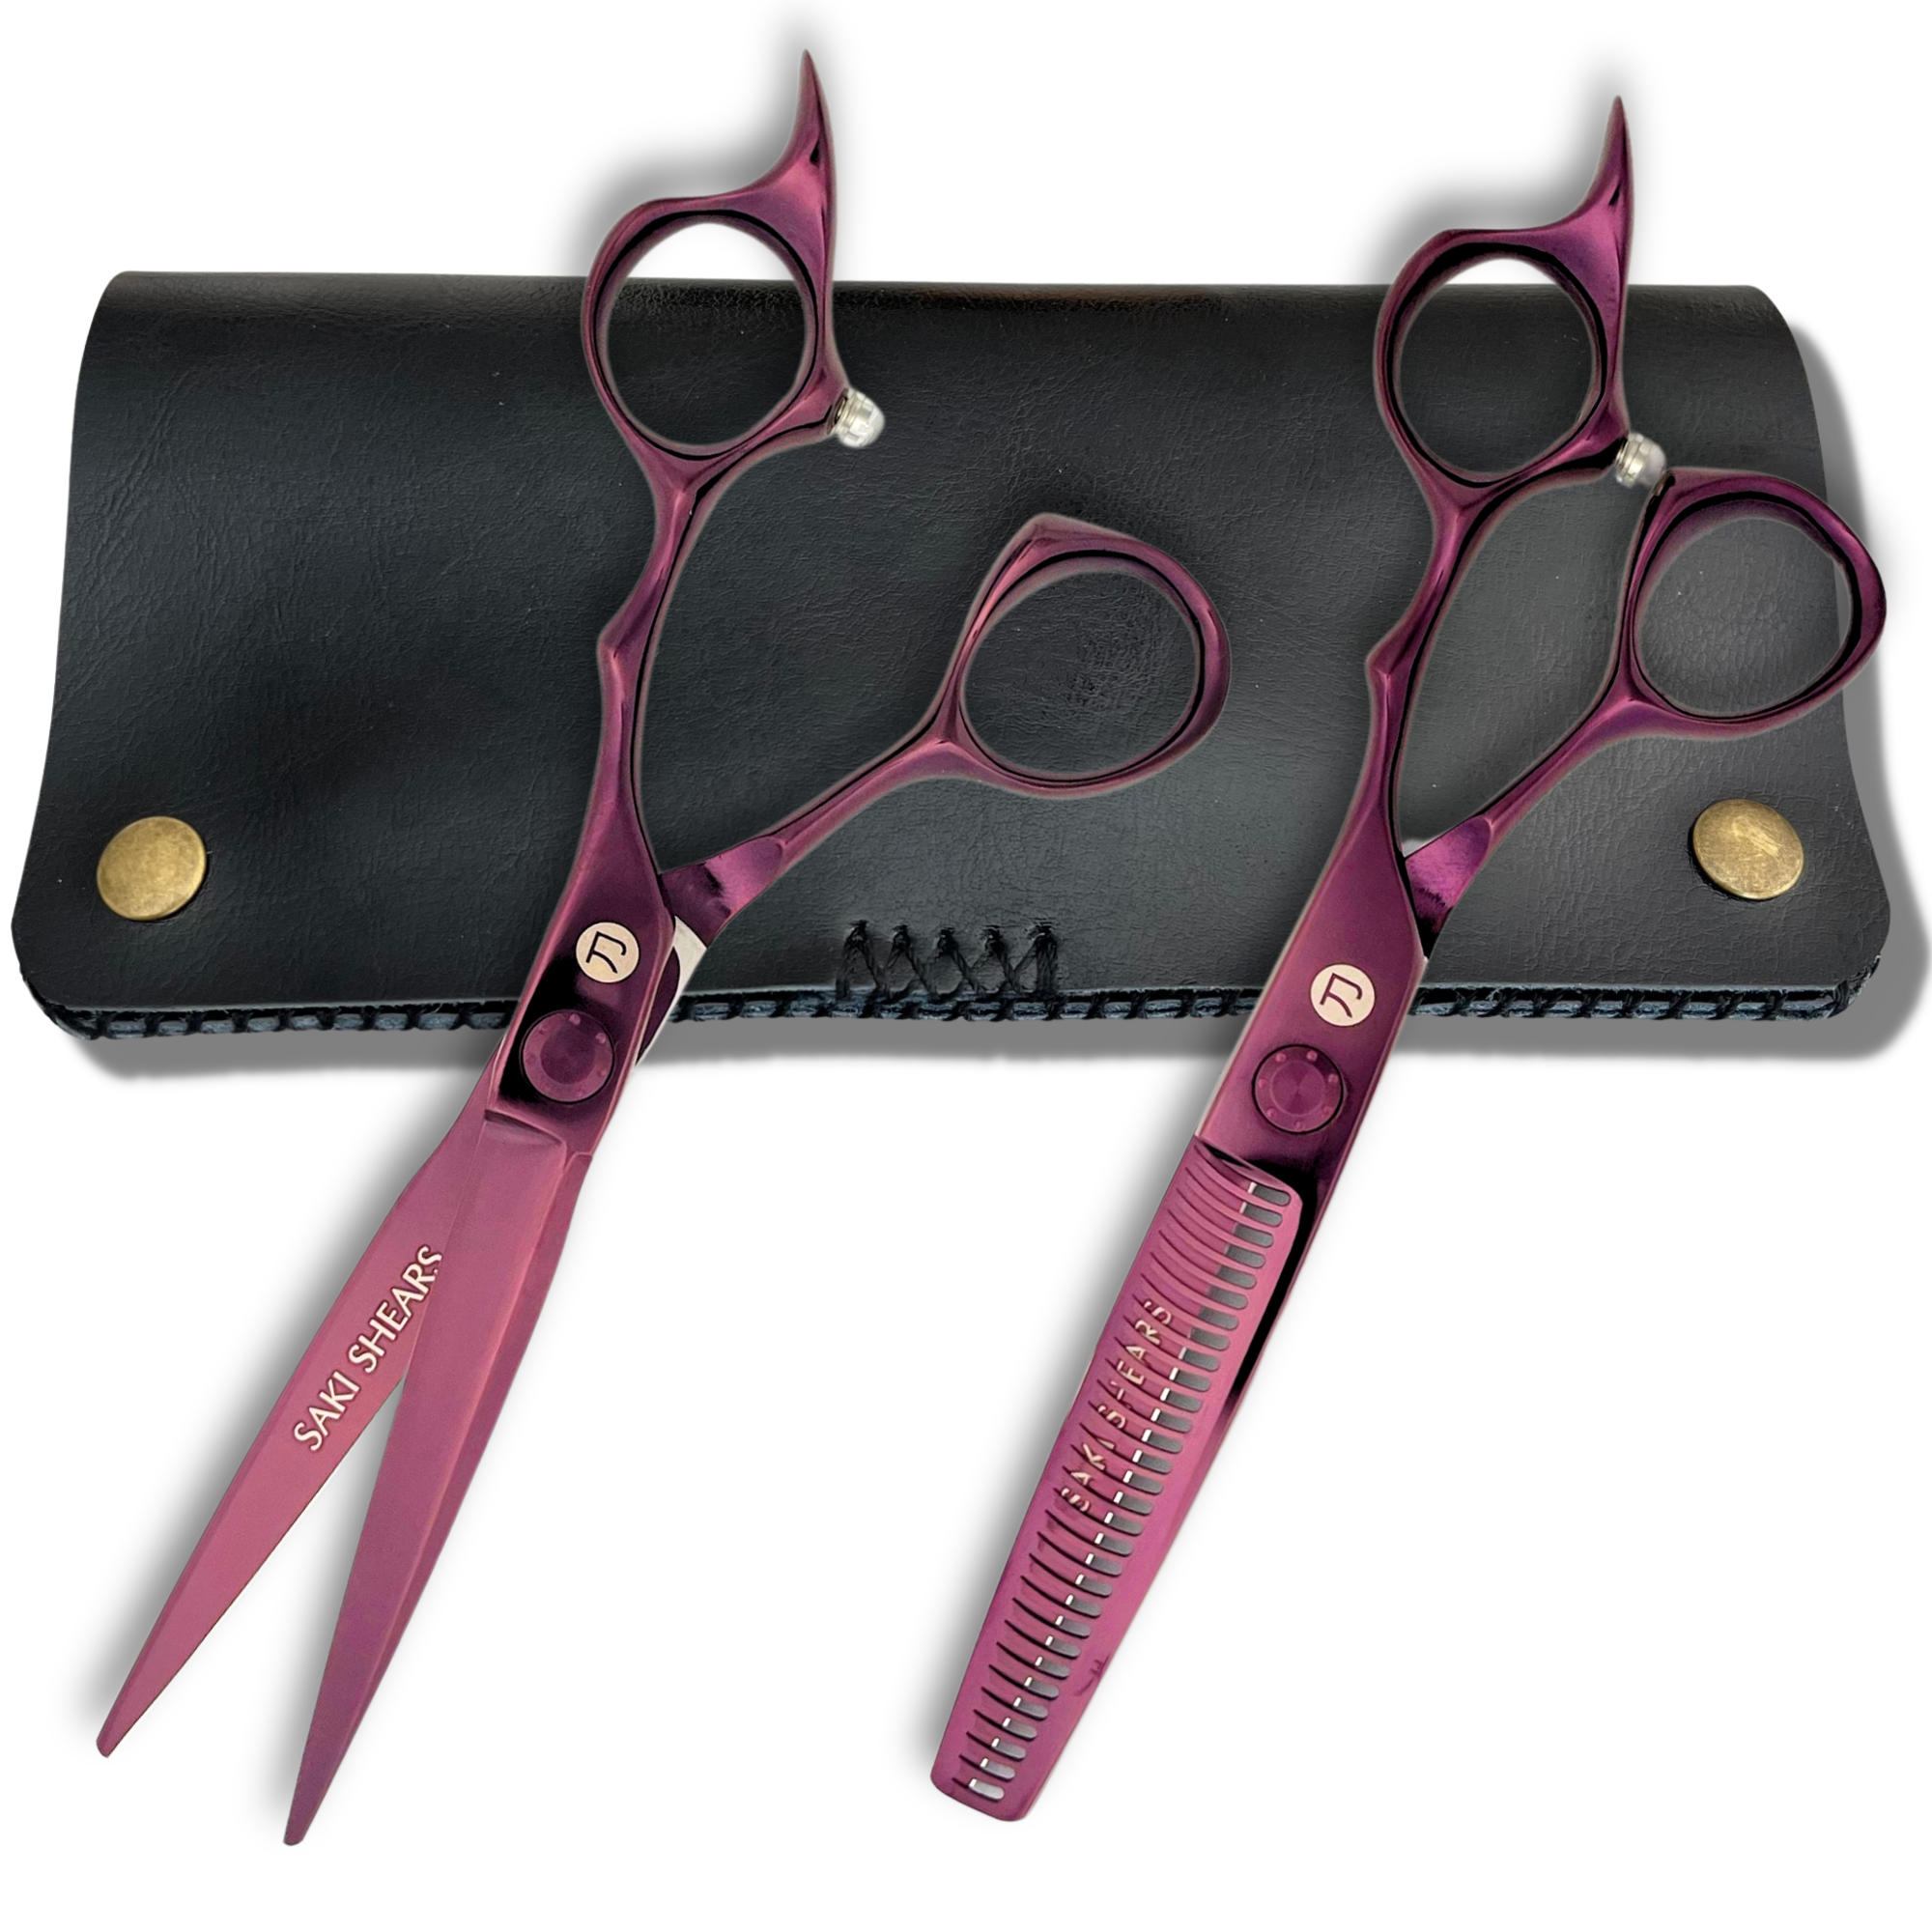
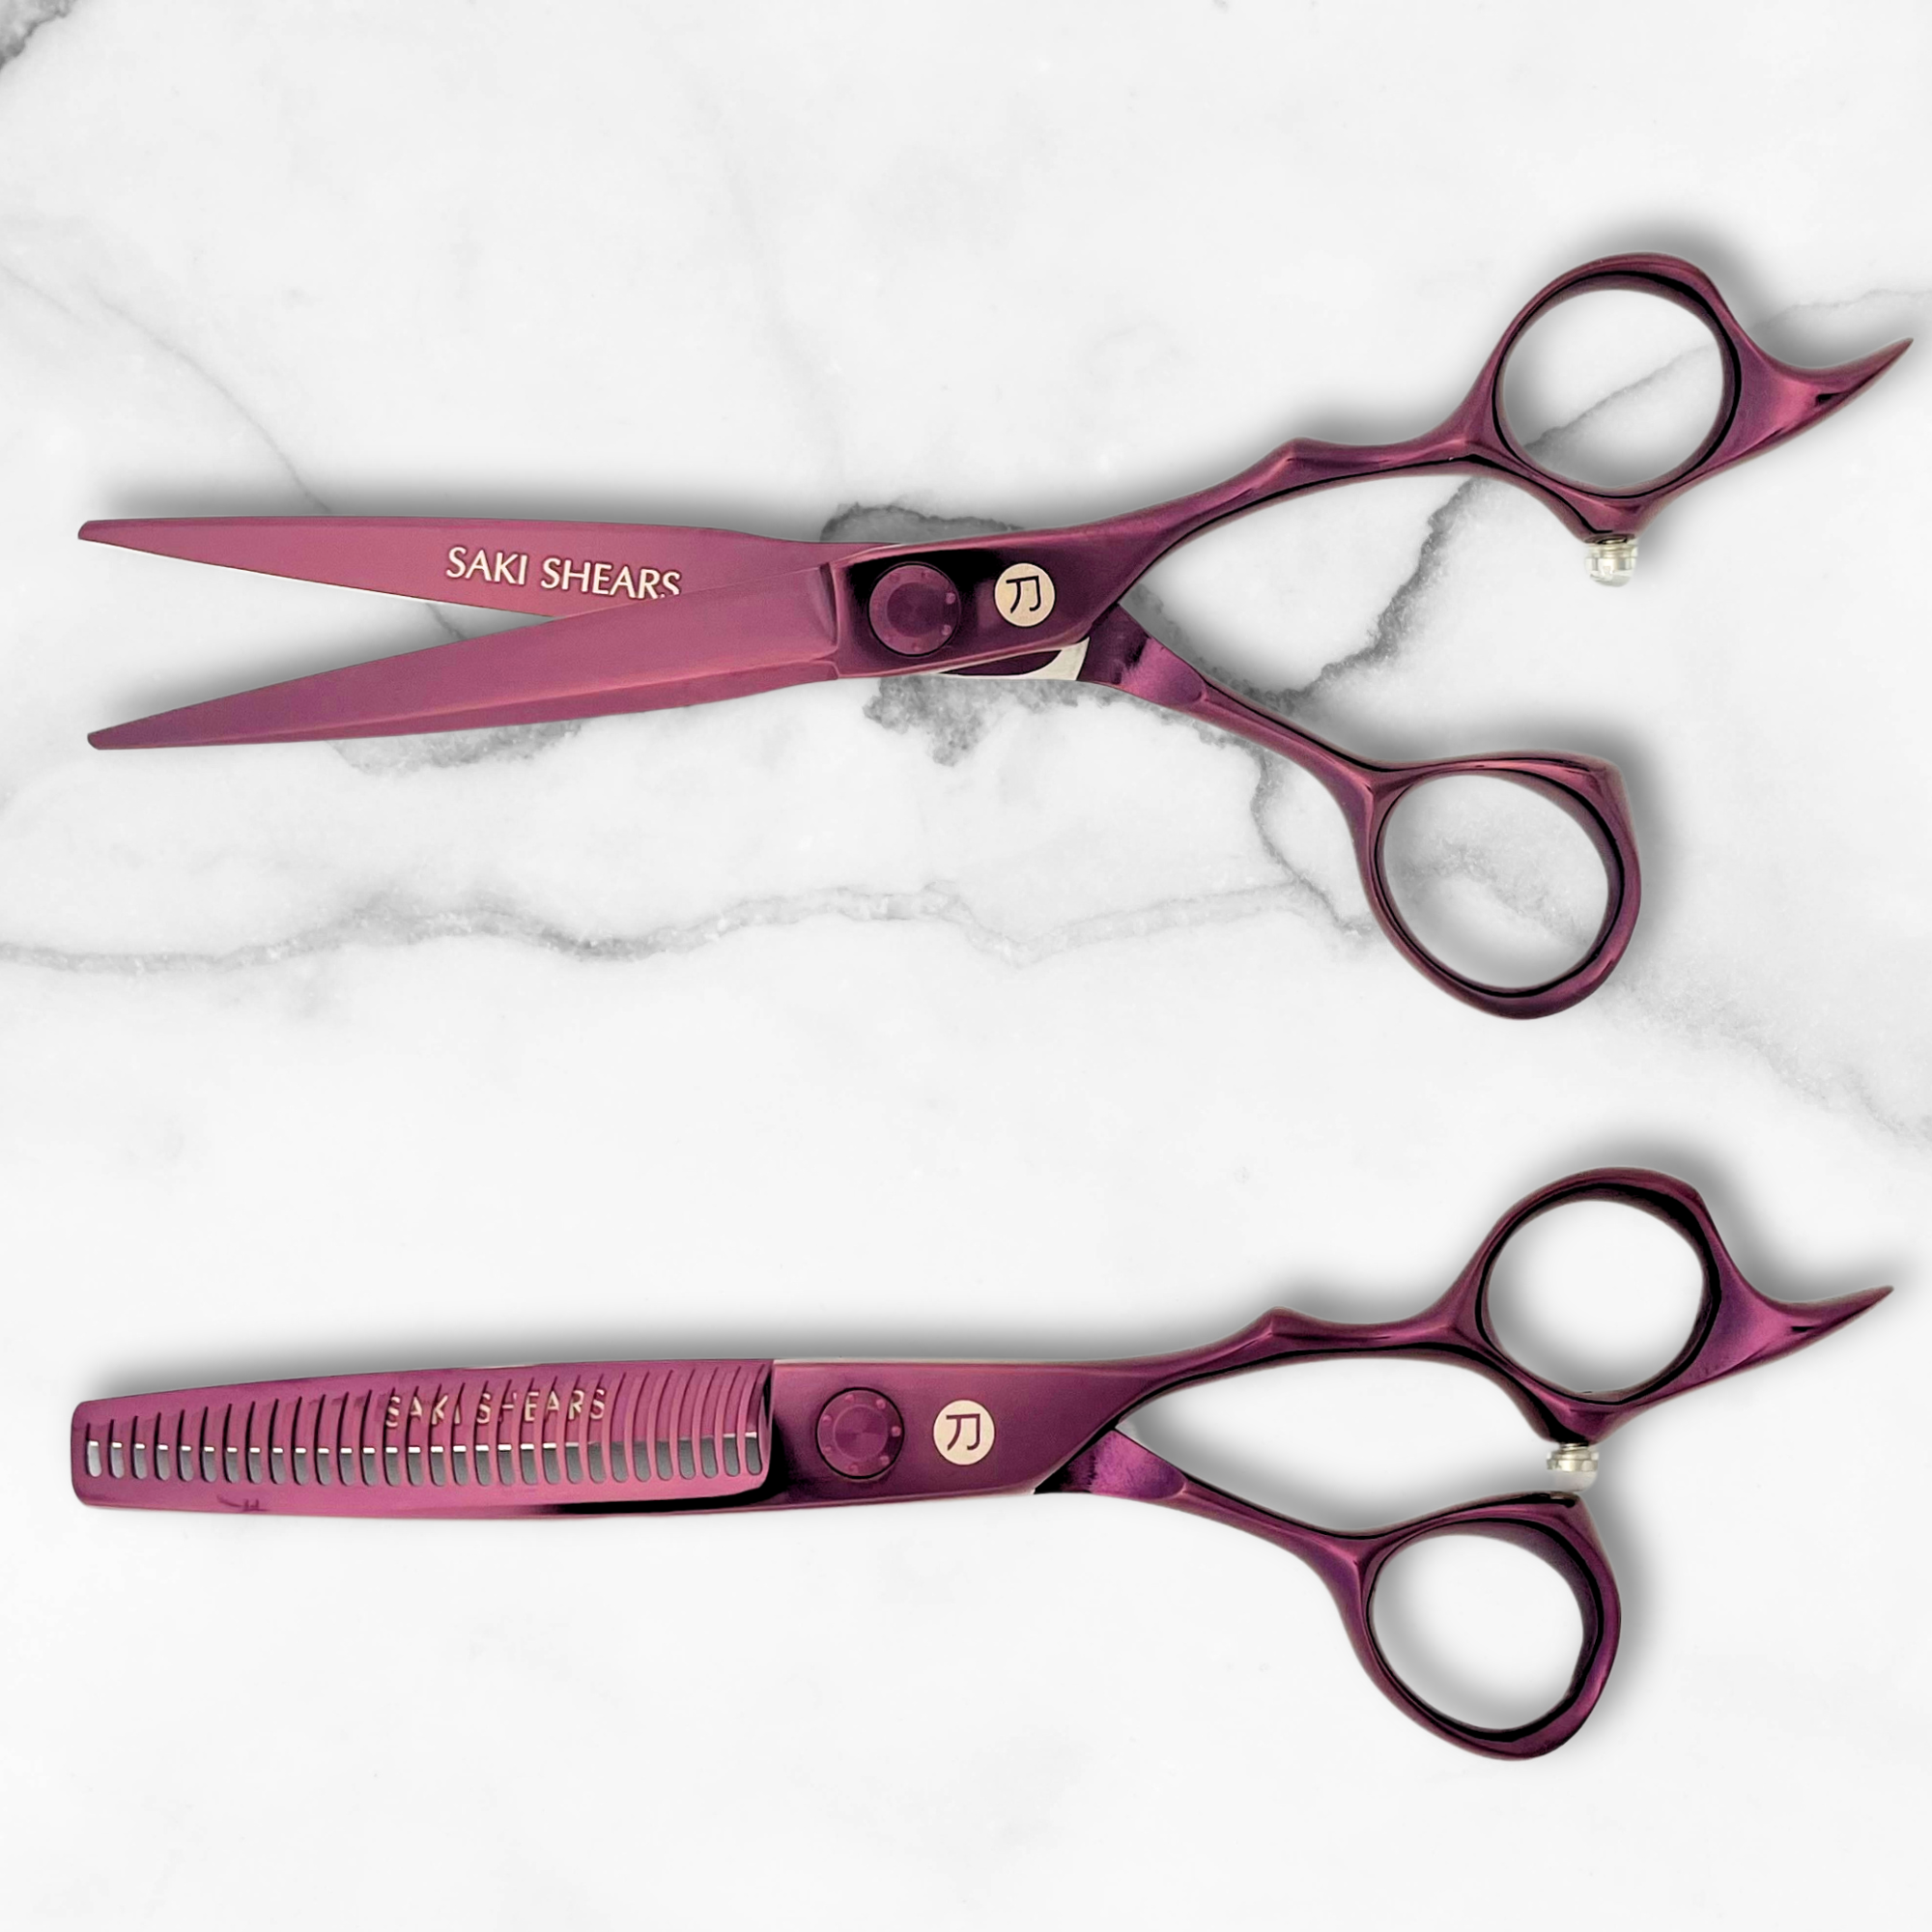
Professional Hair Shears
High-quality shears are essential for blending and detailing. Shears made from premium Japanese steel are known for their sharpness and durability. Key features to look for include:
| Feature | Benefit |
|---|---|
| Convex Blades | Ultra-sharp edge for advanced cutting techniques |
| Ergonomic Design | Reduces hand fatigue during extended use |
| Adjustable Tension | Maintains proper blade alignment |
| Lightweight Design | Improves control and reduces arm strain |
To keep your shears in peak condition, sharpen them every 500–700 haircuts.
Basic Cutting Tools
Round out your toolkit with these essentials:
- Cutting combs (both wide and fine-tooth)
- A soft-bristle neck duster
- A spray bottle
- Sectioning clips for managing longer hair sections
Store your tools in a dedicated case and clean them thoroughly between clients to ensure hygiene and maintain their performance.
Basic Fade Cutting Steps
Preparing the Client
Start by ensuring your client's hair is clean, slightly damp, and that they are seated comfortably with their head level. Use a clean cape to keep things tidy. Take a moment to evaluate the hair's texture, growth pattern, head shape, and current length - this will help you plan the fade. Once you're ready, establish your starting guideline.
Creating the Guideline
Section the hair horizontally at the desired starting point for the fade. Use professional shears to cut a sharp, clean guideline. This baseline will serve as your foundation for blending and shaping the fade.
Blending Techniques
A smooth fade relies on effective blending. Use a higher clipper setting initially, then gradually switch to lower settings for precision. Here are a few blending techniques to consider:
- Point Cutting: Ideal for creating texture and soft transitions in small sections.
- Slide Cutting: Great for medium to thick hair, this method removes weight without leaving harsh lines.
- Deep Parallel Point Cutting: Perfect for breaking up heavy lines and adding texture when blending longer top sections.
Final Touches
Wrap up your fade with these finishing steps:
- Check the symmetry from all angles.
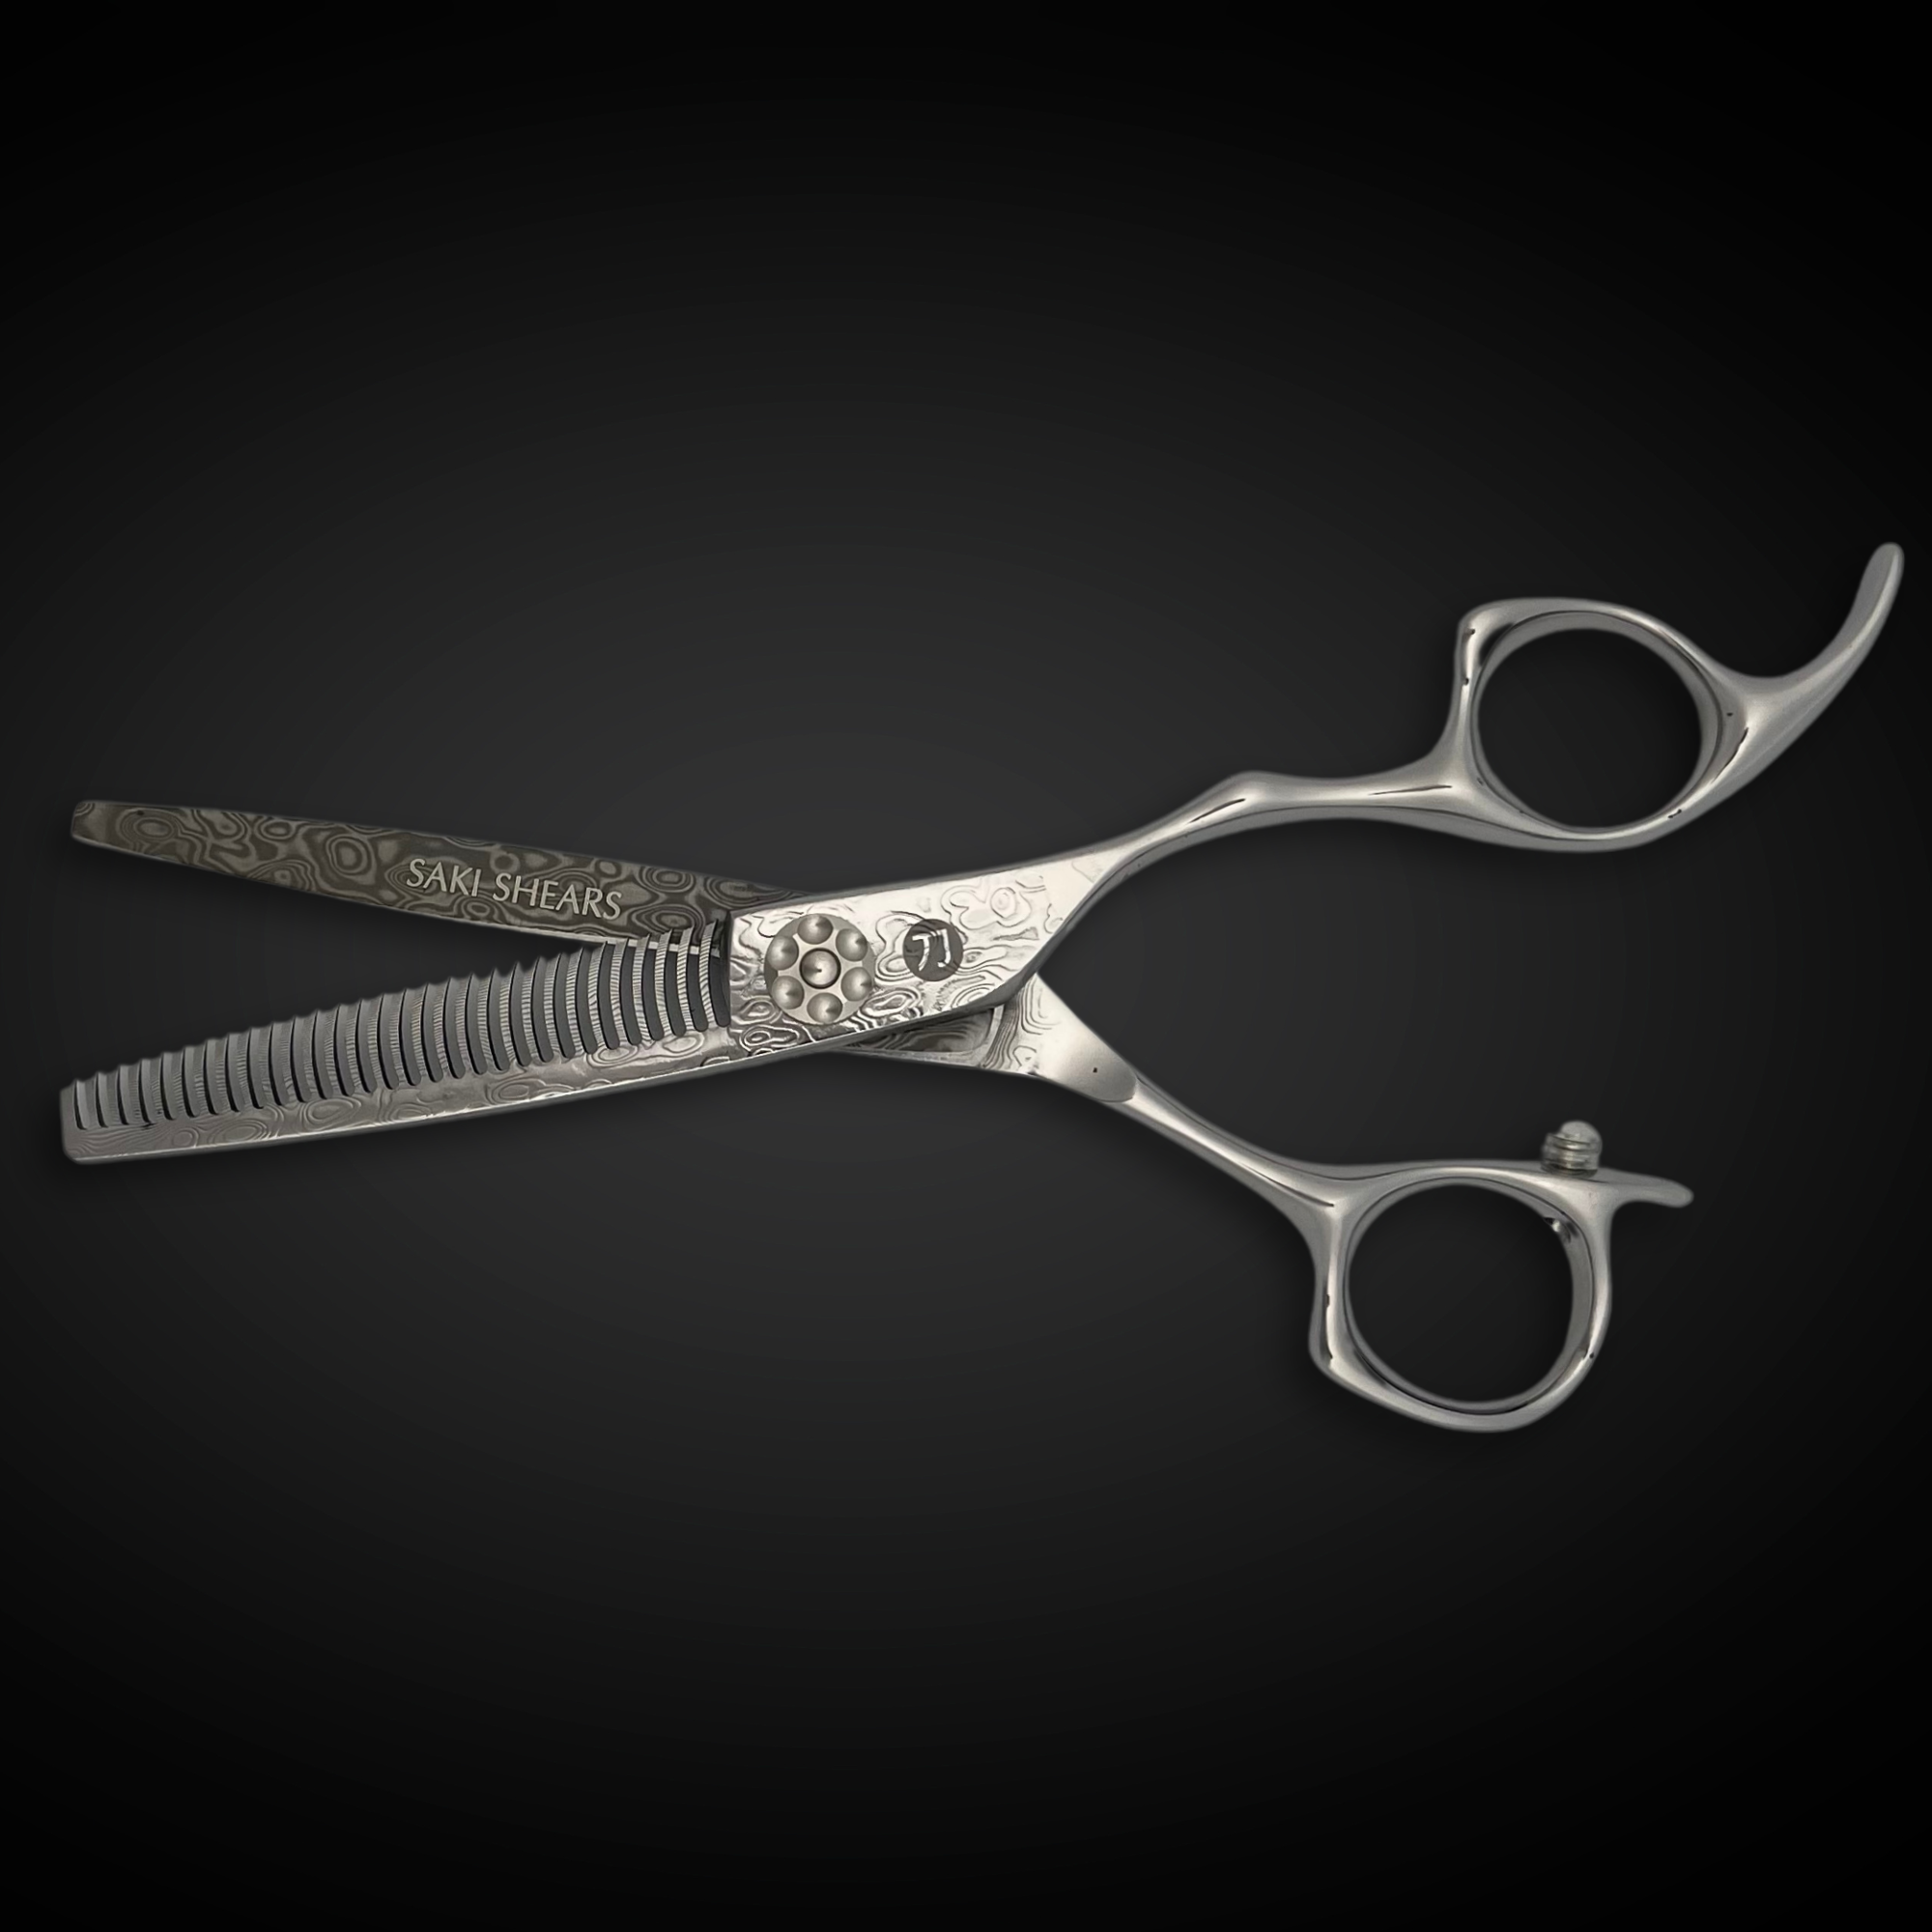
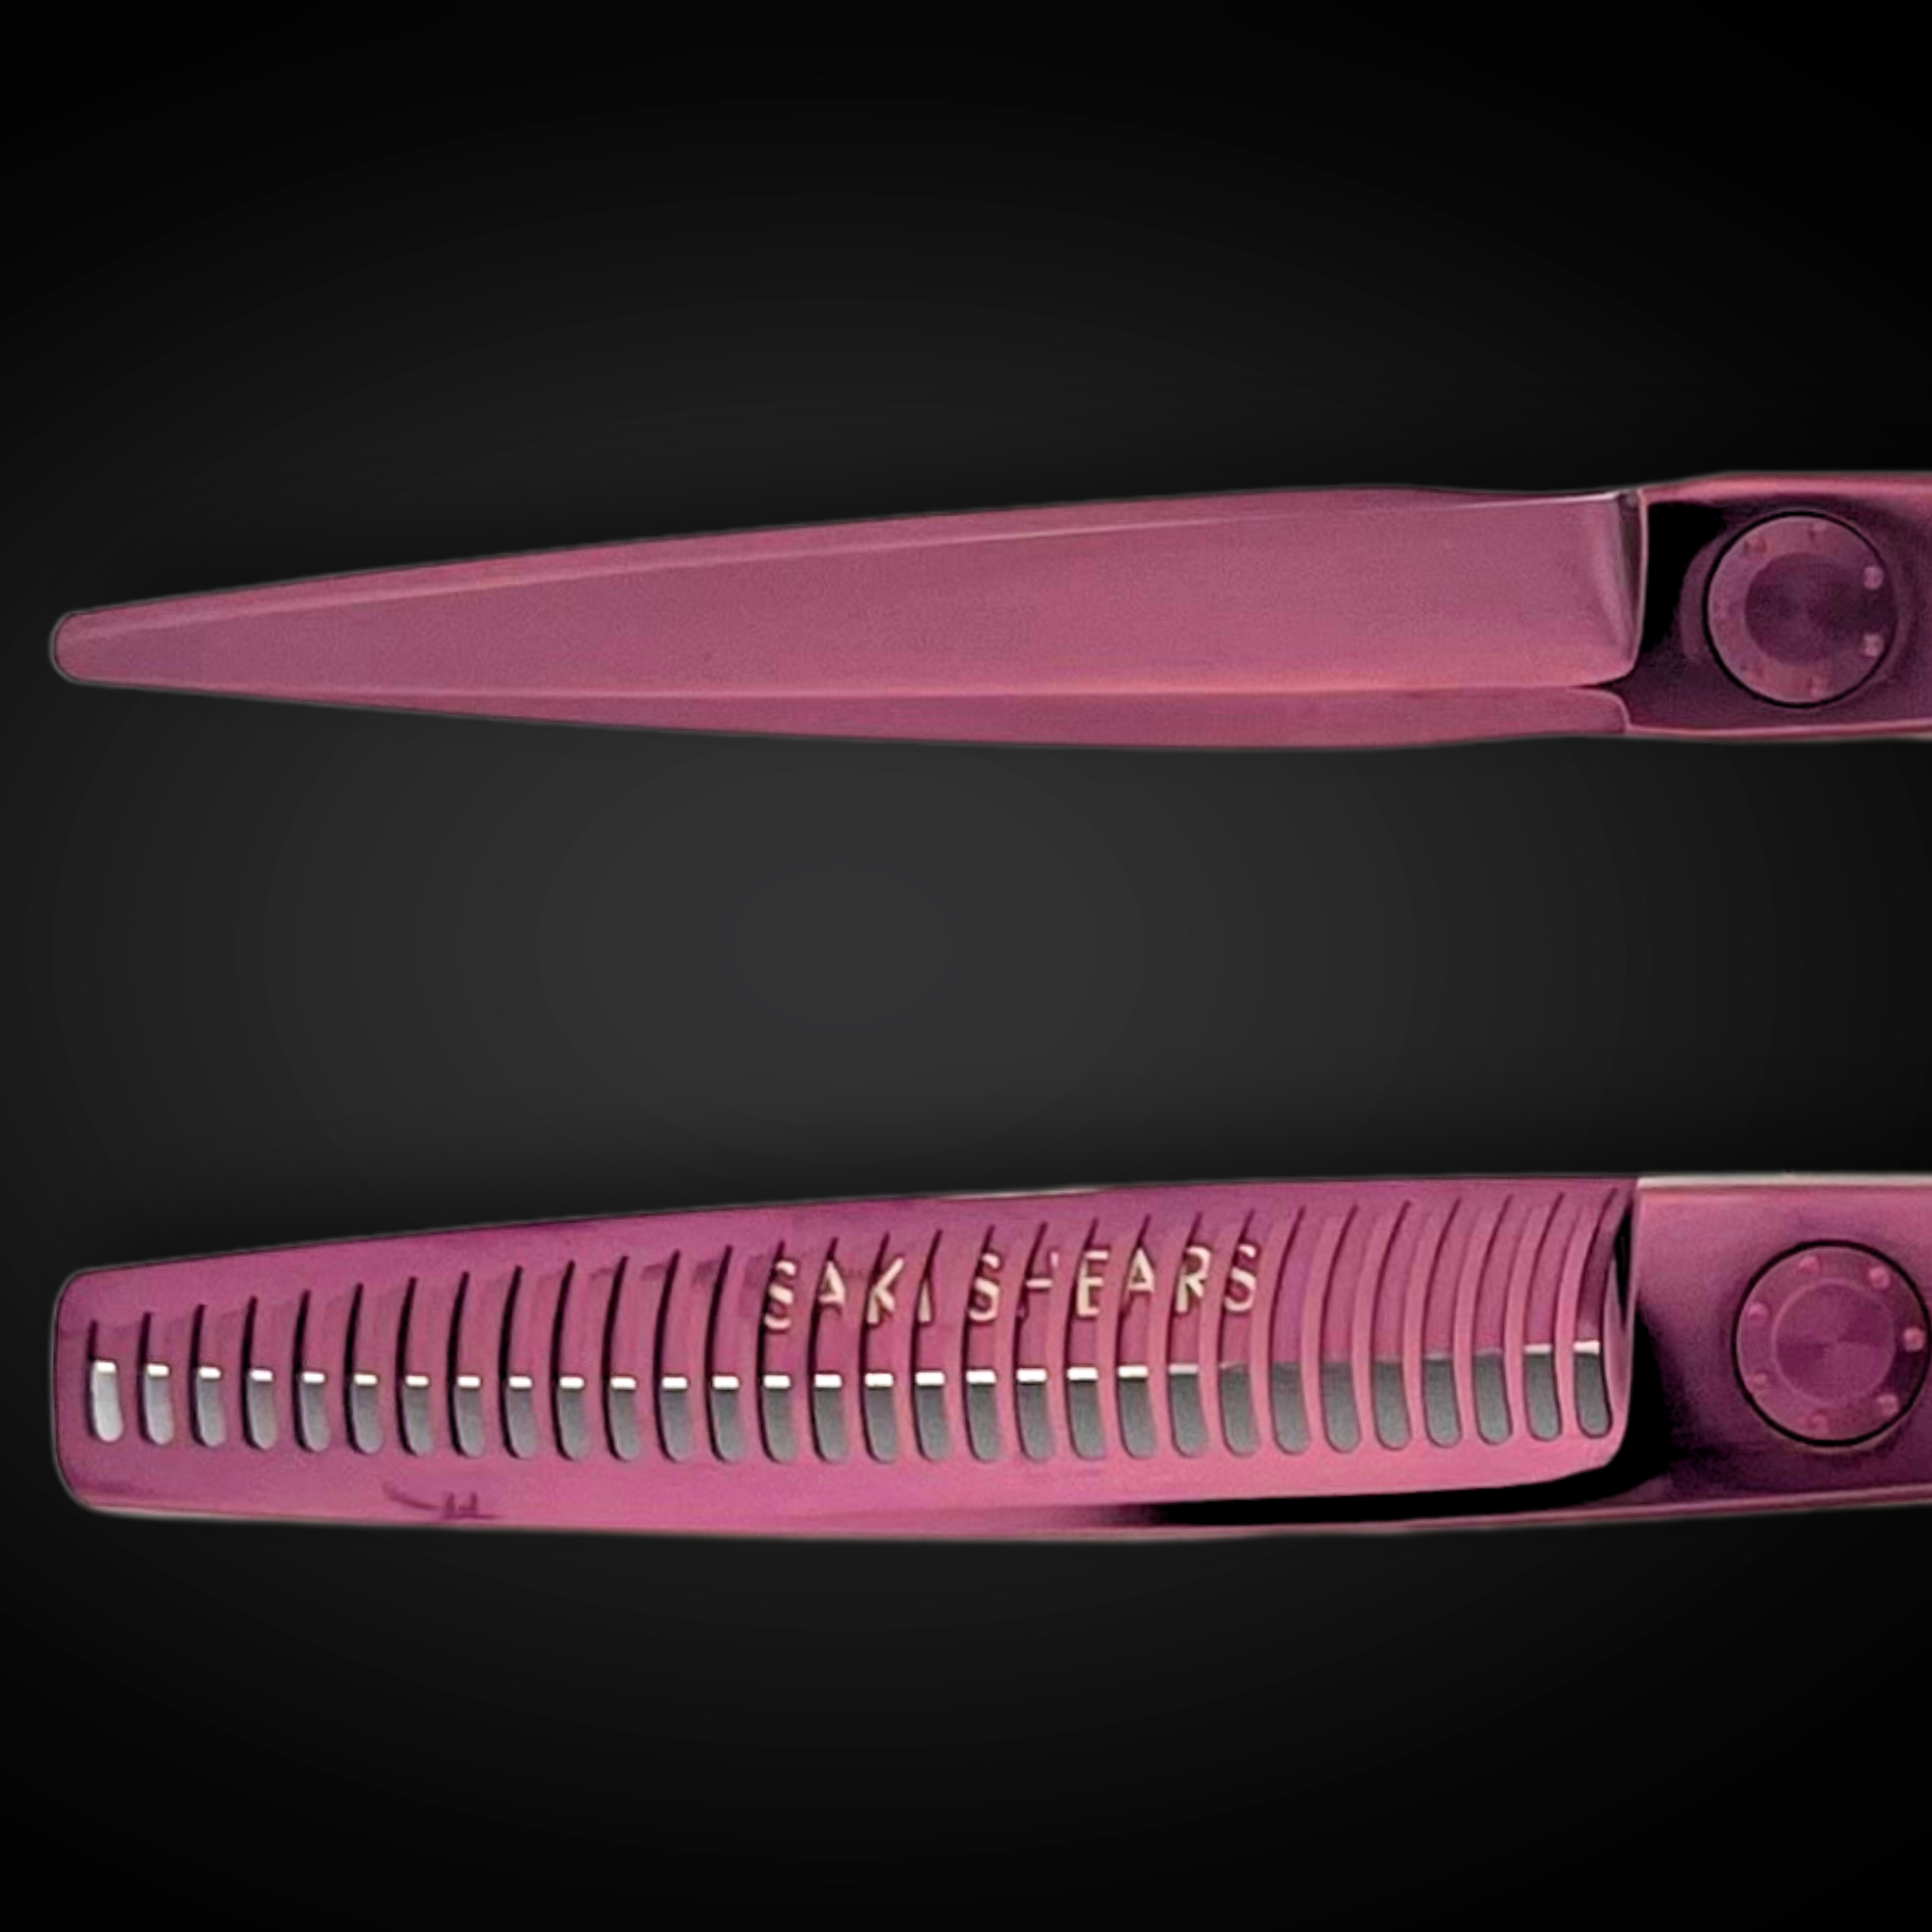
- Use thinning shears to soften any visible weight lines.
- Clean up the hairline and edges with a precision trimmer.
- Dust off loose hair with a neck duster.
- Style the hair to highlight the smooth gradient.
For clients with thicker or heavier hair, notching techniques can add subtle texture and help achieve natural transitions. Periodically step back to review the overall balance and make adjustments as needed.
Pro-Level Fade Methods
Taking fades to the next level requires advanced techniques that go beyond basic blending. These methods focus on handling complex hair textures and achieving precise results.
Refining your skills with advanced texturing techniques can make a big difference. For instance, point cutting can soften harsh lines while also reducing bulk, creating a smoother, more polished look.
Here are some key techniques to consider:
| Technique | Best For | Effect |
|---|---|---|
| Slide Cutting | Medium to thick hair | Removes weight without changing length significantly |
| Deep Parallel Point Cutting | Heavy sections | Adds internal texture while keeping the hair's length intact |
| Razor Texturing | Thick, coarse hair | Delivers soft, feathered transitions for a natural finish |
Using a mix of these methods lets you tailor your approach to each client, ensuring a fade that's both precise and suited to their hair type.
Fixing Common Fade Problems
Barbers often encounter challenges when perfecting fades. By focusing on the basics and addressing common mistakes, you can achieve a polished look. Below are solutions to some of the most frequent fade problems.
Guide Line Issues
Make sure to section the hair accurately and apply even pressure while cutting. Look at the guide lines from various angles to ensure the fade stays balanced and even.
Blending Line Fixes
Harsh blending lines can ruin the flow of a fade. To fix this, try point cutting or notching techniques. Professional thinning shears can also help smooth out transitions between different lengths, creating a more natural blend.
Length Control
Once the blend is refined, check that the length is consistent across the fade. Use a steady wrist and gradually switch between clipper guard sizes to maintain even pressure. Taking your time and working carefully can prevent uneven lengths and other fade issues.
Conclusion
Achieving a perfect fade requires the right tools, consistent practice, and attention to detail. High-quality shears, especially those with ergonomic designs and convex blades, play a key role in creating seamless blends. Regular maintenance, like sharpening after every 500–700 haircuts, ensures these tools perform at their best.
Understanding various hair types and mastering blending techniques are equally important. These skills allow stylists to deliver precise, clean fades every time. With the right combination of tools and technique, flawless results become a standard.
"The artistry of hairstyling is a dance between creativity, skill, and the perfect tools – and it's a dance that never ends." – Charles Harris
The pursuit of excellence in fades is ongoing. By investing in top-notch tools and refining your craft through practice, you can elevate your skills and meet your clients' expectations every time.

