Bob Haircut Techniques: Which Shears Give the Cleanest Line
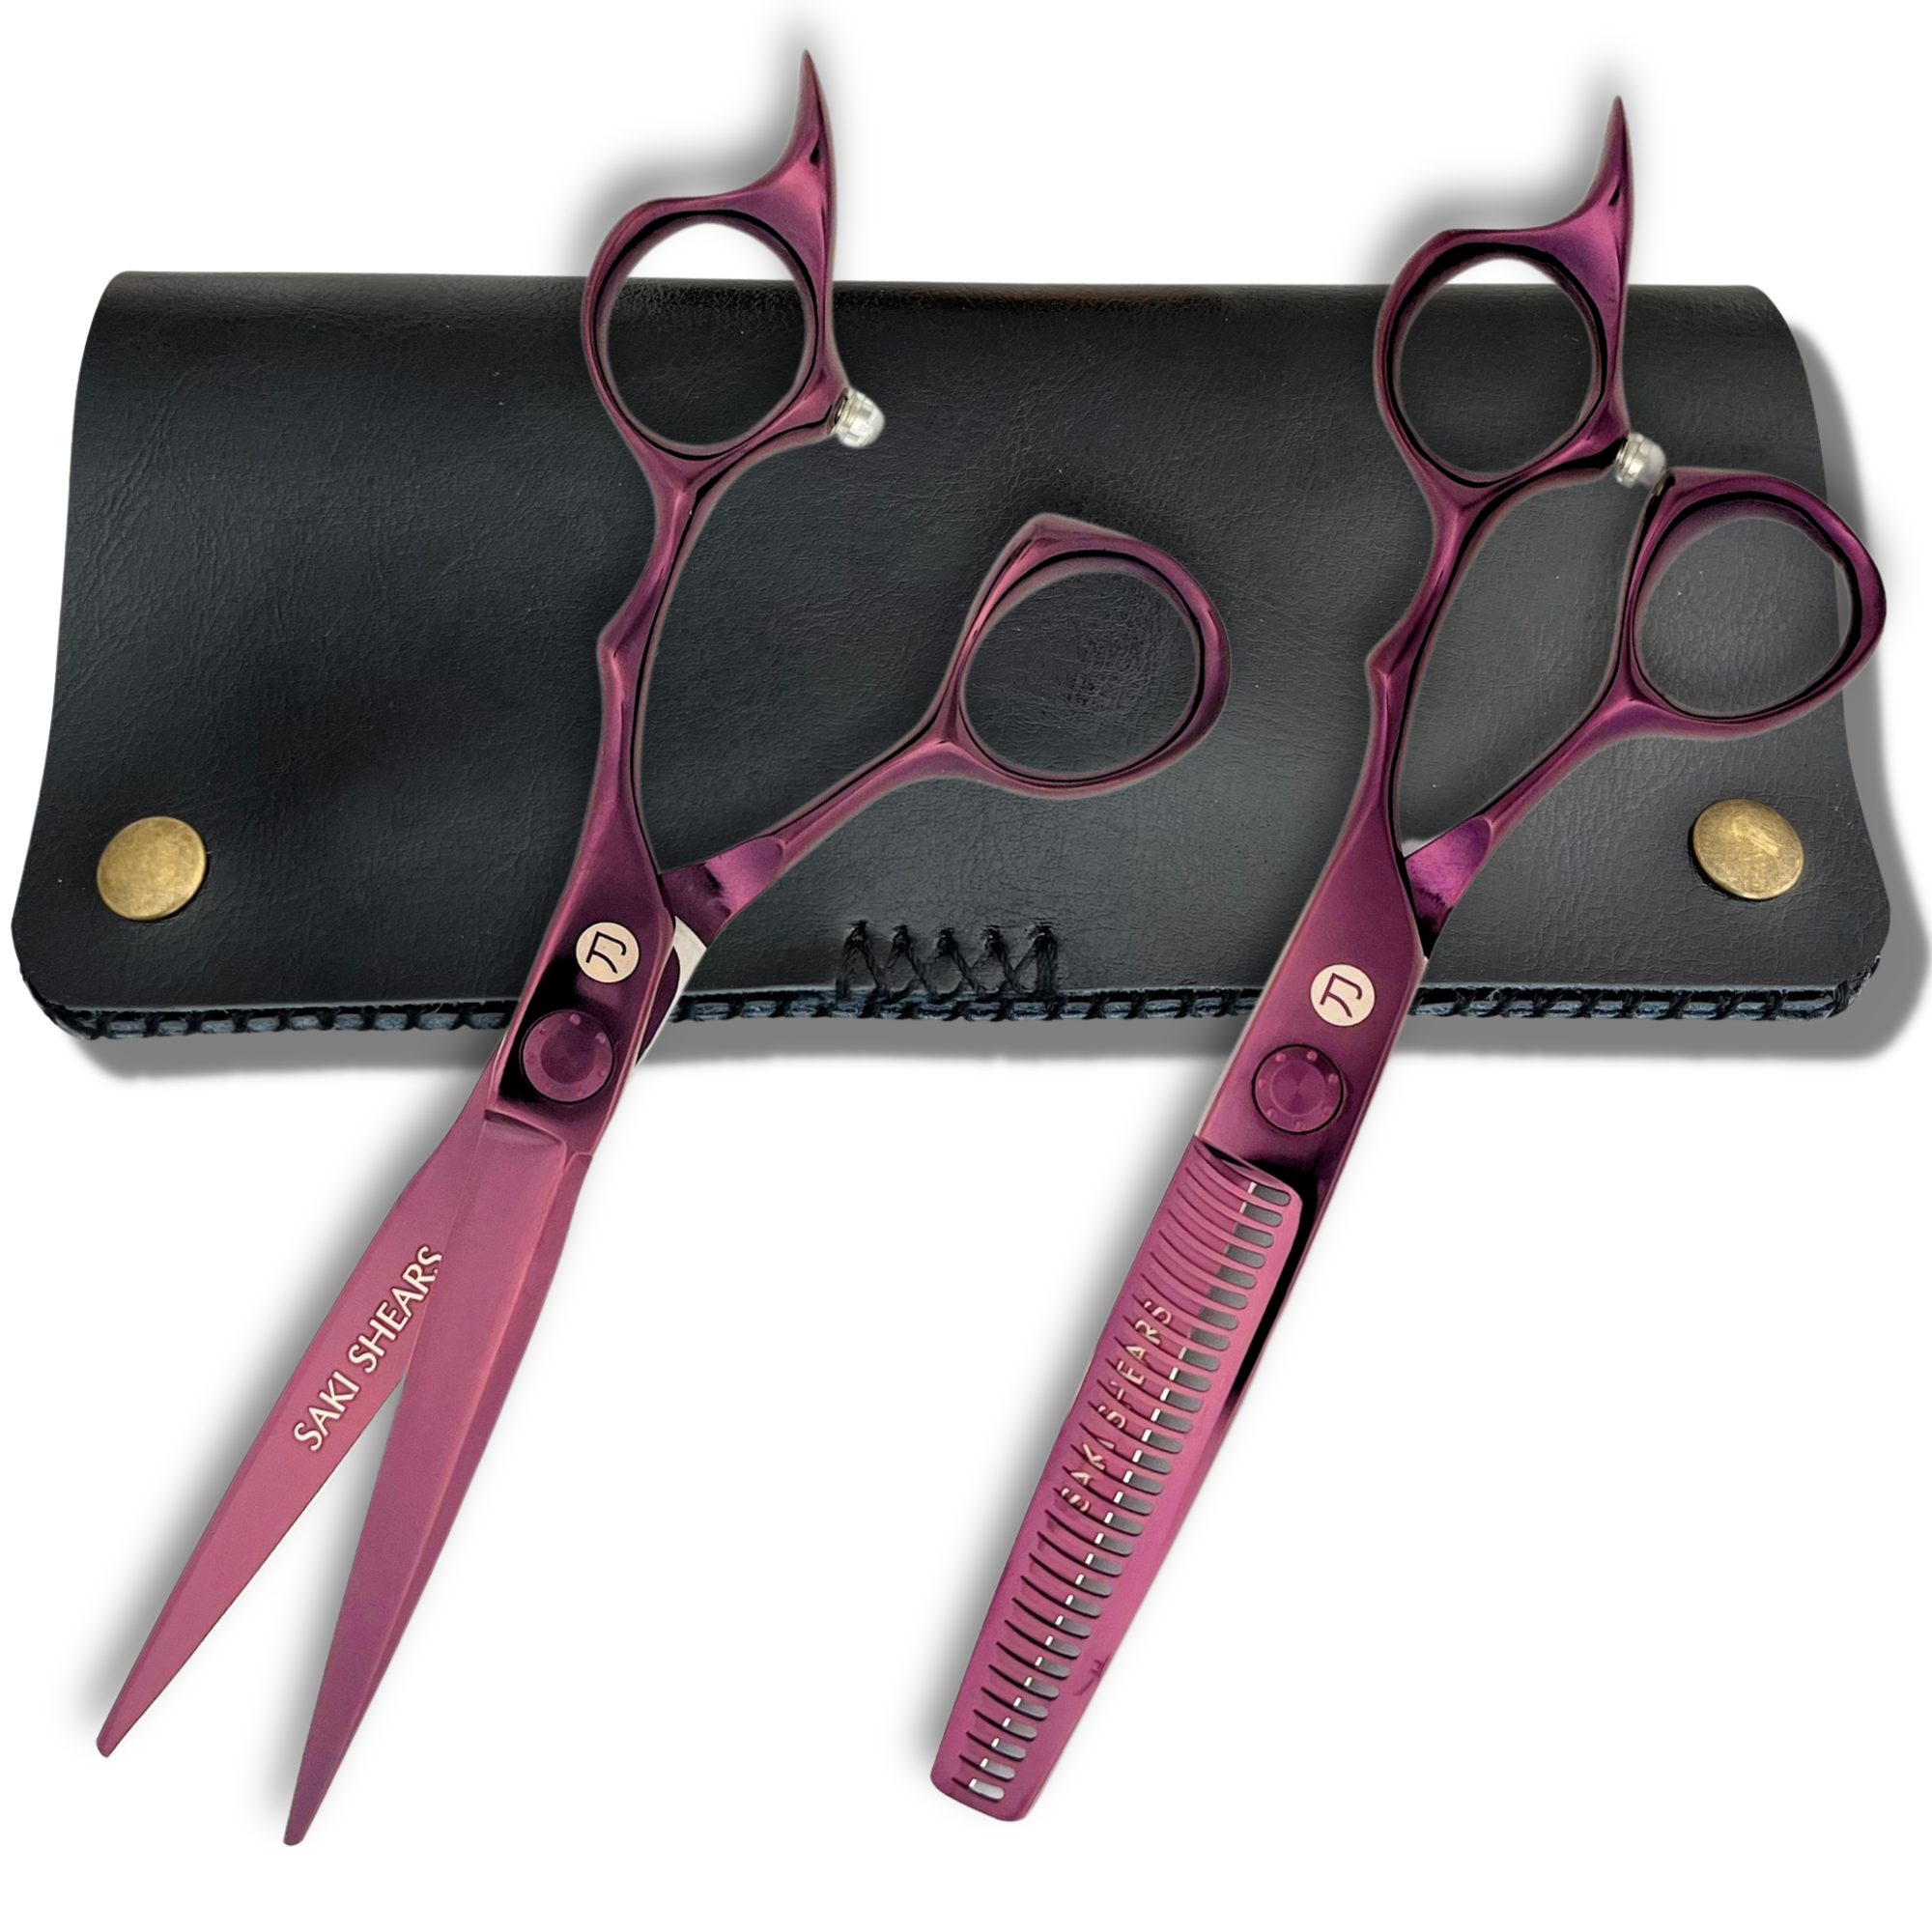
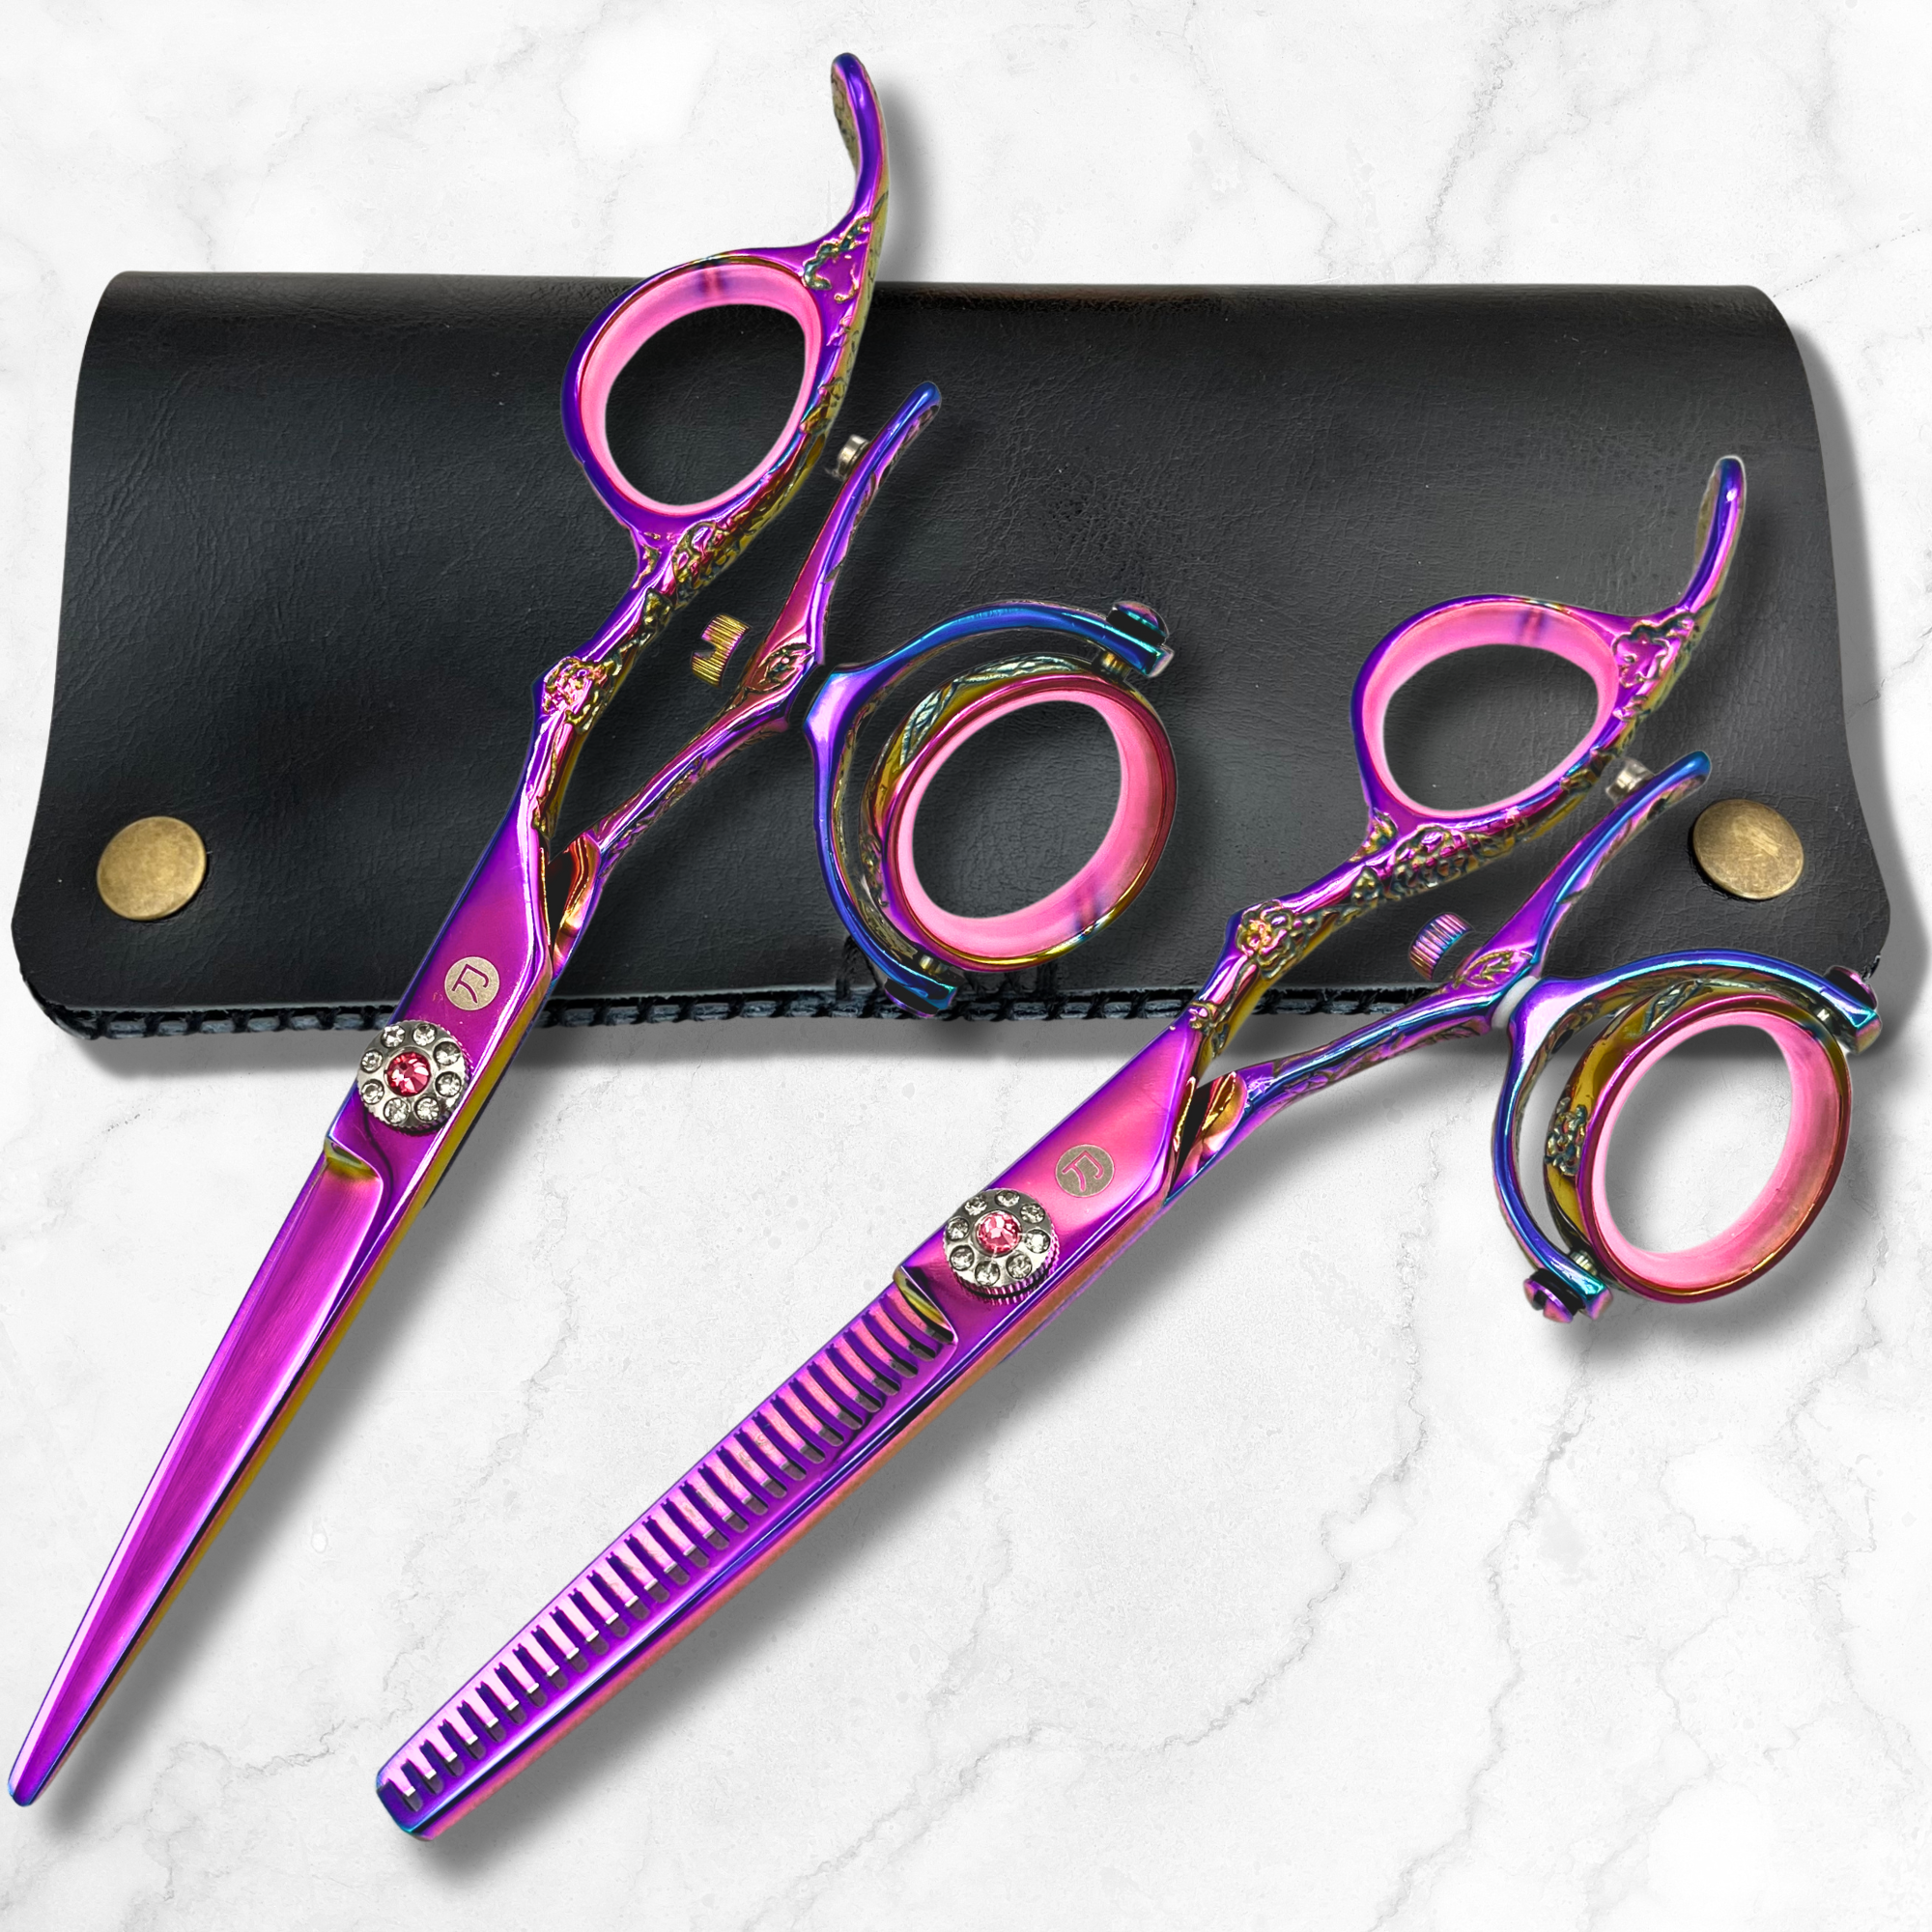
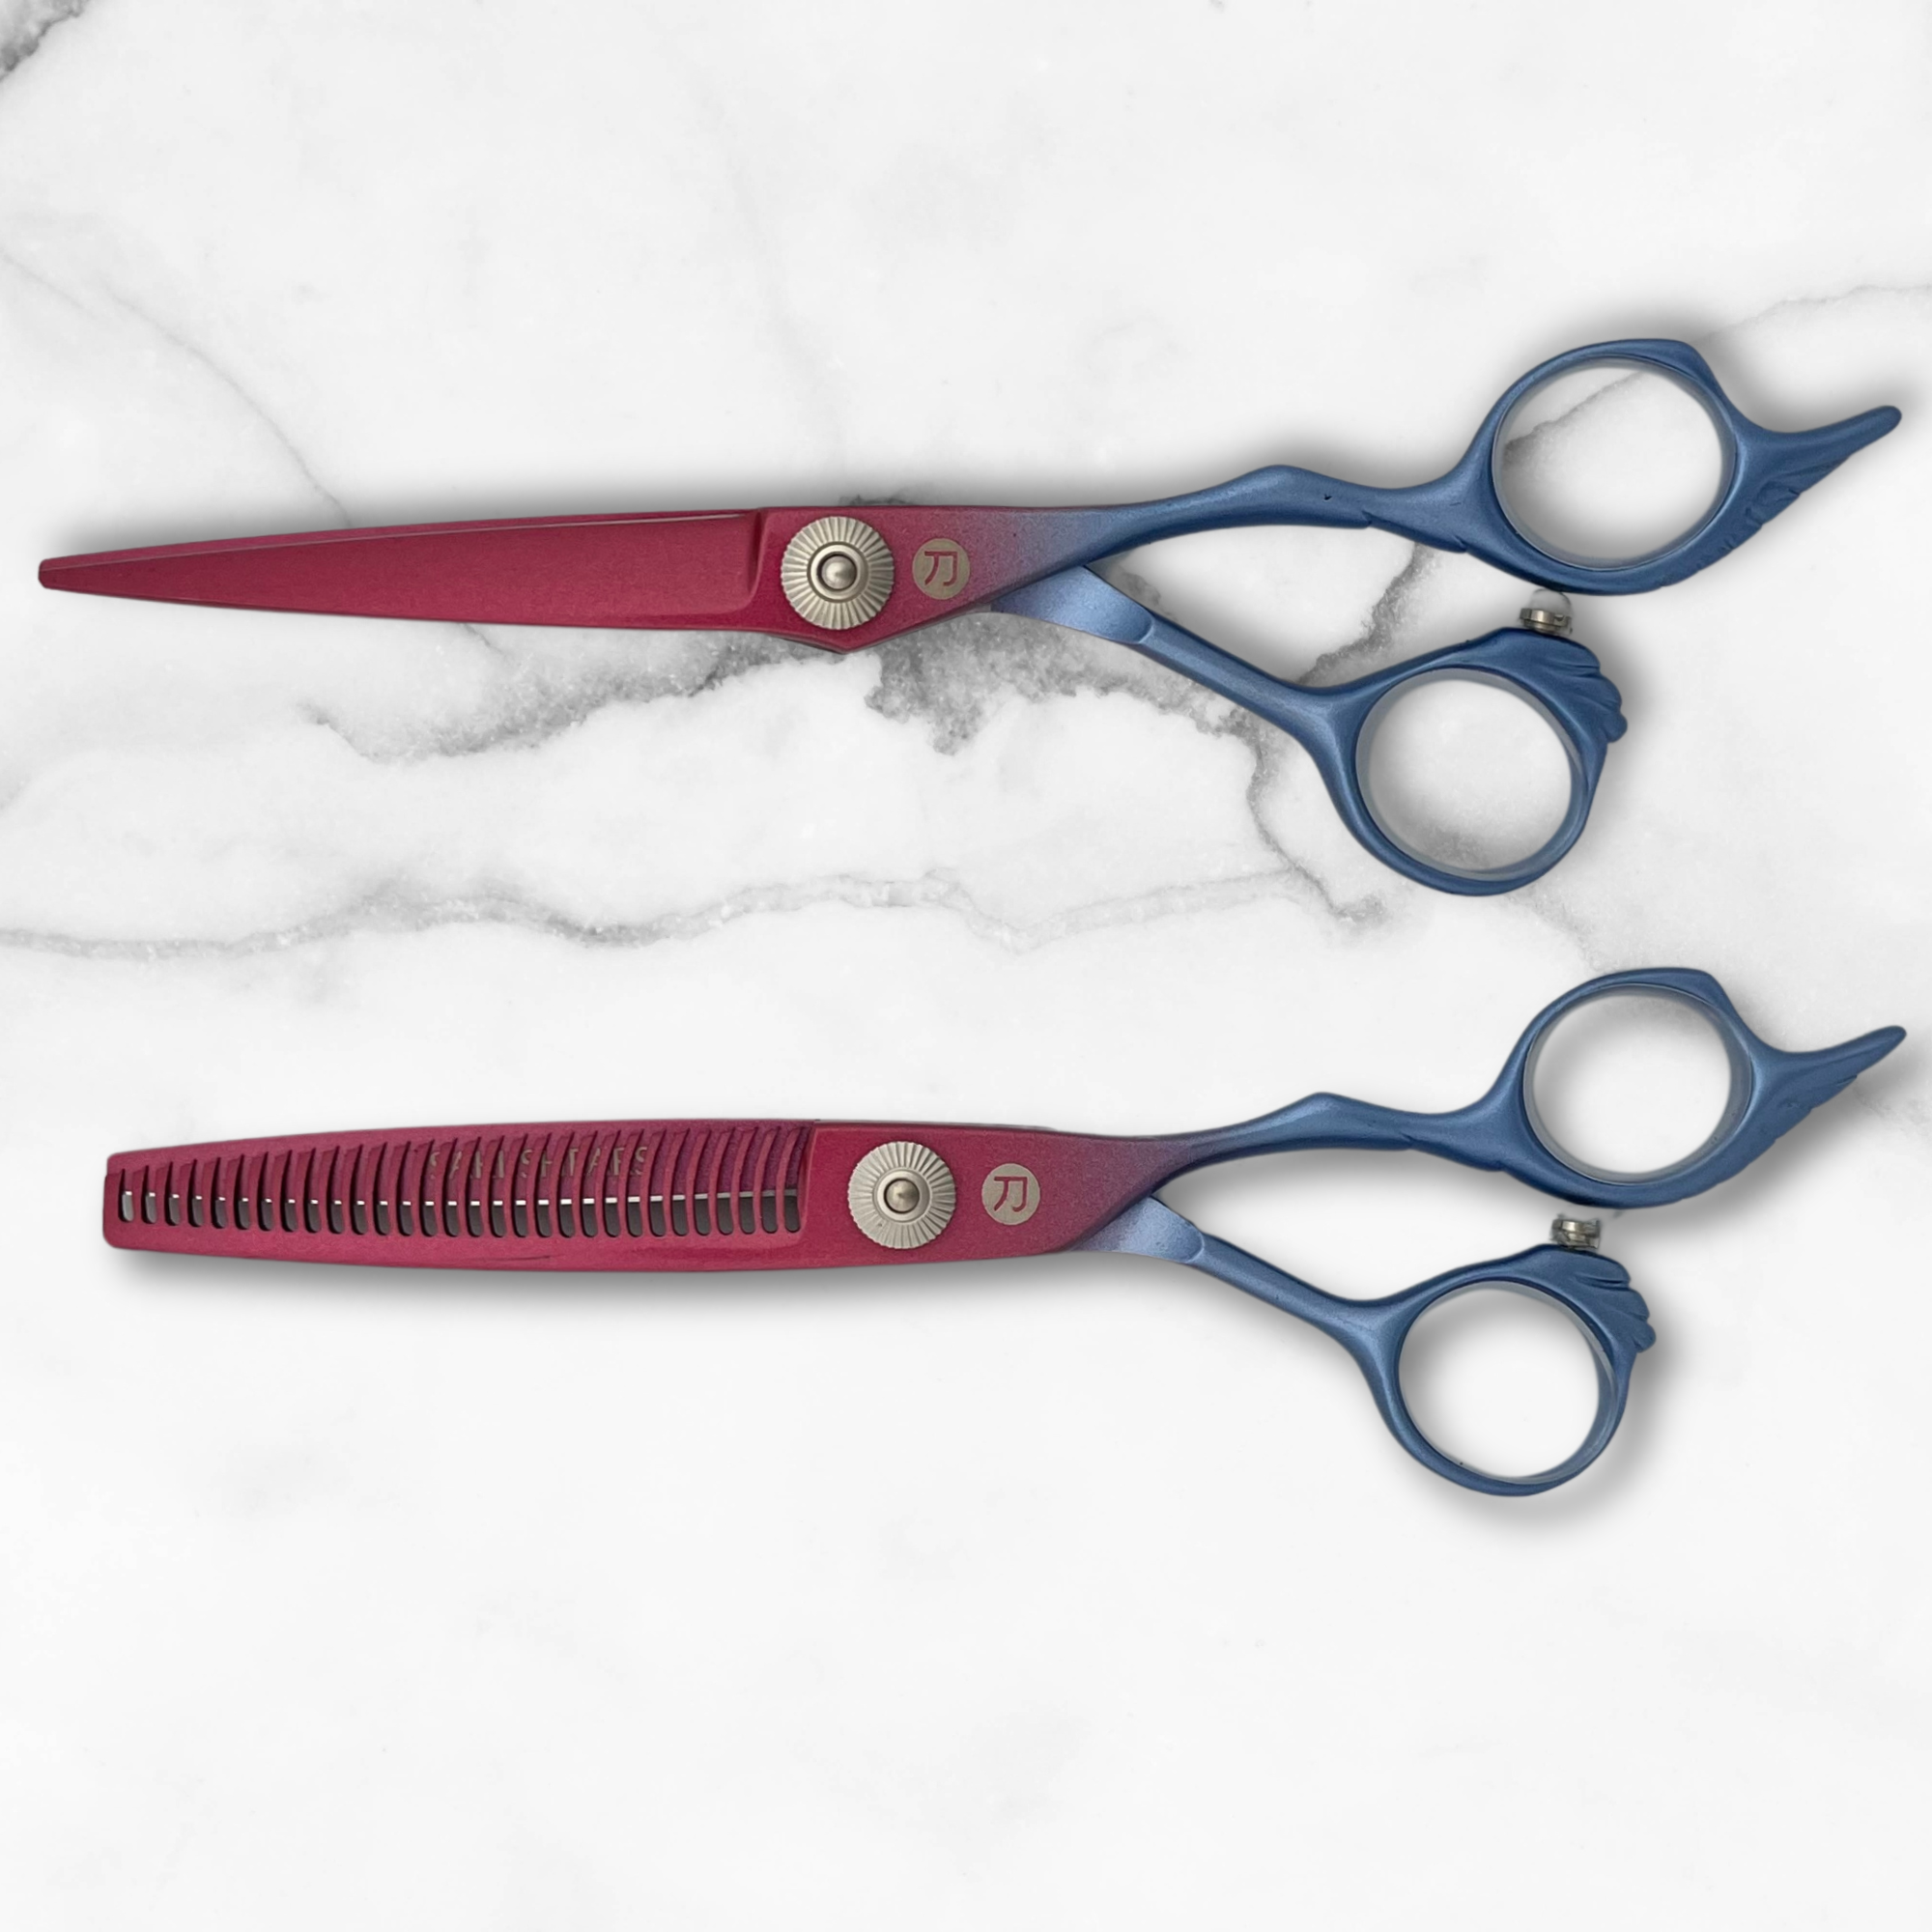
A bob is the most honest haircut you can put on a client. There are no layers to swallow an uneven section, no curl pattern to blur a drifted line — just a single weight line that either sits level or doesn't. The difference between a bob that photographs well and one that gets "fixed" at another salon usually comes down to three things: how you control elevation, how you handle the hair around the ears, and whether your shears can actually close cleanly through a full section. This guide works through all three, shape by shape, with the techniques educators teach for keeping a perimeter sharp. Tool choice carries more weight here than in almost any other cut — a clean line starts with a blade that closes through the full section in one stroke, the job a precision-ground convex edge like the Saki Premium Gold set is built for. The shear section below makes that concrete.
Why a Bob Shows Every Mistake
Most haircuts forgive. A long layered cut hides a quarter inch of drift inside the layers; texture disguises a soft corner. A bob does the opposite — the perimeter is the haircut, and the eye reads it as a single continuous line. One section cut with accidental lift, one piece over-directed toward the back, and the line develops a step or a hole that's visible from across the room.
The baseline rule: a blunt, one-length bob is cut at zero degrees of elevation all the way around the head. Zero means zero — the hair is combed straight down at natural fall and cut where it lives, not lifted, not pulled toward you. Raise the section even slightly and you've built graduation into a cut that's supposed to have none. That's the core discipline behind every clean bob, and it's harder than it sounds because hands naturally want to lift hair to "see it better." For a client-facing look at where the blunt shape sits right now, see our piece on the jawline bob — then come back here for the full shape family.

The Four Bob Shapes and What Each Demands
You know the four shapes; what separates them in practice is where each one breaks. A blunt bob breaks at the ears, a graduated bob breaks on inconsistent per-section elevation, an A-line breaks when the left and right angles don't match, and a textured bob breaks when the texture goes in before the line is proven. The table puts each shape's failure point next to its geometry — worth a glance before the consultation, because the most common consultation failure is cutting a blunt line when the client's reference photo was a graduated shape with soft weight.
| Shape | Elevation | Line | Hardest part |
|---|---|---|---|
| Blunt / one-length | 0° | Horizontal, parallel to the floor | Keeping zero elevation at the ears |
| Graduated | Low, held identical section to section | Stacked weight through the back | Consistent elevation per section |
| A-line / angled | 0° | Diagonal-forward, shorter at the nape | Matching the angle on both sides |
| Textured / lived-in | 0° baseline, texture added after | Clean line, softened edge | Resisting texture before the line is set |
The table's last row carries the rule that trips up newer stylists most: a textured bob is still a precision bob underneath. You cut the clean baseline first, confirm it's level, and only then soften the edge. Texturizing a crooked line doesn't hide the crook — it makes it permanent, because now you can't see where the true line was. And these shapes are worth having cold, because bobs keep leading the cuts clients actually ask for.
Before You Cut: Mapping, Sectioning, Posture
Sassoon-trained educators teach bob prep as its own stage, and it starts before the shampoo. Map the head twice — once dry, once wet: hairline shape, growth direction at the nape, cowlicks, and the bone structure the line will sit against. A strong downward growth pattern at the nape behaves completely differently from swirled growth, and you want to know which one you're cutting before the first section, not after the line jumps. Behind The Chair's 10 tips for cutting a perfect bob collects this mapping discipline from Sassoon regional creative director Traci Sakosits, and it's worth the read in full.
Sectioning follows the shape you intend to cut: once the perimeter is set, every section runs parallel to that intended line, kept small and consistent — at the perimeter, no deeper than about half an inch, thin enough that the comb controls every strand. Oversized sections are a false economy: the interior hair in a thick section escapes the comb's control, and you end up with a soft, furry line instead of a crisp one.
Then there's the part no one can see in the finished photo: the client's body. Legs uncrossed, back straight, head tipped slightly forward only while you work the nape, then brought up gradually with each section so it's nearly upright by the top. A client slumped over their phone changes where the hair falls against the neck — cut through that posture and the front comes up shorter than either of you planned. Check posture before every section at the perimeter. It costs five seconds and saves a quarter inch you can't put back.
Cutting the Back: Natural Fall and the Mastoid Landmarks
The back of a bob is where the cut is won or lost. Houston educator Chris Jones, in Behind The Chair's breakdown of perimeter cutting mistakes, lays out two rules that do most of the work at this stage.
First: comb every section straight down at natural fall — the direction the hair actually grows out of the head — and cut against the skin rather than holding the section between your fingers. Fingers add tension, tension stretches hair, and stretched hair springs up into a jump when it dries. For dry perimeter work, use a wide-tooth comb; fine teeth grab and drag hair out of natural fall, which is how holes appear in a line that looked straight while you cut it.
Second: know your landmarks. The mastoid process — the knob of bone you can feel directly behind the ear — divides the haircut. Mastoid to under the chin is the side; mastoid to the nape is the back. Why it matters: hair in front of the mastoid falls toward the side of the neck. Comb it back toward the spine and cut it there, and you've over-directed it — it reads as graduation the moment it falls where it actually lives. Cut each zone in its own fall, and stand directly in front of the section you're cutting, moving your body around the chair so you stay parallel to the line. Reaching around from the back to cut the sides is how a level line grows wings.
The Ear Jump: The Most Common Bob Failure
Every stylist who cuts bobs knows the signature failure: the line is level everywhere except a lifted step right below the ear. The cause is geometry, not carelessness. Hair above the ear has to travel over the ear before it falls — that journey eats length. Cut it to the same line as everything else under full tension and it lands short.
The fix Jones teaches: create slack before you cut. On wet hair, tap the comb above and below the ear so the section relaxes over the ear's curve, and accept that the hair there must be left slightly longer — a matter of millimeters, not half-inches — to fall onto the same visual line, even if it leaves a small tag of length behind the ear while the hair is combed flat. The tag disappears when the hair falls naturally. What doesn't disappear is a jump — and a jump pulls the eye straight to it, which leads to the over-cutting spiral: chasing the short spot around the head until the bob is two inches shorter than the consultation agreed.
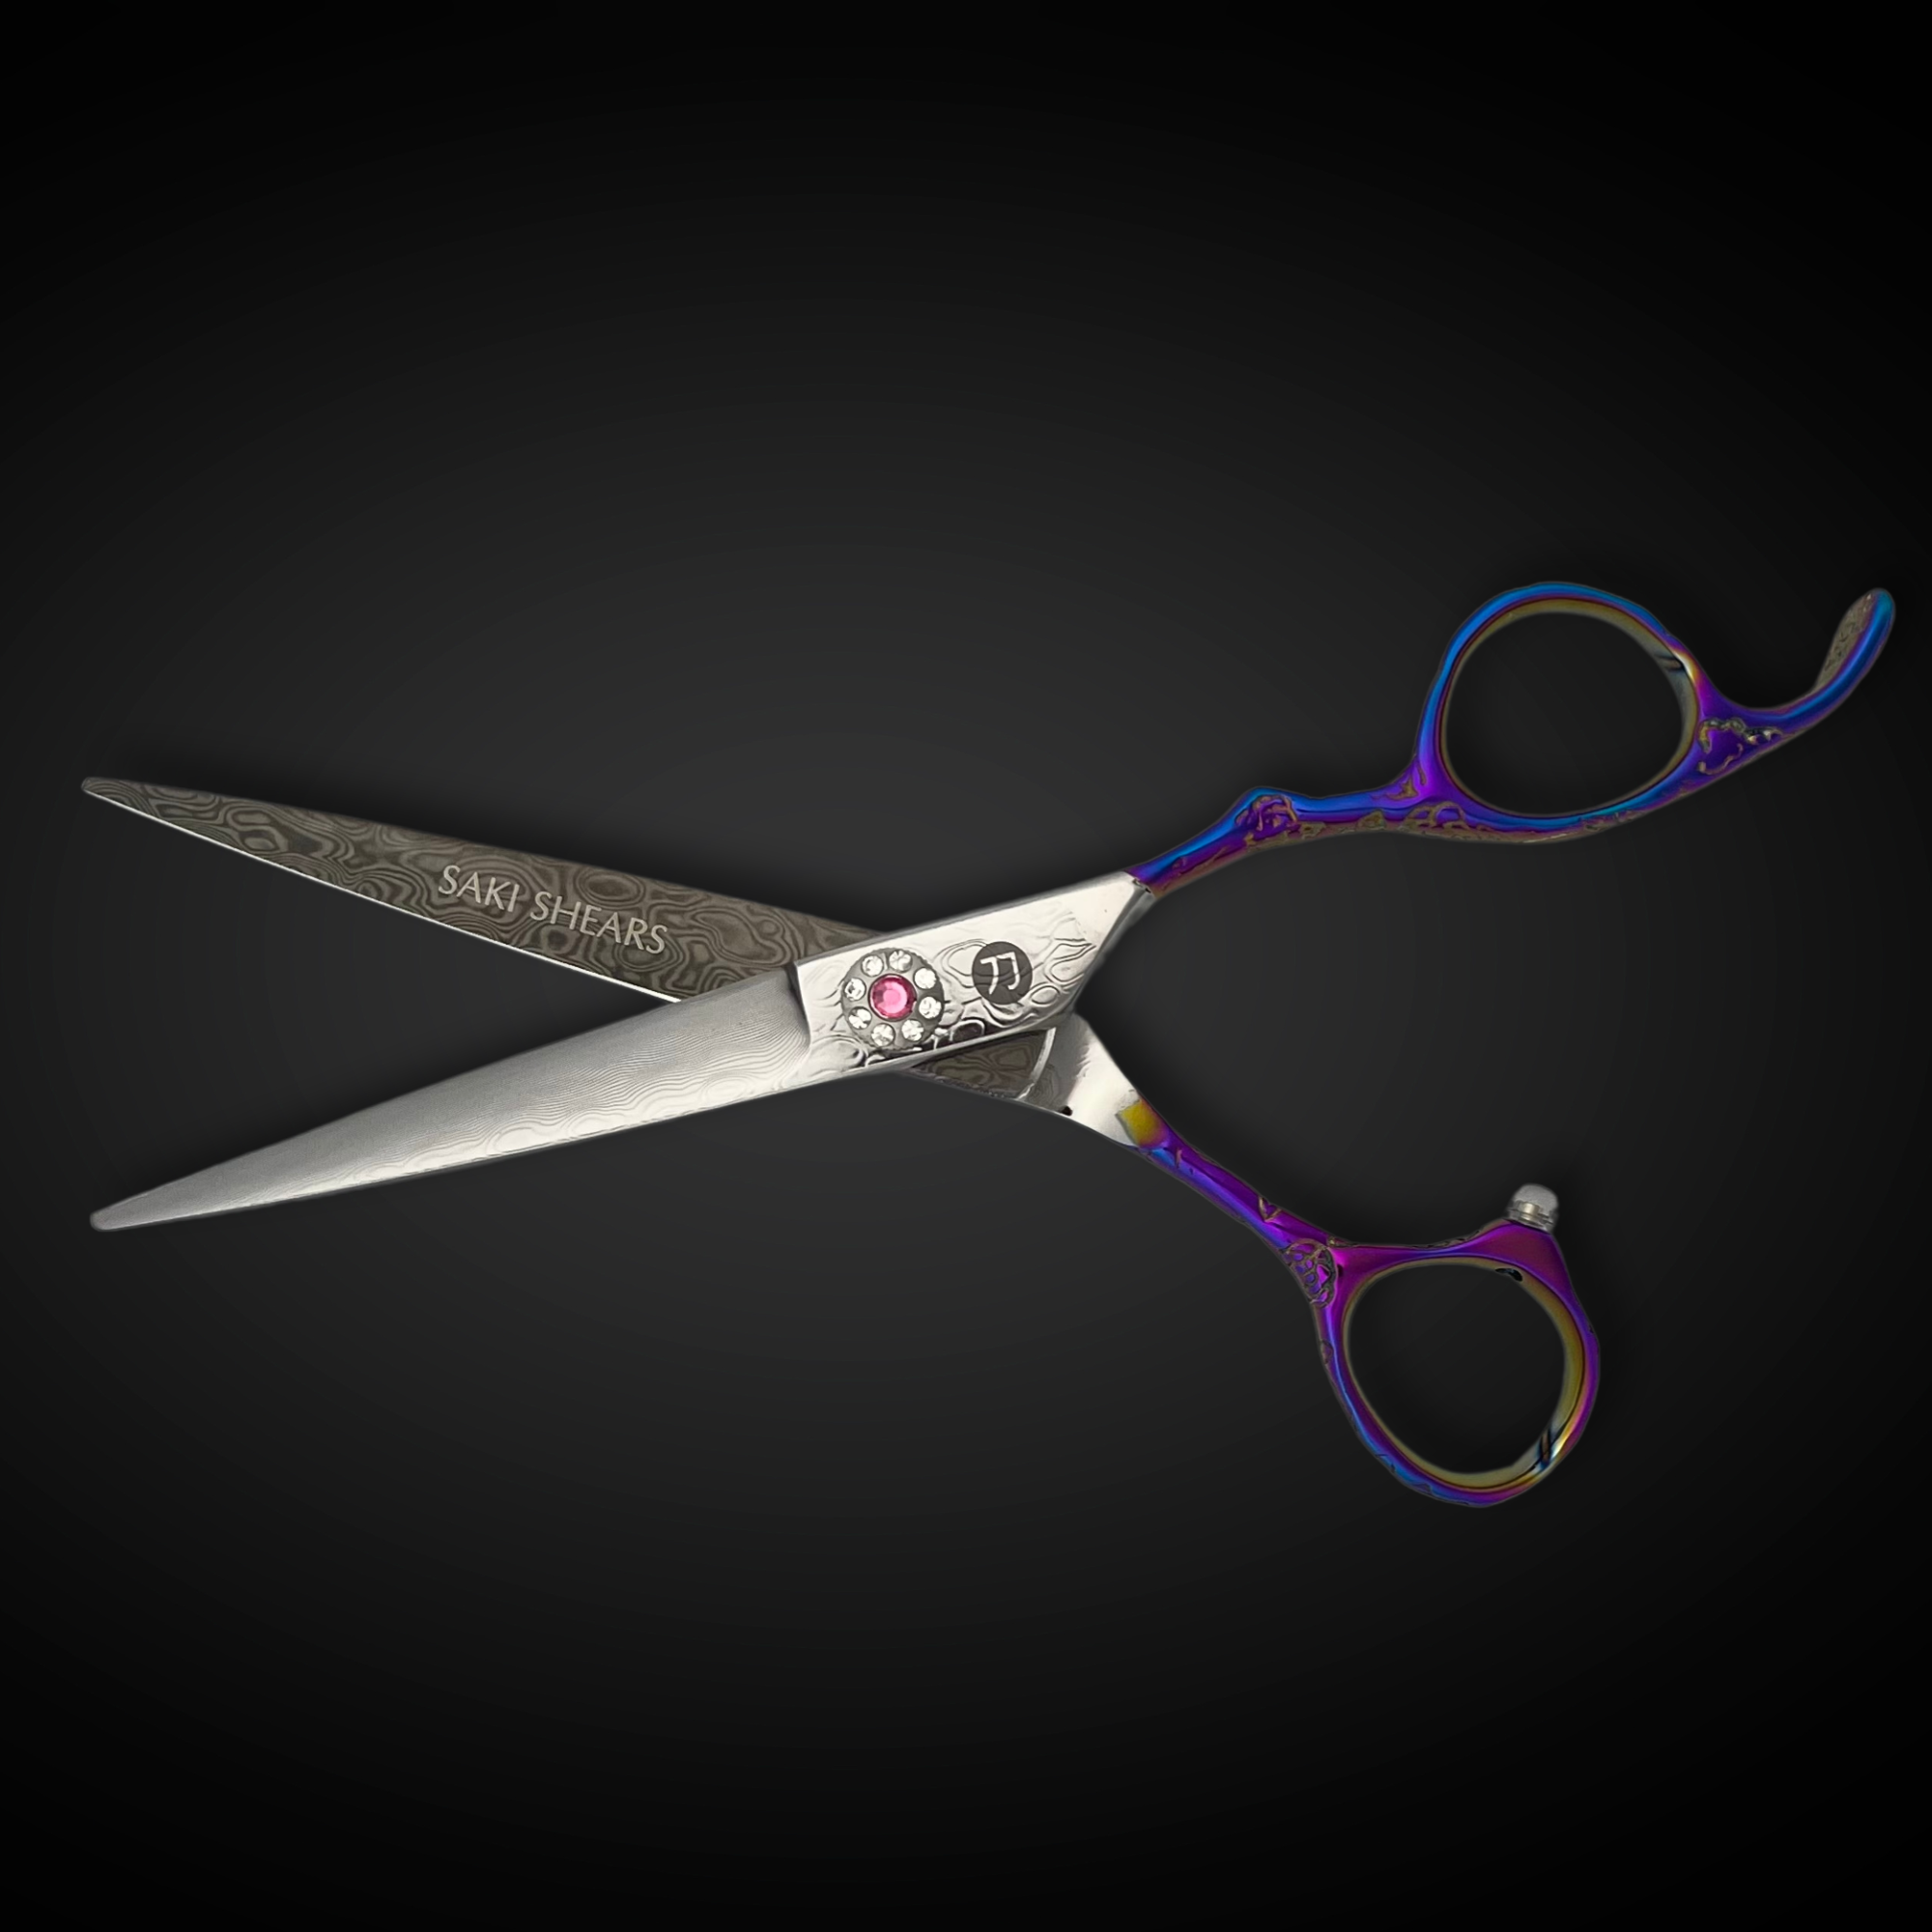
This is also where blade quality stops being an abstraction. Working the curve around an ear means short, controlled closures right against the skin. A convex-edge blade hardened to 59–61 HRC, like the 5.5-inch Saki Katana, closes through those small sections without pushing hair ahead of the blade — the pushing is what turns a controlled trim around the ear into an accidental notch.

Bob Haircut Shears: Length, Edge, and Steel
Blade length is the first decision, and it's a straight trade-off. A shorter blade — 5.5 inches — gives more control through the curved sections of the perimeter: the nape, around the ears, the corners where back meets side. The cost is speed on long straight runs. A 6-inch blade takes more hair per closure, so the long diagonal of an A-line comes together in fewer bites — and every closure you don't make is one less place to leave a step. The trade: it's clumsier in the tight work below the ear. Most bob specialists keep both lengths on the station and switch mid-cut. If you're still settling your default length, our shear size guide walks through the hand-measurement side of the decision.
Edge type is less negotiable. Blunt-line work rewards a convex edge: it slices through a full section in one smooth closure, where a serrated or worn edge grips and bends hair as it cuts, leaving micro-steps along what should be a solid line. Steel hardness is what keeps that convex edge alive between sharpenings — Saki grinds its Japanese 440C to 59–61 HRC and its VG10 cobalt steel to 60–61 HRC for exactly that reason.
| Shear | Steel / hardness | Size | In a bob, use it for | Price |
|---|---|---|---|---|
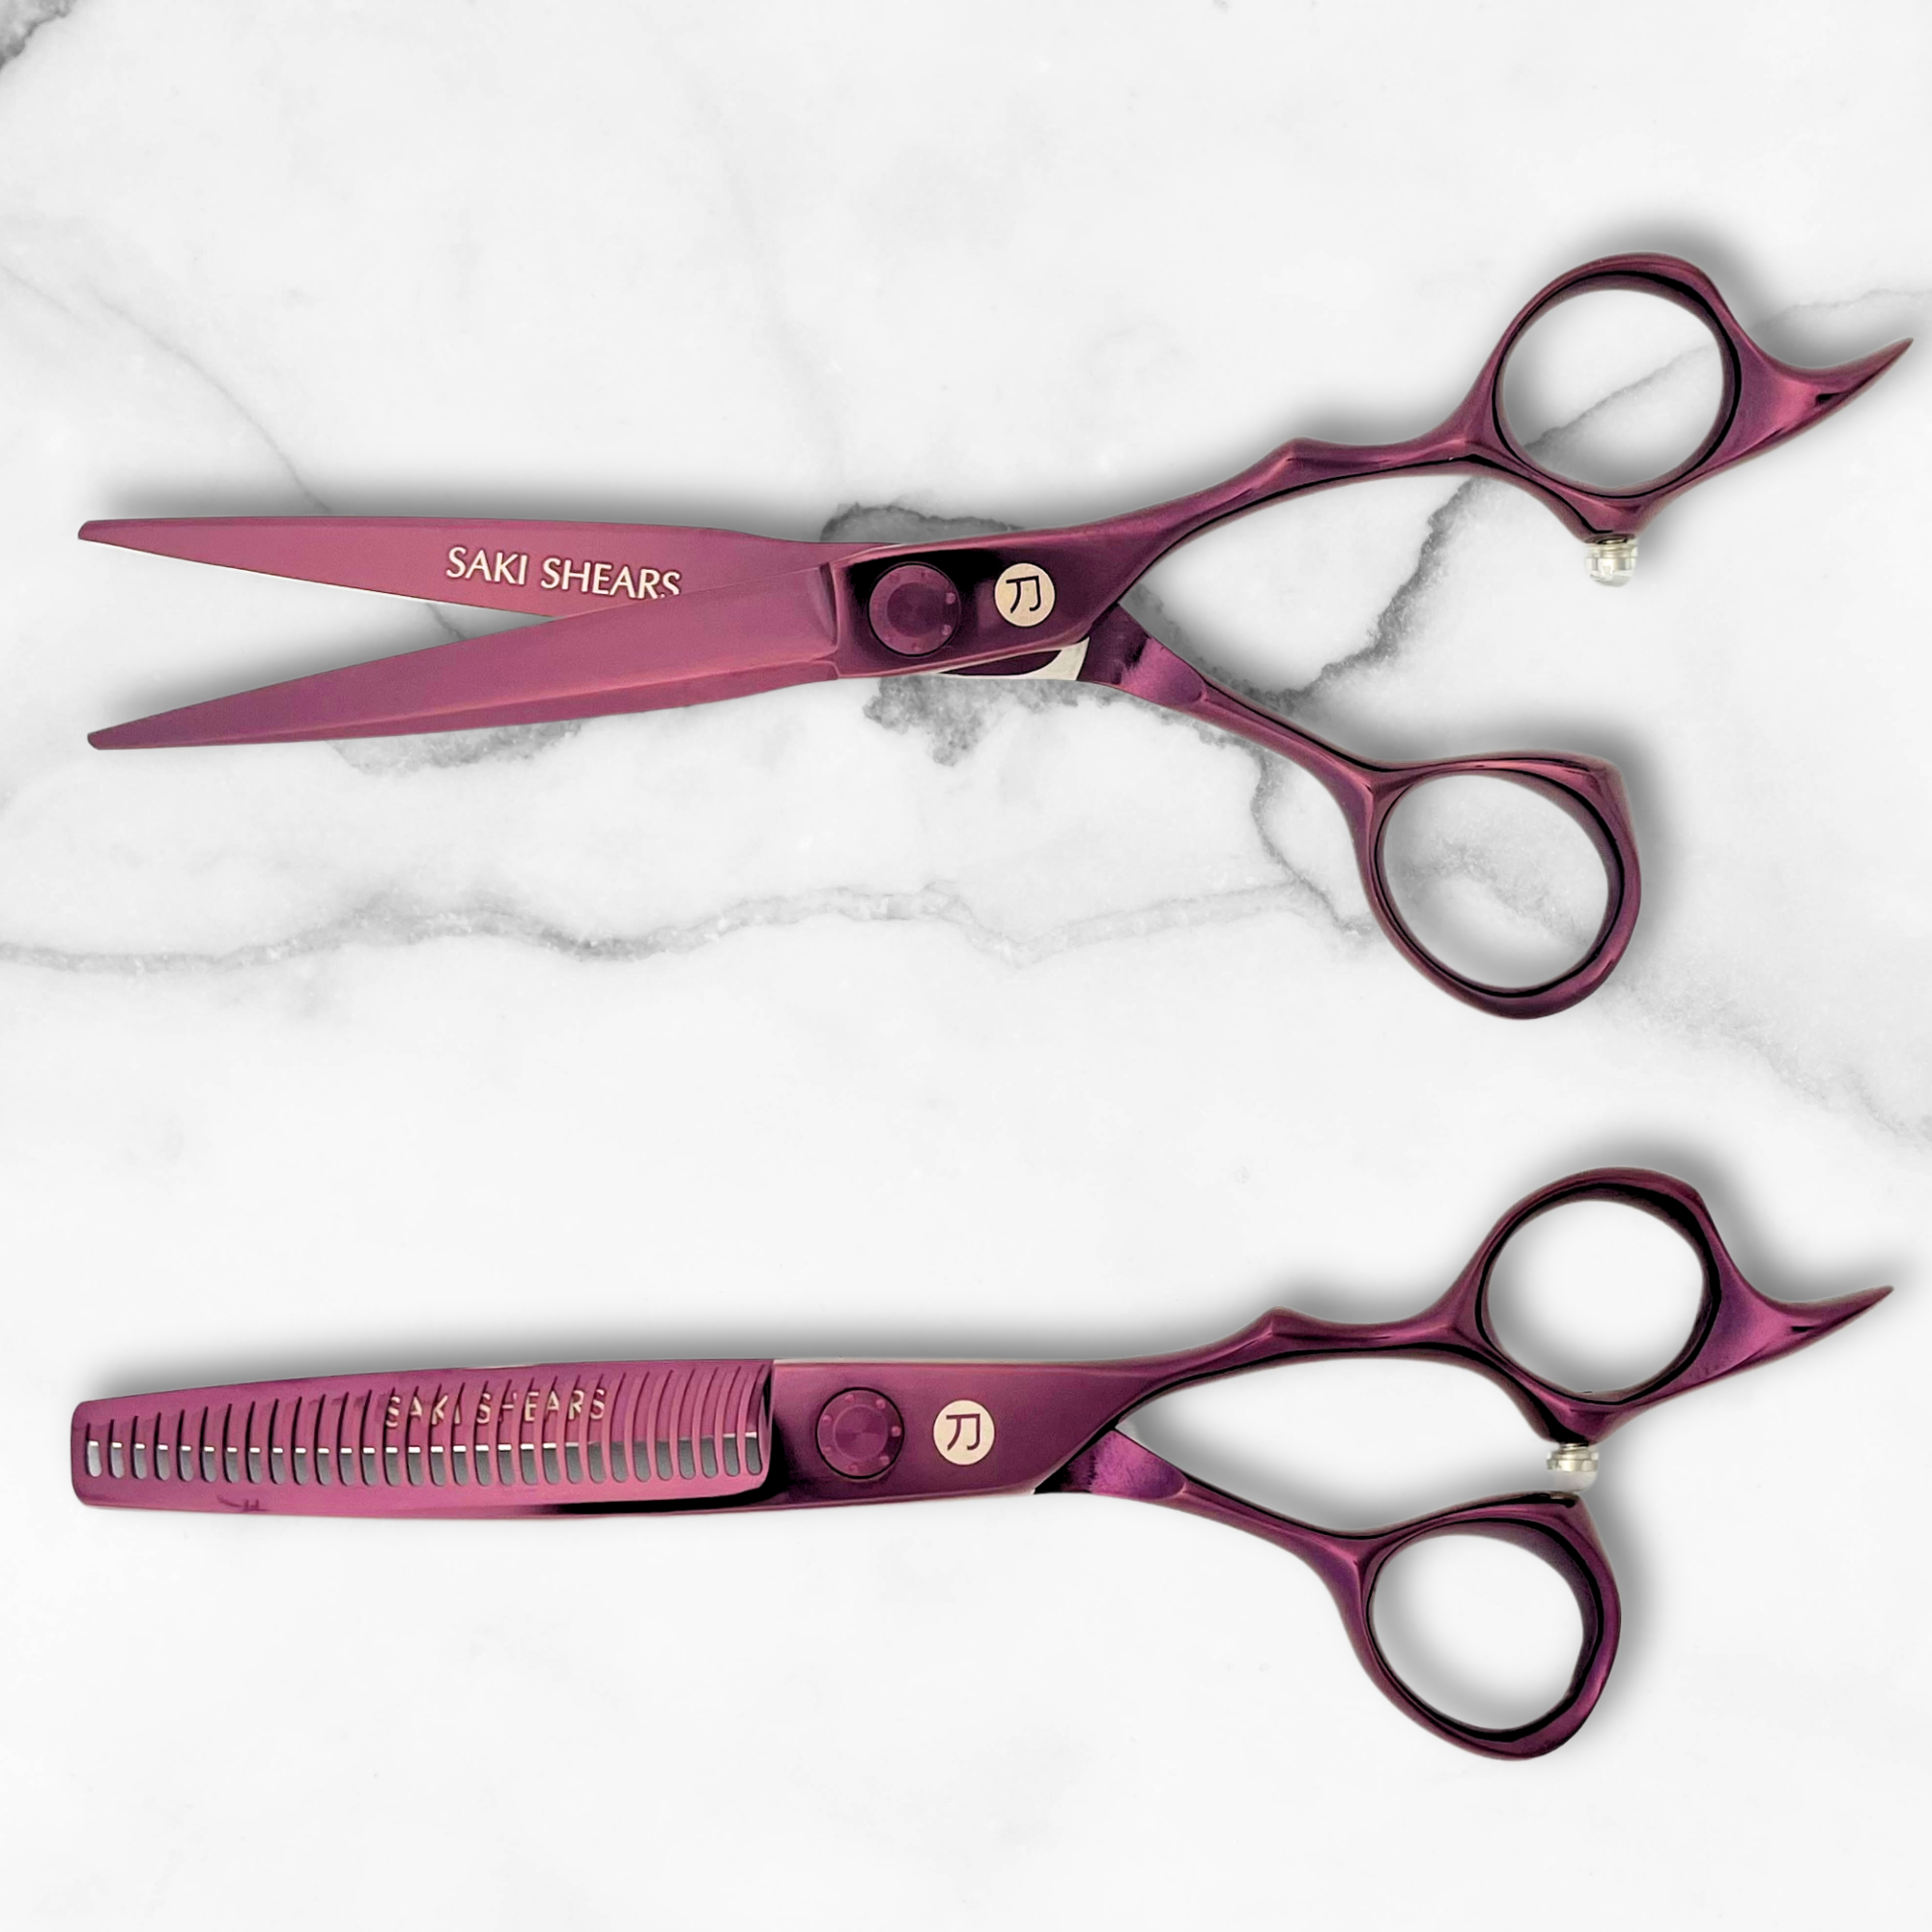
| Premium Gold set | VG10 cobalt, 60–61 HRC | 6" | Long straight perimeter runs; includes matched thinner | $350 |
| Katana | Japanese 440C, 59–61 HRC | 5.5" | Nape and around-the-ear control work | $199 |
| Kotaro | Japanese 440C, 60–61 HRC | 5.5" or 6" | Value pick in either length; removable finger rest | $189 |
| Sakura swivel | Japanese 440C, 60–61 HRC | 5.5" | Flat-wrist nape cutting with a dropped elbow | $189 |
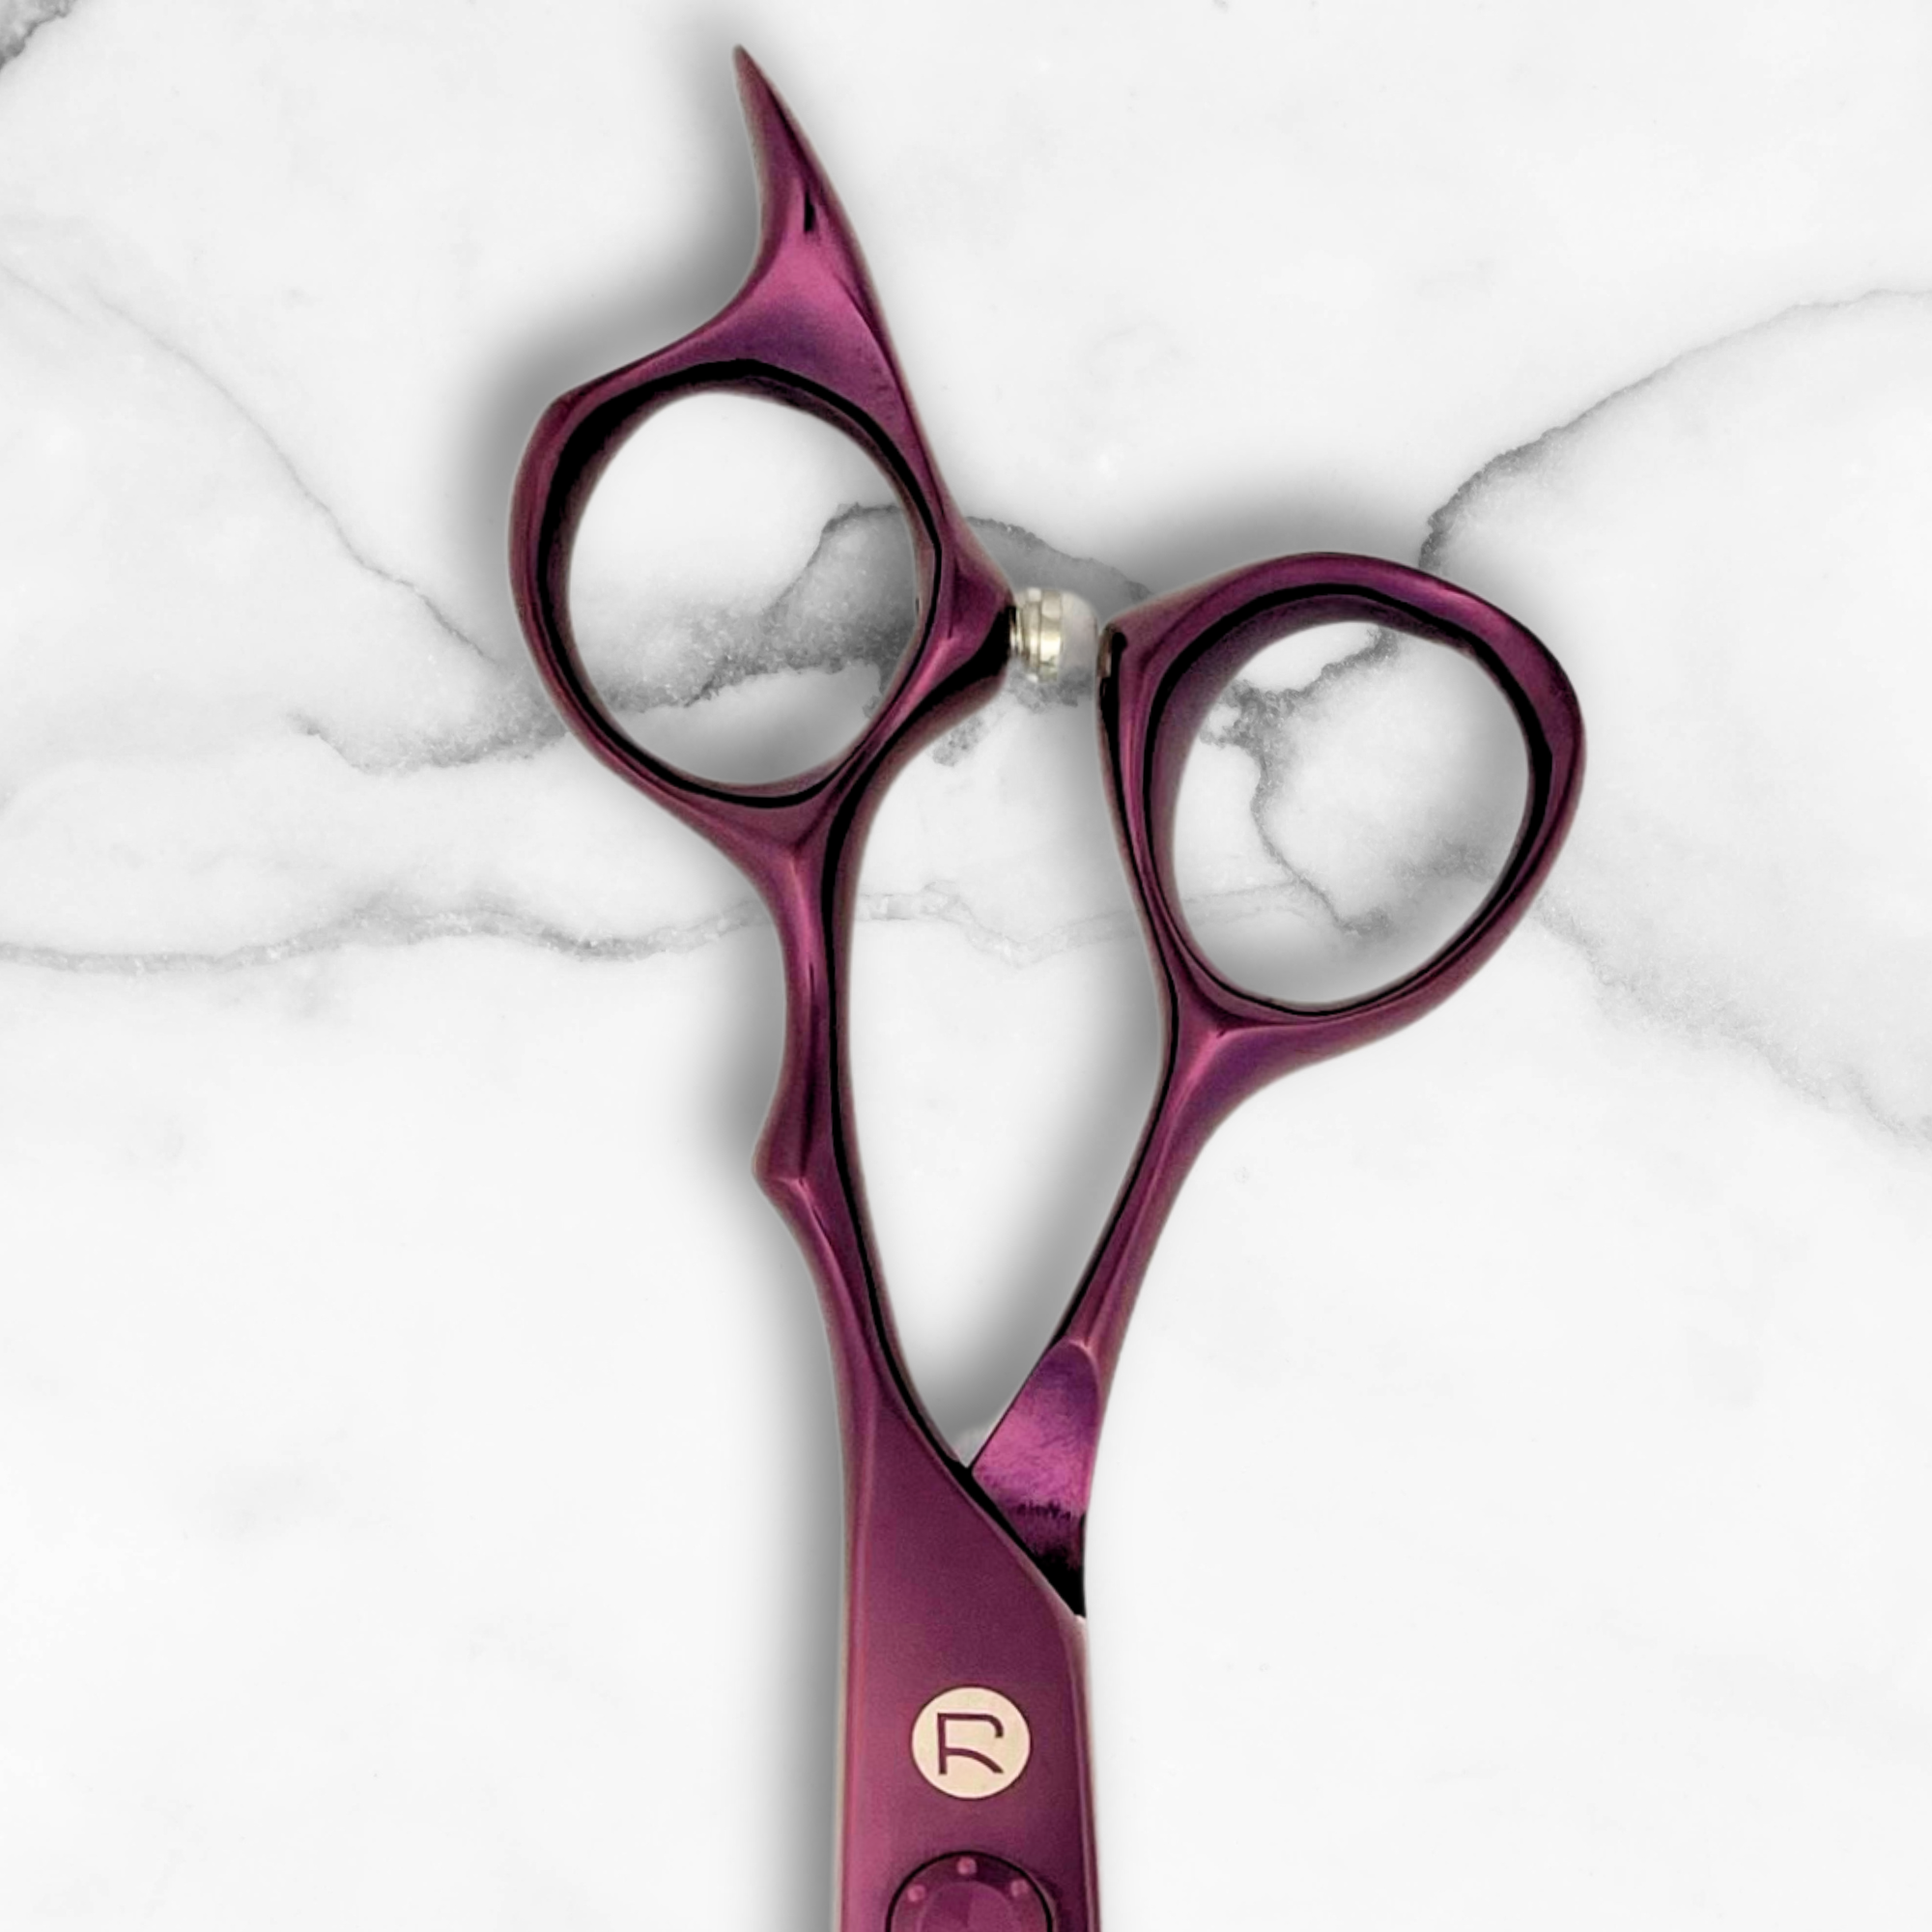
Two of these deserve a word on ergonomics, because bob perimeters are cut low. Working the nape with a conventional handle forces the elbow up and the wrist into flexion — fine for one cut, costly across a column of them. The Kotaro's offset handle with removable finger rest keeps the wrist more neutral, and the Sakura takes it further with a 360-degree swivel thumb that lets the elbow drop fully while the blade stays level against the nape. The trade-off with a swivel is a learning period — the thumb ring moves under load, which feels unstable for the first week before it feels indispensable.


Finishing: Cross-Check Dry, Detail With Intention
A bob isn't finished when the last wet section is cut. Blow-dry through the same sections you used to cut, starting at the nape, and check the line as each section dries — not after the whole head is done. Hair shrinks and springs as it dries, and growth patterns reassert themselves; a line that was level wet can land uneven dry, especially over strong nape growth — the mechanics behind that are in our comparison of dry cutting and wet cutting. The final check happens at natural fall with the client sitting the way they actually sit: look for unwanted graduation at the sides, confirm the corners match left to right, and check the line from across the room, not just up close in the mirror. Budget real time for this: the dry cross-check is ten unhurried minutes, not two, and it's cheaper than a redo appointment.
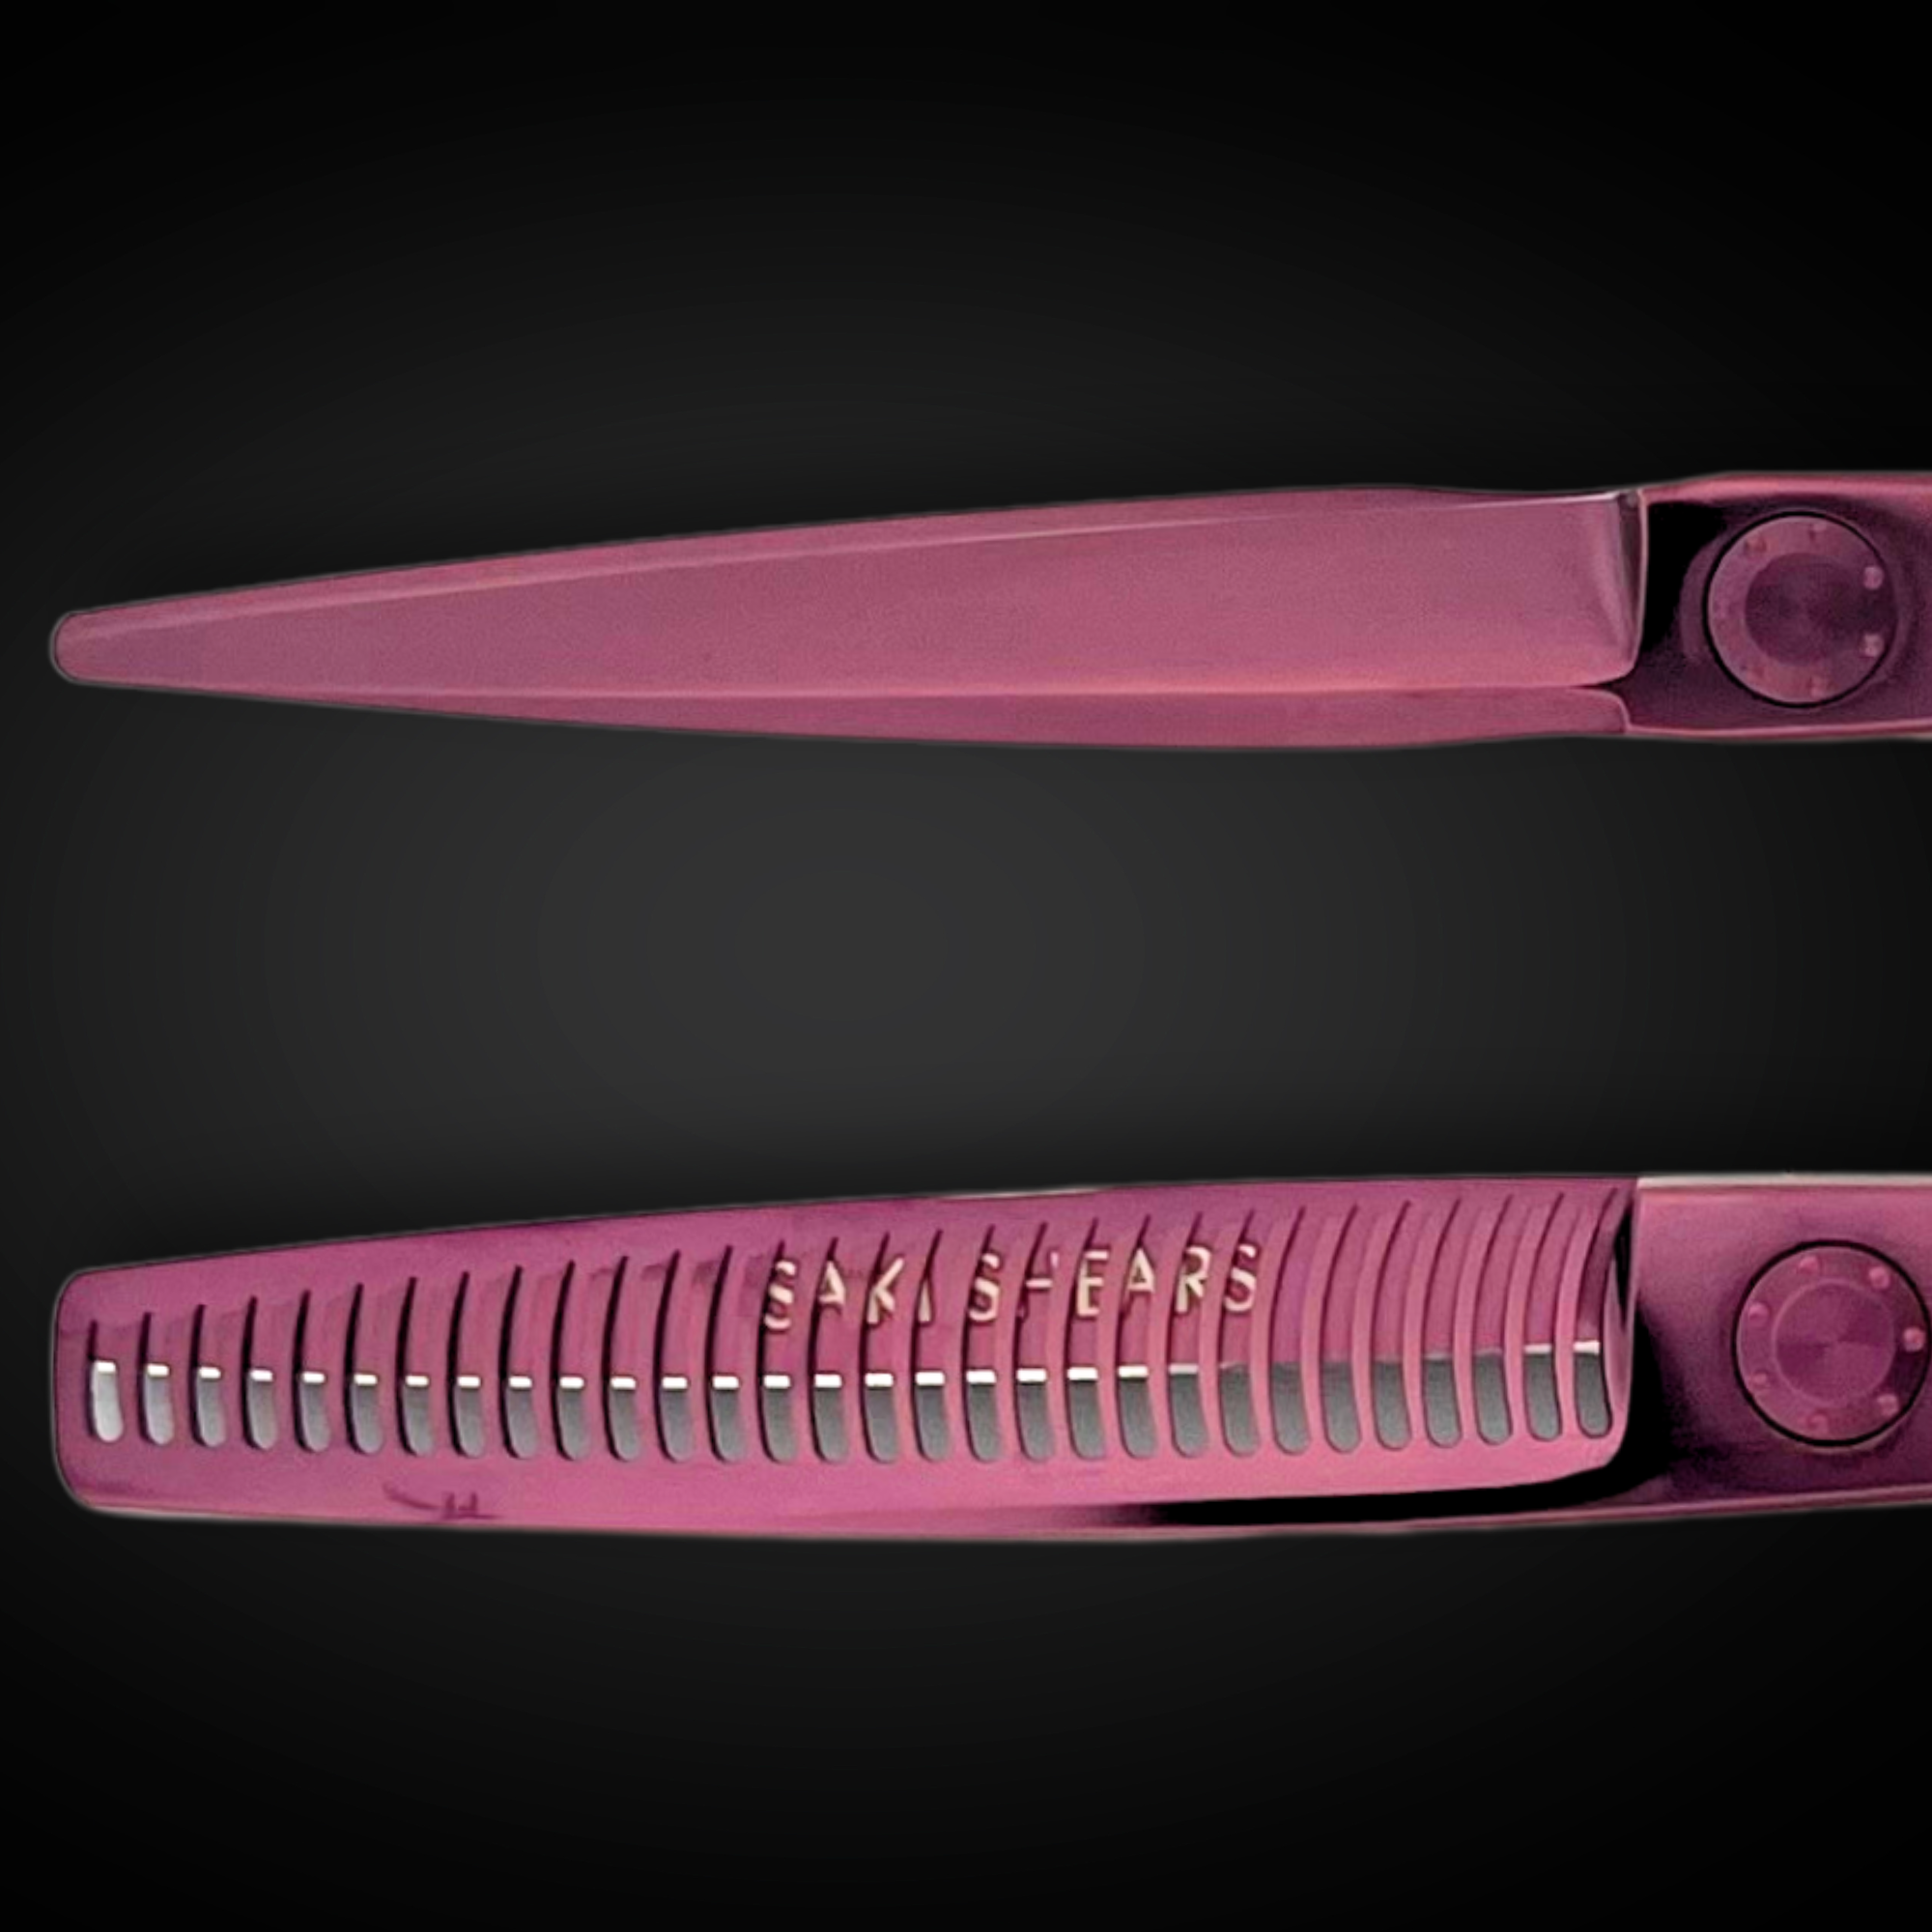
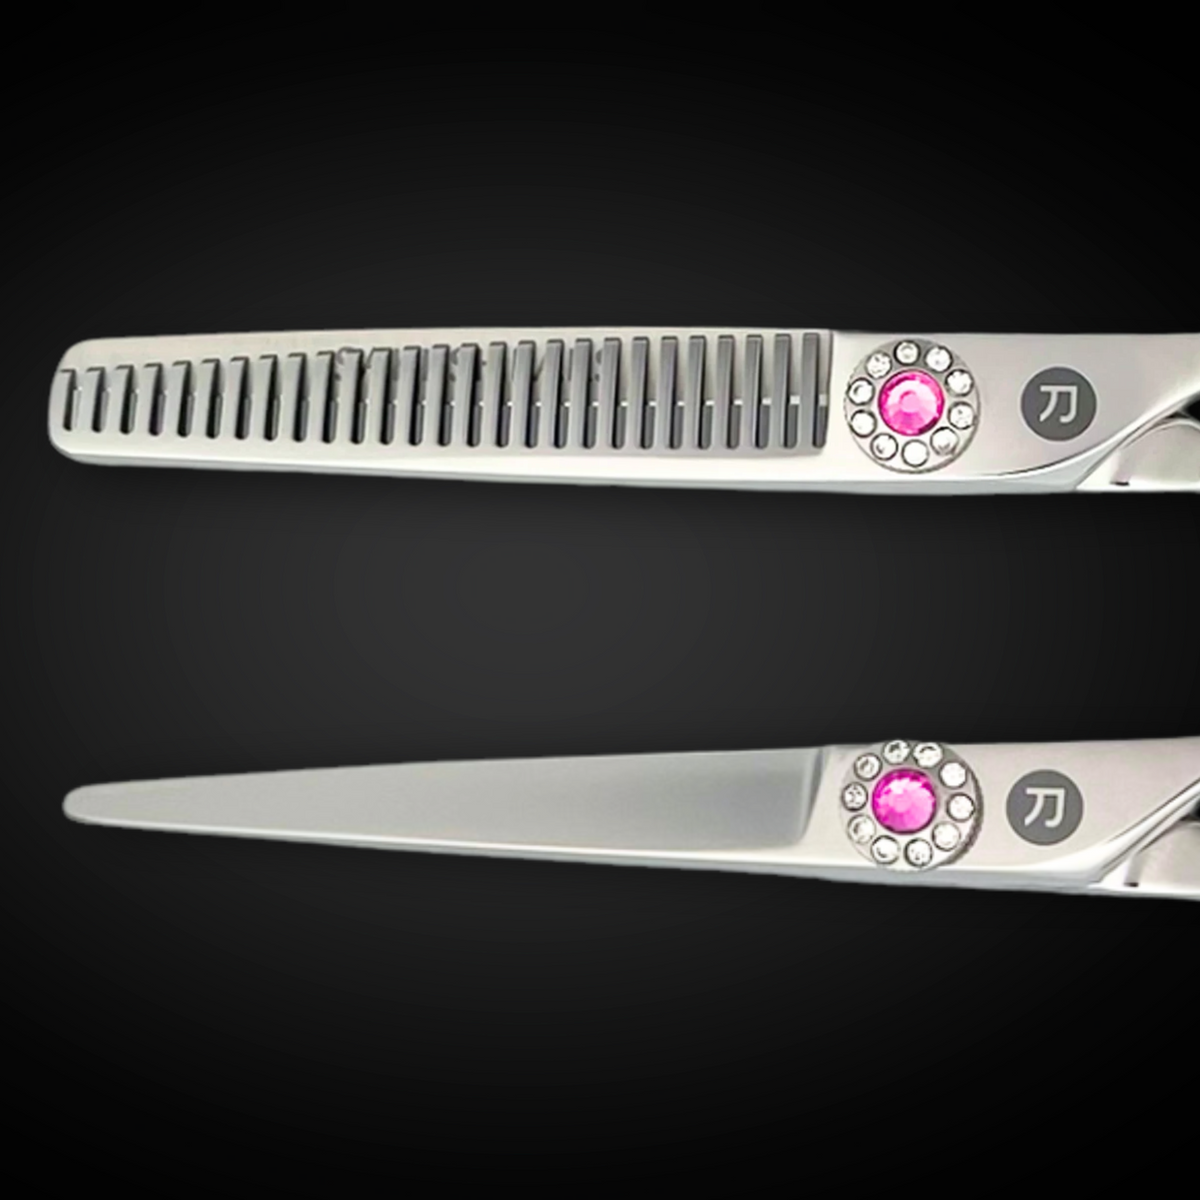
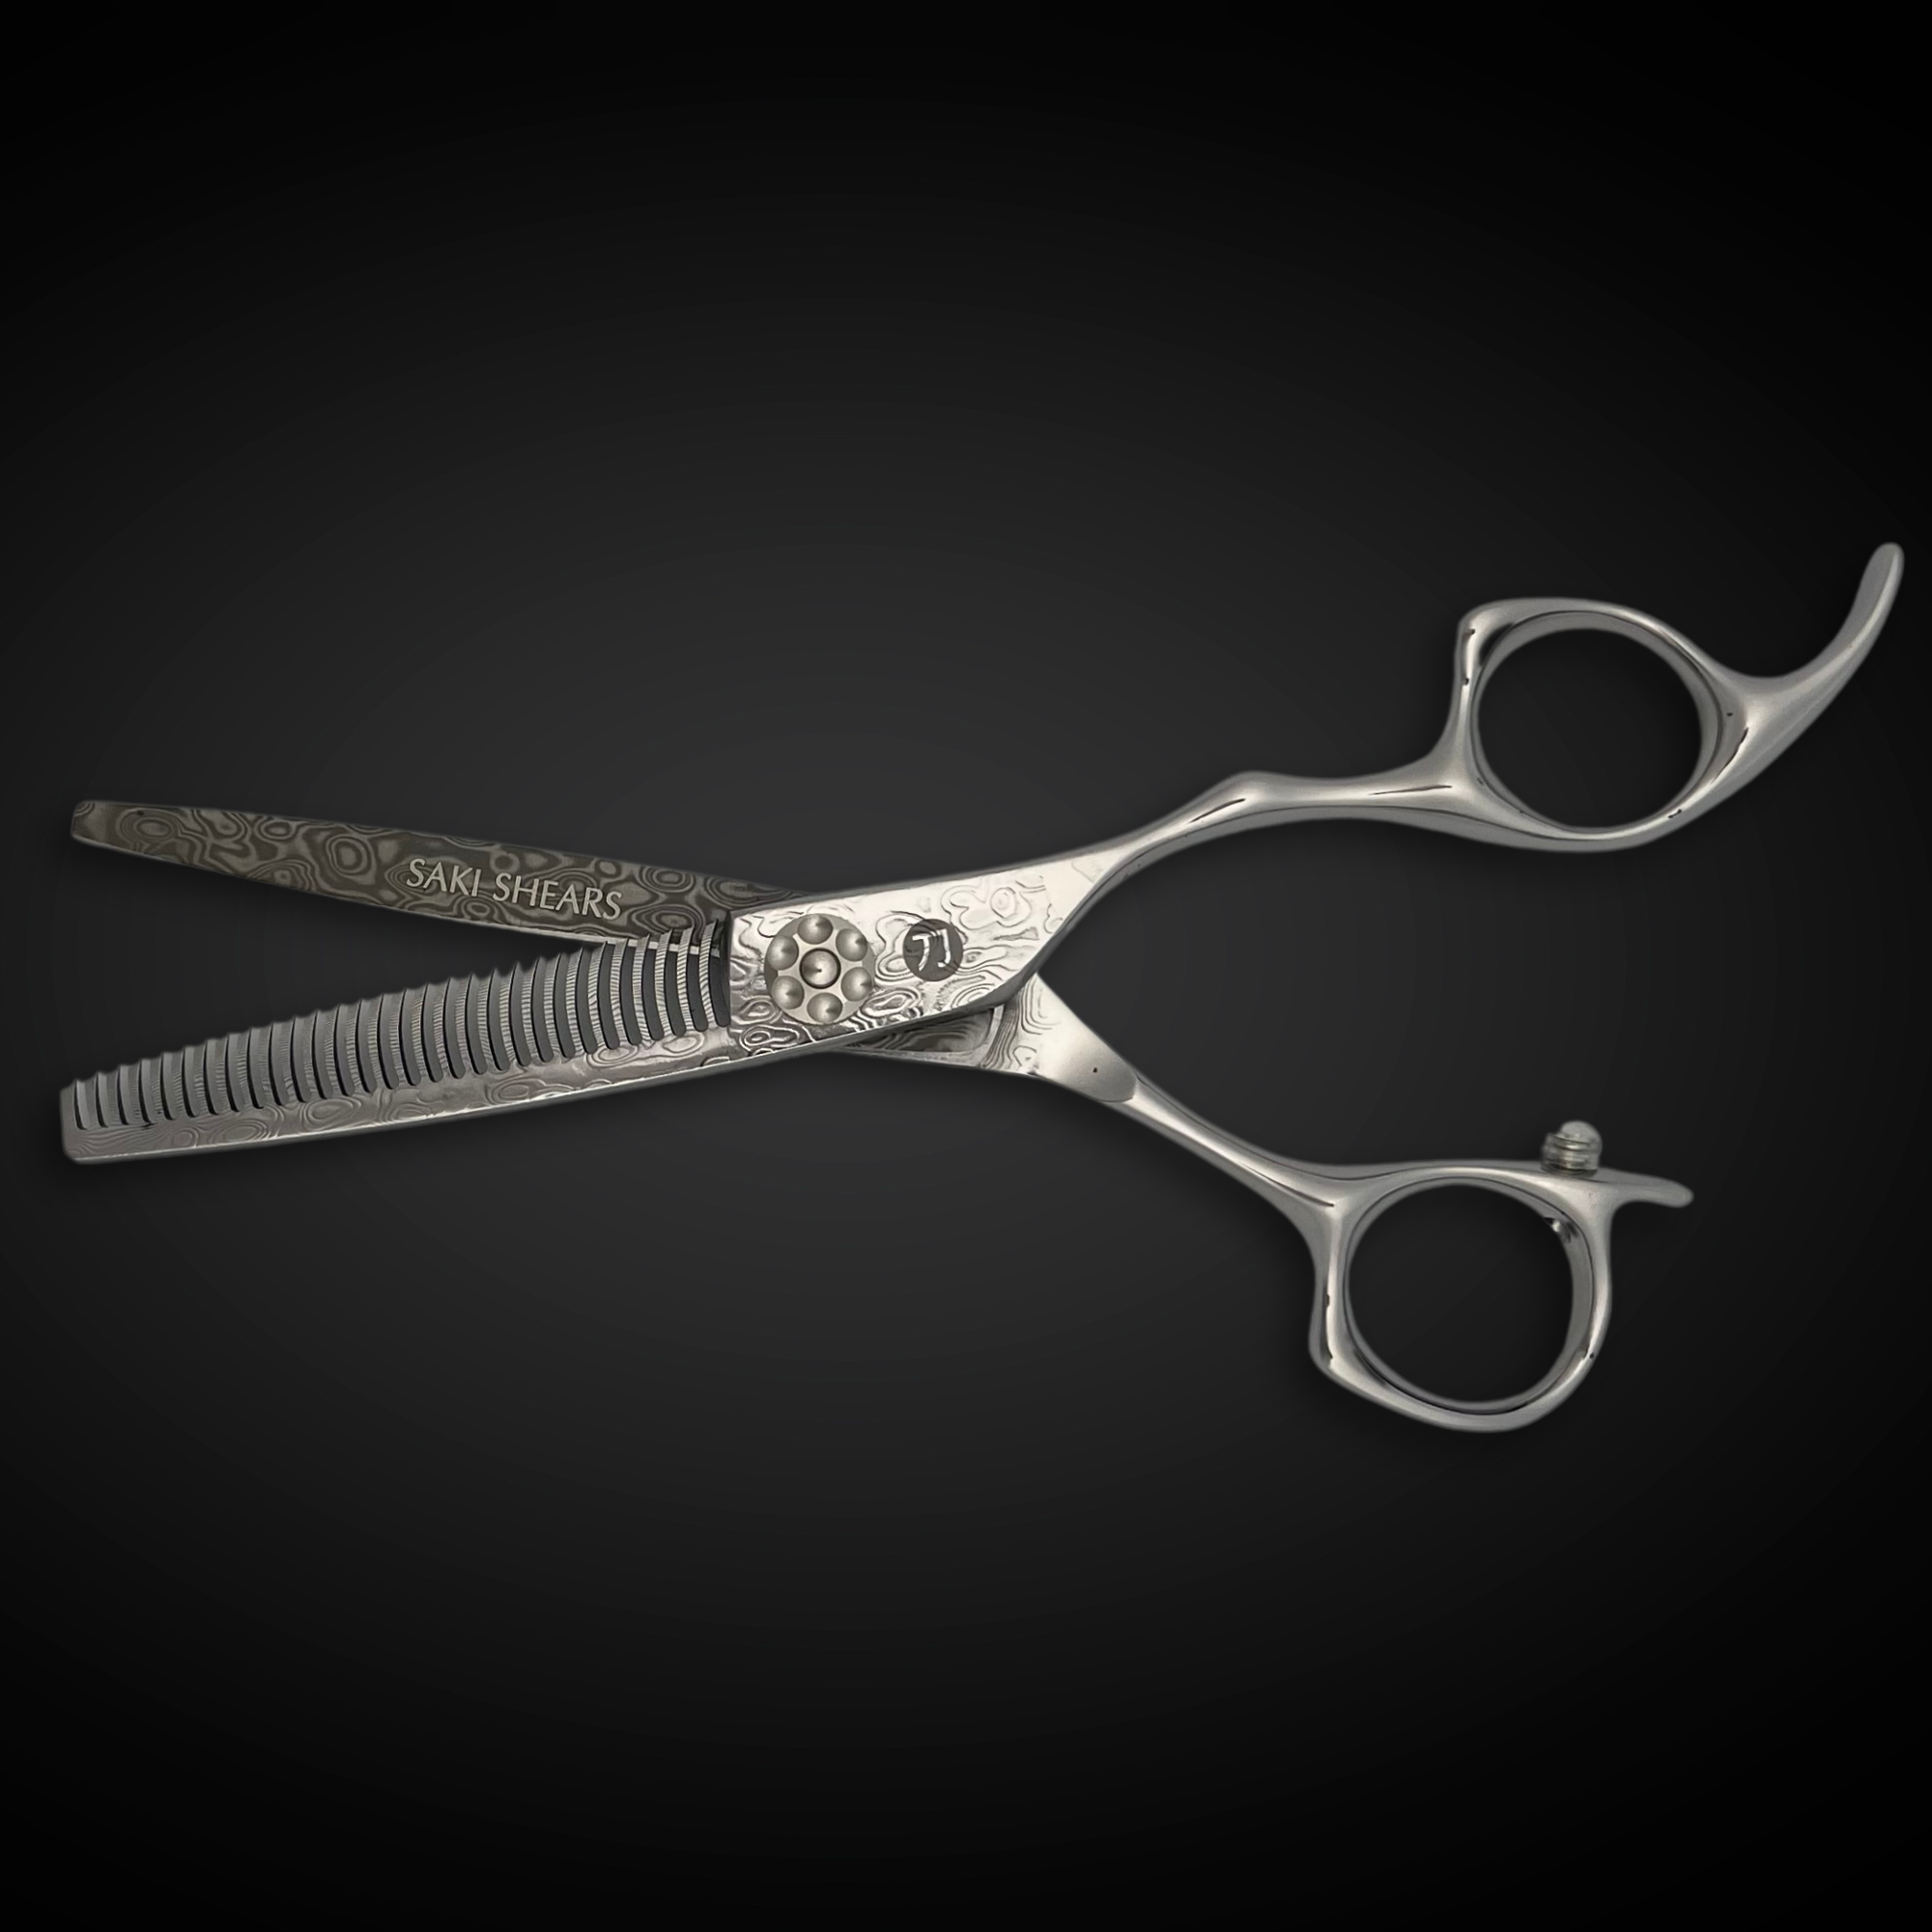
If the shape calls for softness, detail it now — on the dry, confirmed line. Point cut only the last few millimeters of the edge to break it up without surrendering the shape; anything deeper turns a bob into an accidental layered cut. The decision between keeping the edge solid and breaking it is a style call — what isn't negotiable is making it on a confirmed-level line. For removing bulk above the line in thick-haired bobs — not at the edge — the Premium Gold set's matched thinner — 35 W-shaped teeth, rated by Saki for roughly 25% removal per closure — thins the interior without biting visible chunks from the perimeter.
The 30-Second Check Before the Cape Comes Off
Run this sequence on every bob, in order, while the client is still in the chair. Stand behind: posture straight, head level — does the line sit parallel to the floor (or hold its intended diagonal) with no step below either ear? Move to each side: comb the side sections to natural fall and look for creeping graduation where there should be none. Stand in front: do the two front corners hit the same point on the jaw or neck, left and right? Then hand over the mirror and watch the client turn — hair moves when the head does, and a flaw that hides at rest shows in motion. Thirty seconds. Any failure sends you back one section, not back to the shampoo bowl.
The Bottom Line
A clean bob is a chain of small disciplines: map the growth patterns before you section, keep the client's posture honest, cut the back at natural fall against the skin, give the ears their slack, and verify everything dry before you call it done. None of it is exotic — it's the consistency that's hard, fifty sections in a row without one careless lift. The tools carry their share of the load too: a short, hard, convex-edged blade that closes clean through a full section removes one whole category of error before technique even enters the picture.
Frequently Asked Questions
Should a bob be cut wet or dry?
The baseline line at the nape can be set either way — what matters more is cutting at natural fall with minimal tension. Wet cutting gives precision on smooth, straight hair; dry cutting shows you the real fall immediately, which is safer over strong growth patterns, cowlicks, and wave. Many stylists set the line wet and do every correction dry. Whichever you choose, the cross-check always happens dry.
Why does my bob jump up above the ears?
Because the hair there has to travel over the ear before it falls, and that journey consumes length. If you comb it flat under tension and cut it to the same line as the back, it lands short and reads as a step. Create slack over the ear before cutting and leave that hair slightly longer than the surrounding line — it will fall level once it sits naturally.
What size shears are best for cutting a bob?
A 5.5-inch shear is the control tool for the curved, close-in sections — the nape and around the ears — while a 6-inch blade covers long straight perimeter runs faster and more continuously. If you cut bobs regularly, owning both lengths beats compromising with one. If you're buying a single shear first, 5.5 inches handles the hardest parts of the cut better.