How to Cut Layers with Professional Shears: Step-by-Step Guide
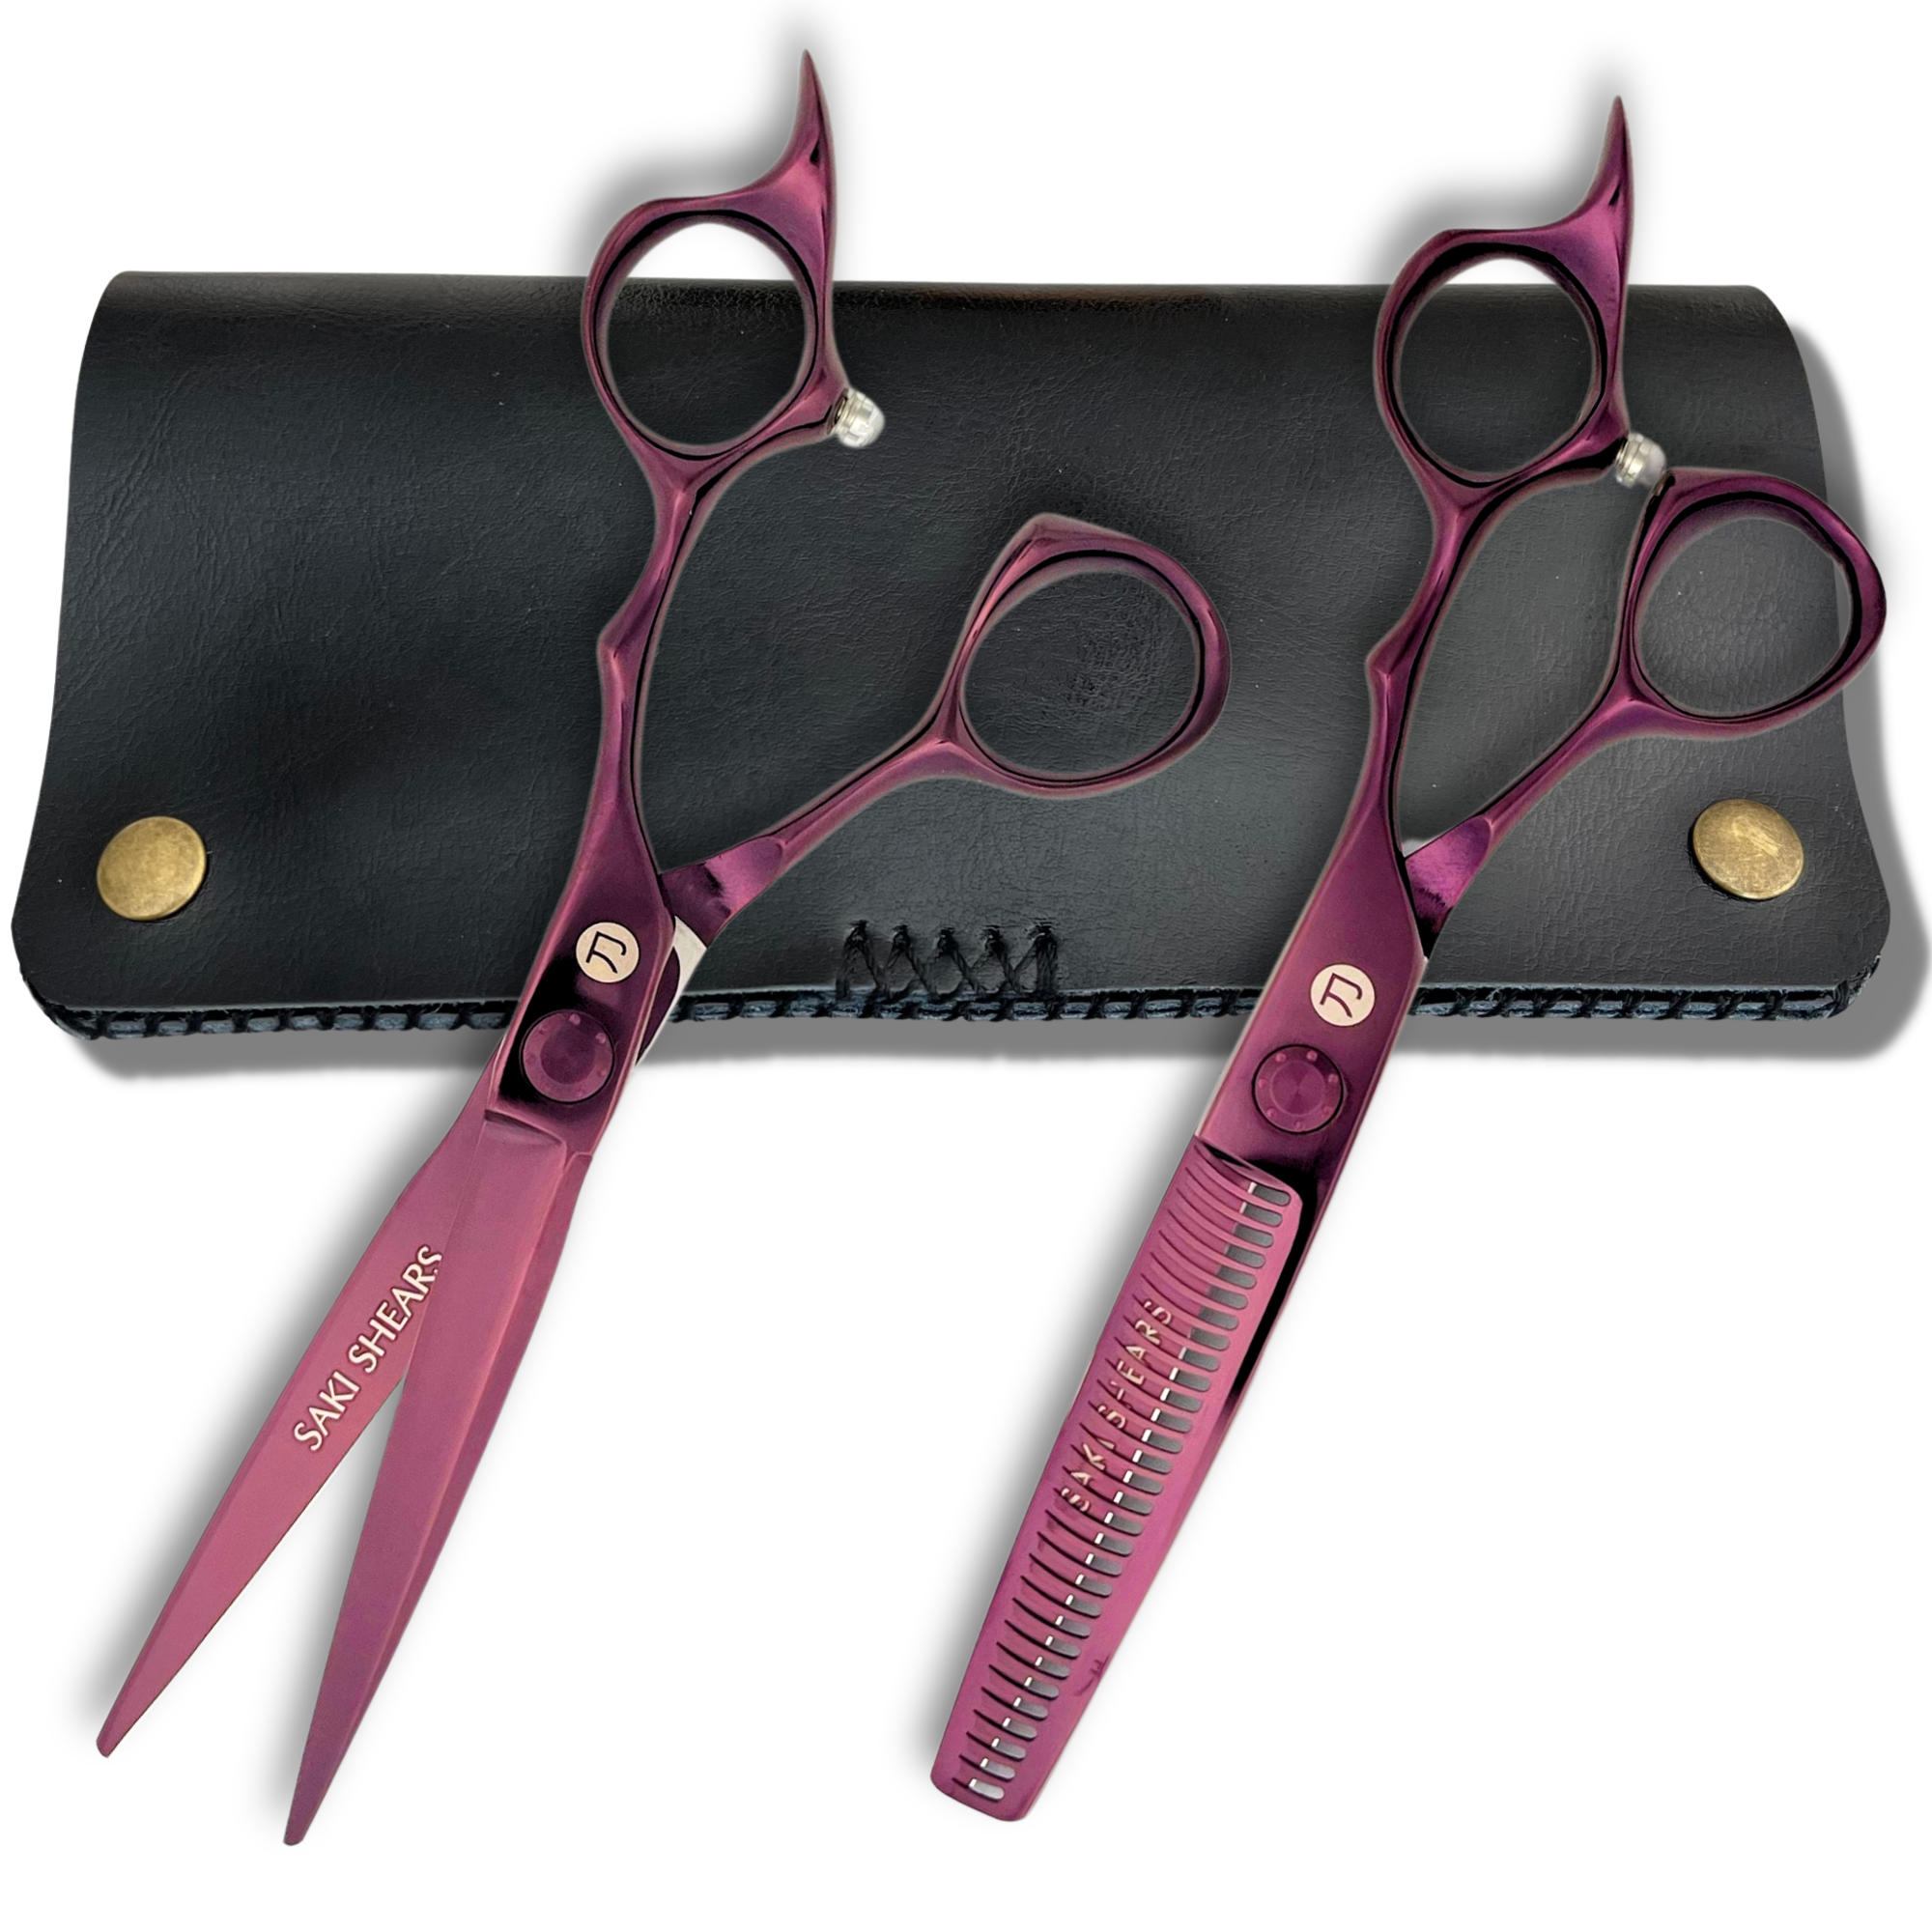
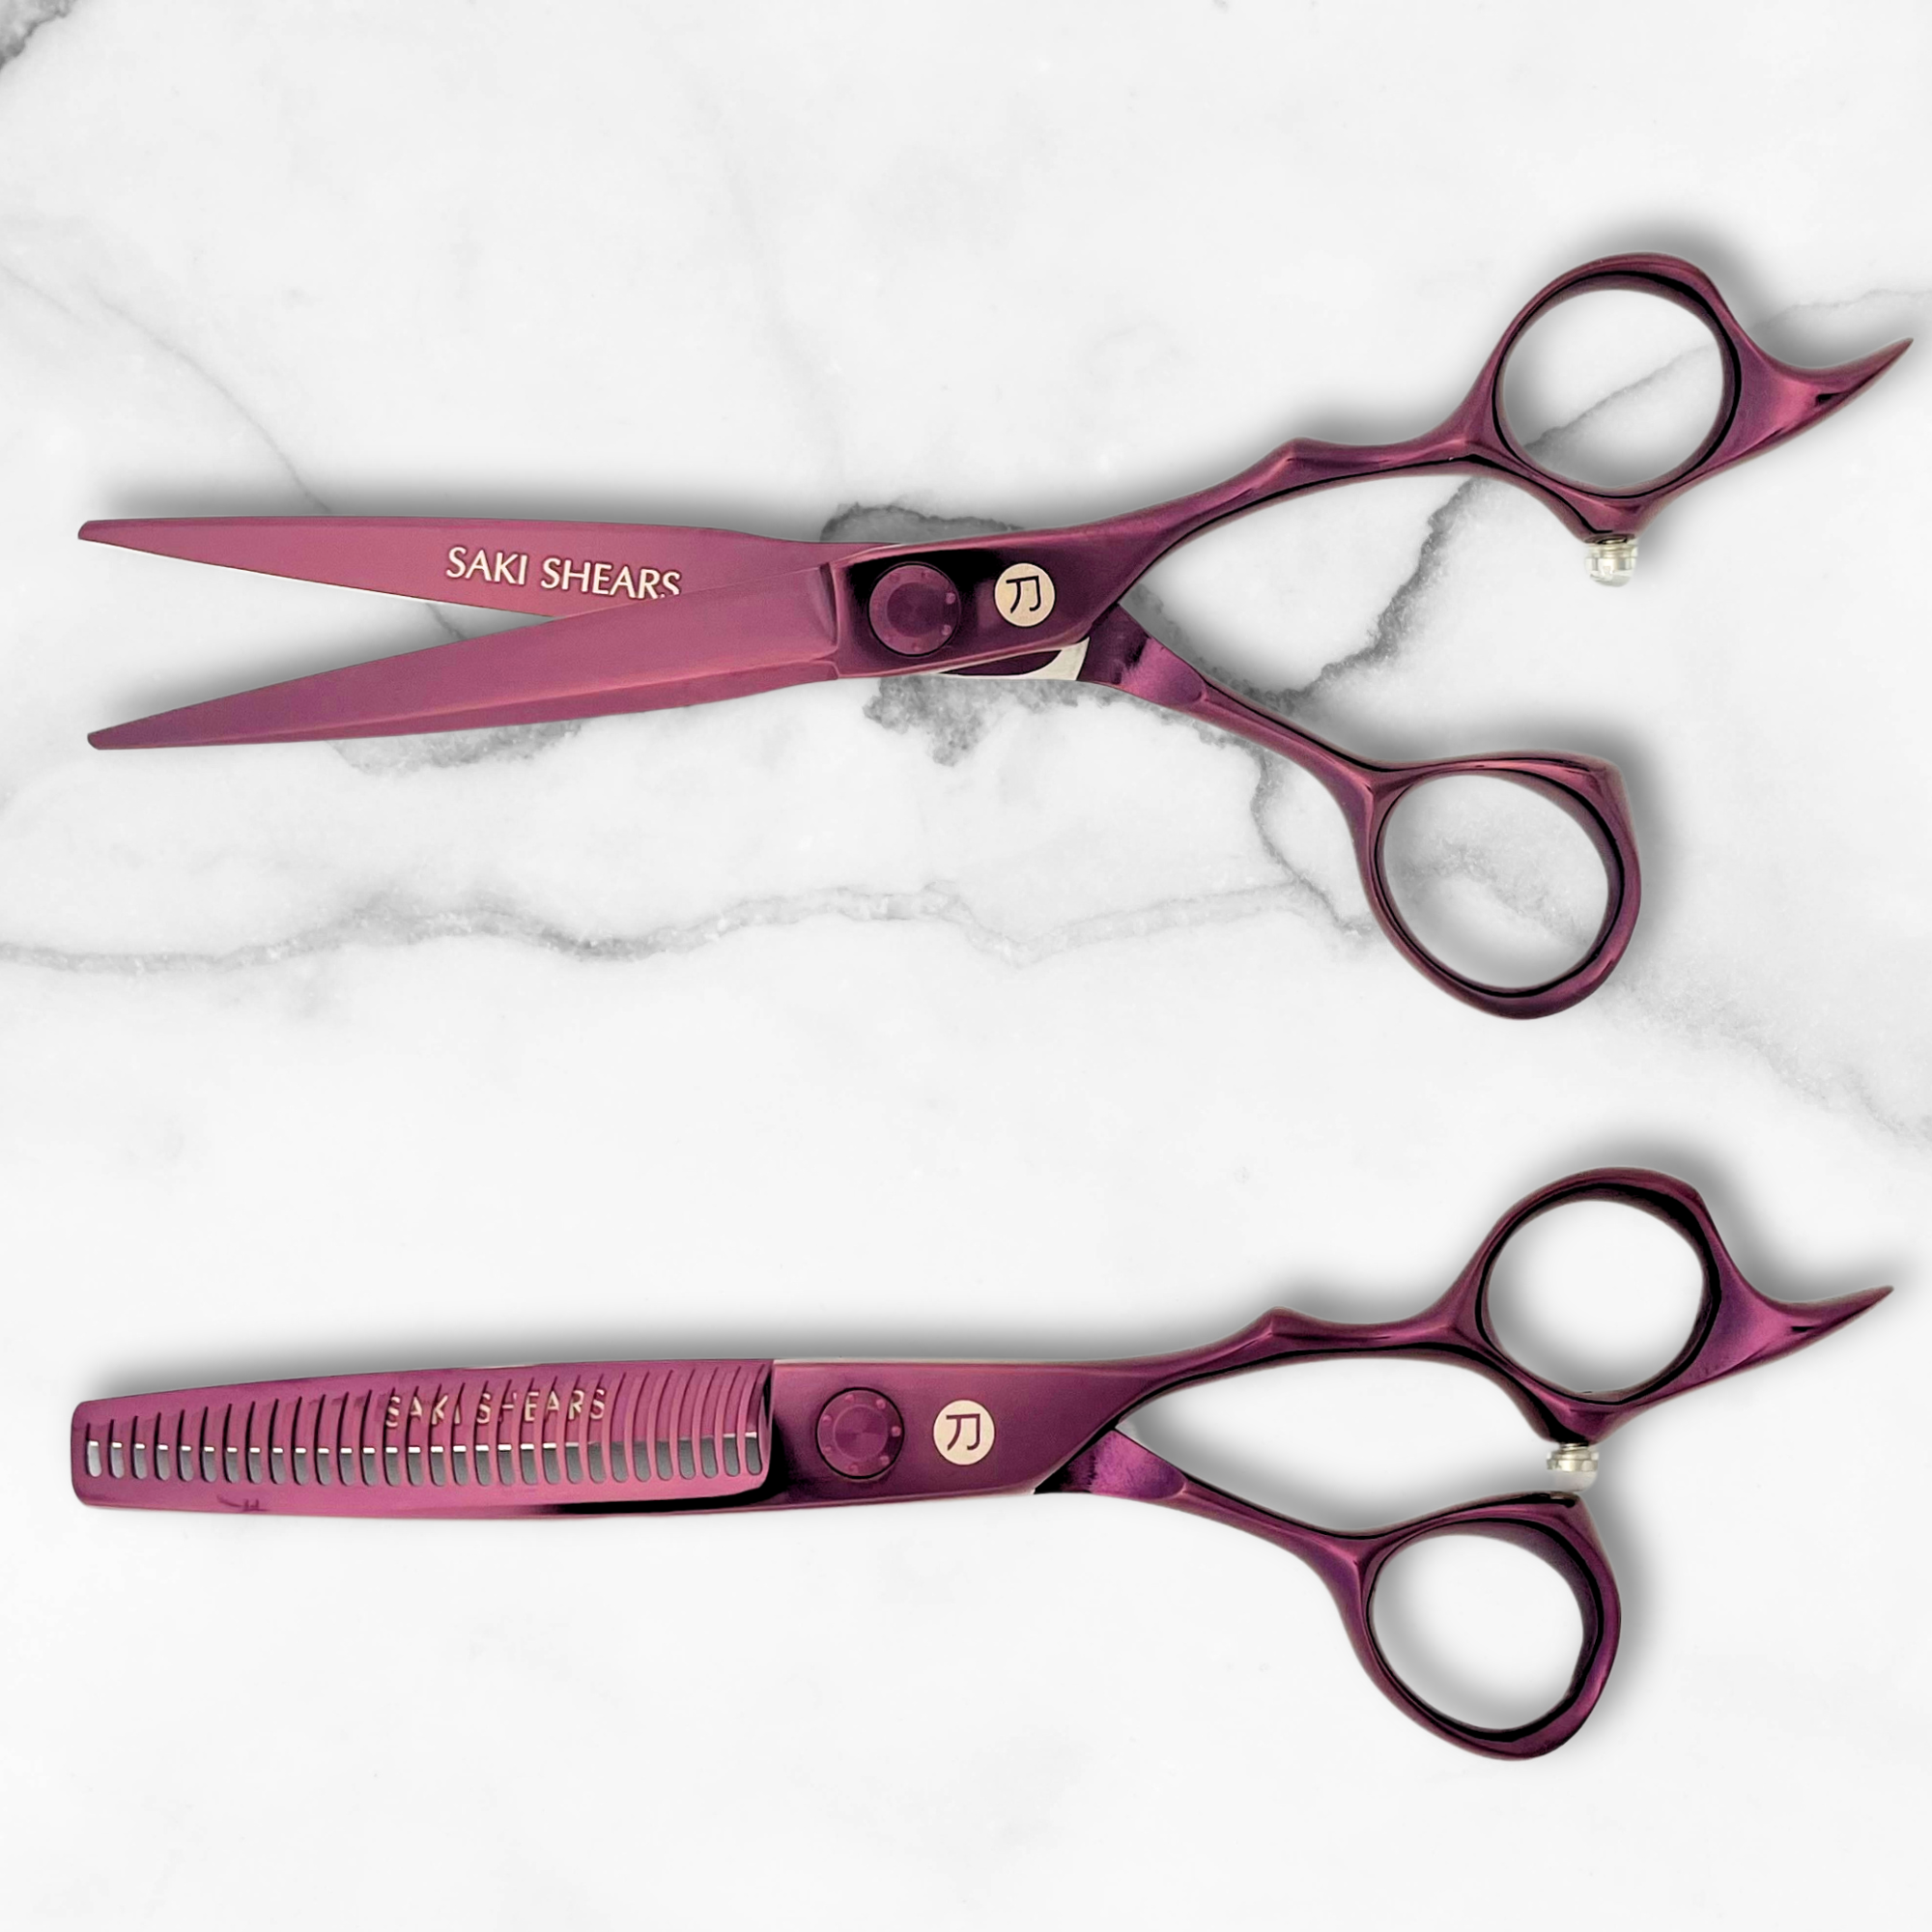
Layers fail in predictable ways: they collapse against the head, they stack into visible steps, or they blend so aggressively the cut loses all its shape. Every one of those failures traces back to three variables (elevation, guide management, and over-direction) plus one piece of hardware: a shear that closes cleanly through a vertical section without pushing hair off the blade. This guide walks through how to cut layers with shears from both sides of the problem: the geometry that governs every layered cut, two complete step-by-step methods (uniform layers and long layers), and the blending work that separates a finished cut from a rough one. For the cutting itself, a short convex-edge shear like the Saki Katana is the reference tool throughout this guide.
The Geometry That Decides Every Layer
Read the four elevations as a diagnostic key, not a vocabulary lesson. Steps in a finished shape mean the elevation wandered mid-cut. An interior that collapses flat means it never got high enough. A shelf at the occipital means you graduated where you meant to layer. State-board study guides keep the formal definitions tight; the column that matters in practice is what each angle builds:
| Elevation | How the hair is held | What it builds |
|---|---|---|
| 0° | Flat against the neck or skin, cut at natural fall | Maximum perimeter weight: the blunt baseline and solid perimeter |
| 45° | Halfway between flat and perpendicular | Graduation: stacked weight and a beveled edge, as in a graduated bob |
| 90° | Straight out, perpendicular to the head's curve | Uniform layers: equal length everywhere, the round shapes and shags |
| 180° | Lifted straight up toward the apex | Long layers: short interior cascading into a preserved perimeter |
The four standard elevations and what each one builds.
Two things follow from this table that juniors consistently miss. First, elevation is measured from the head's curvature at that spot, not from the floor: hold a section at "90 degrees" at the crown and at the nape and your hand is pointing in two completely different directions. Second, the difference between a layered cut and a graduated cut is not technique or tools; it's purely the angle. Graduation lives at 45, layering at 90 and above — the rest is where you point your hand.

Guides and Over-Direction: The Other Half of the System
Elevation sets the layer's angle; your guide decides how length distributes across the head, and choosing wrong is the most common reason a layered cut comes out as a different haircut than the one you planned. A traveling guide moves with you, each subsection carrying a thin slice of the last one, so length stays consistent across the head: the engine of the uniform layer. A stationary guide stays fixed while every subsequent section is combed (over-directed) back to it; the farther a section travels to reach the guide, the longer it ends up, which is what builds long, cascading, face-framing shapes.
Over-direction deserves its own sentence, because it's the tool stylists use least deliberately: combing hair away from its natural fall before cutting shifts length to wherever the hair came from. Over-direct everything forward to a guide at the face, and length accumulates behind: the classic long-layer silhouette. Nothing about this is advanced; it's bookkeeping. The stylists who cut clean layers are simply the ones tracking where every section is being sent and why.
Choosing the Shear for Layer Work
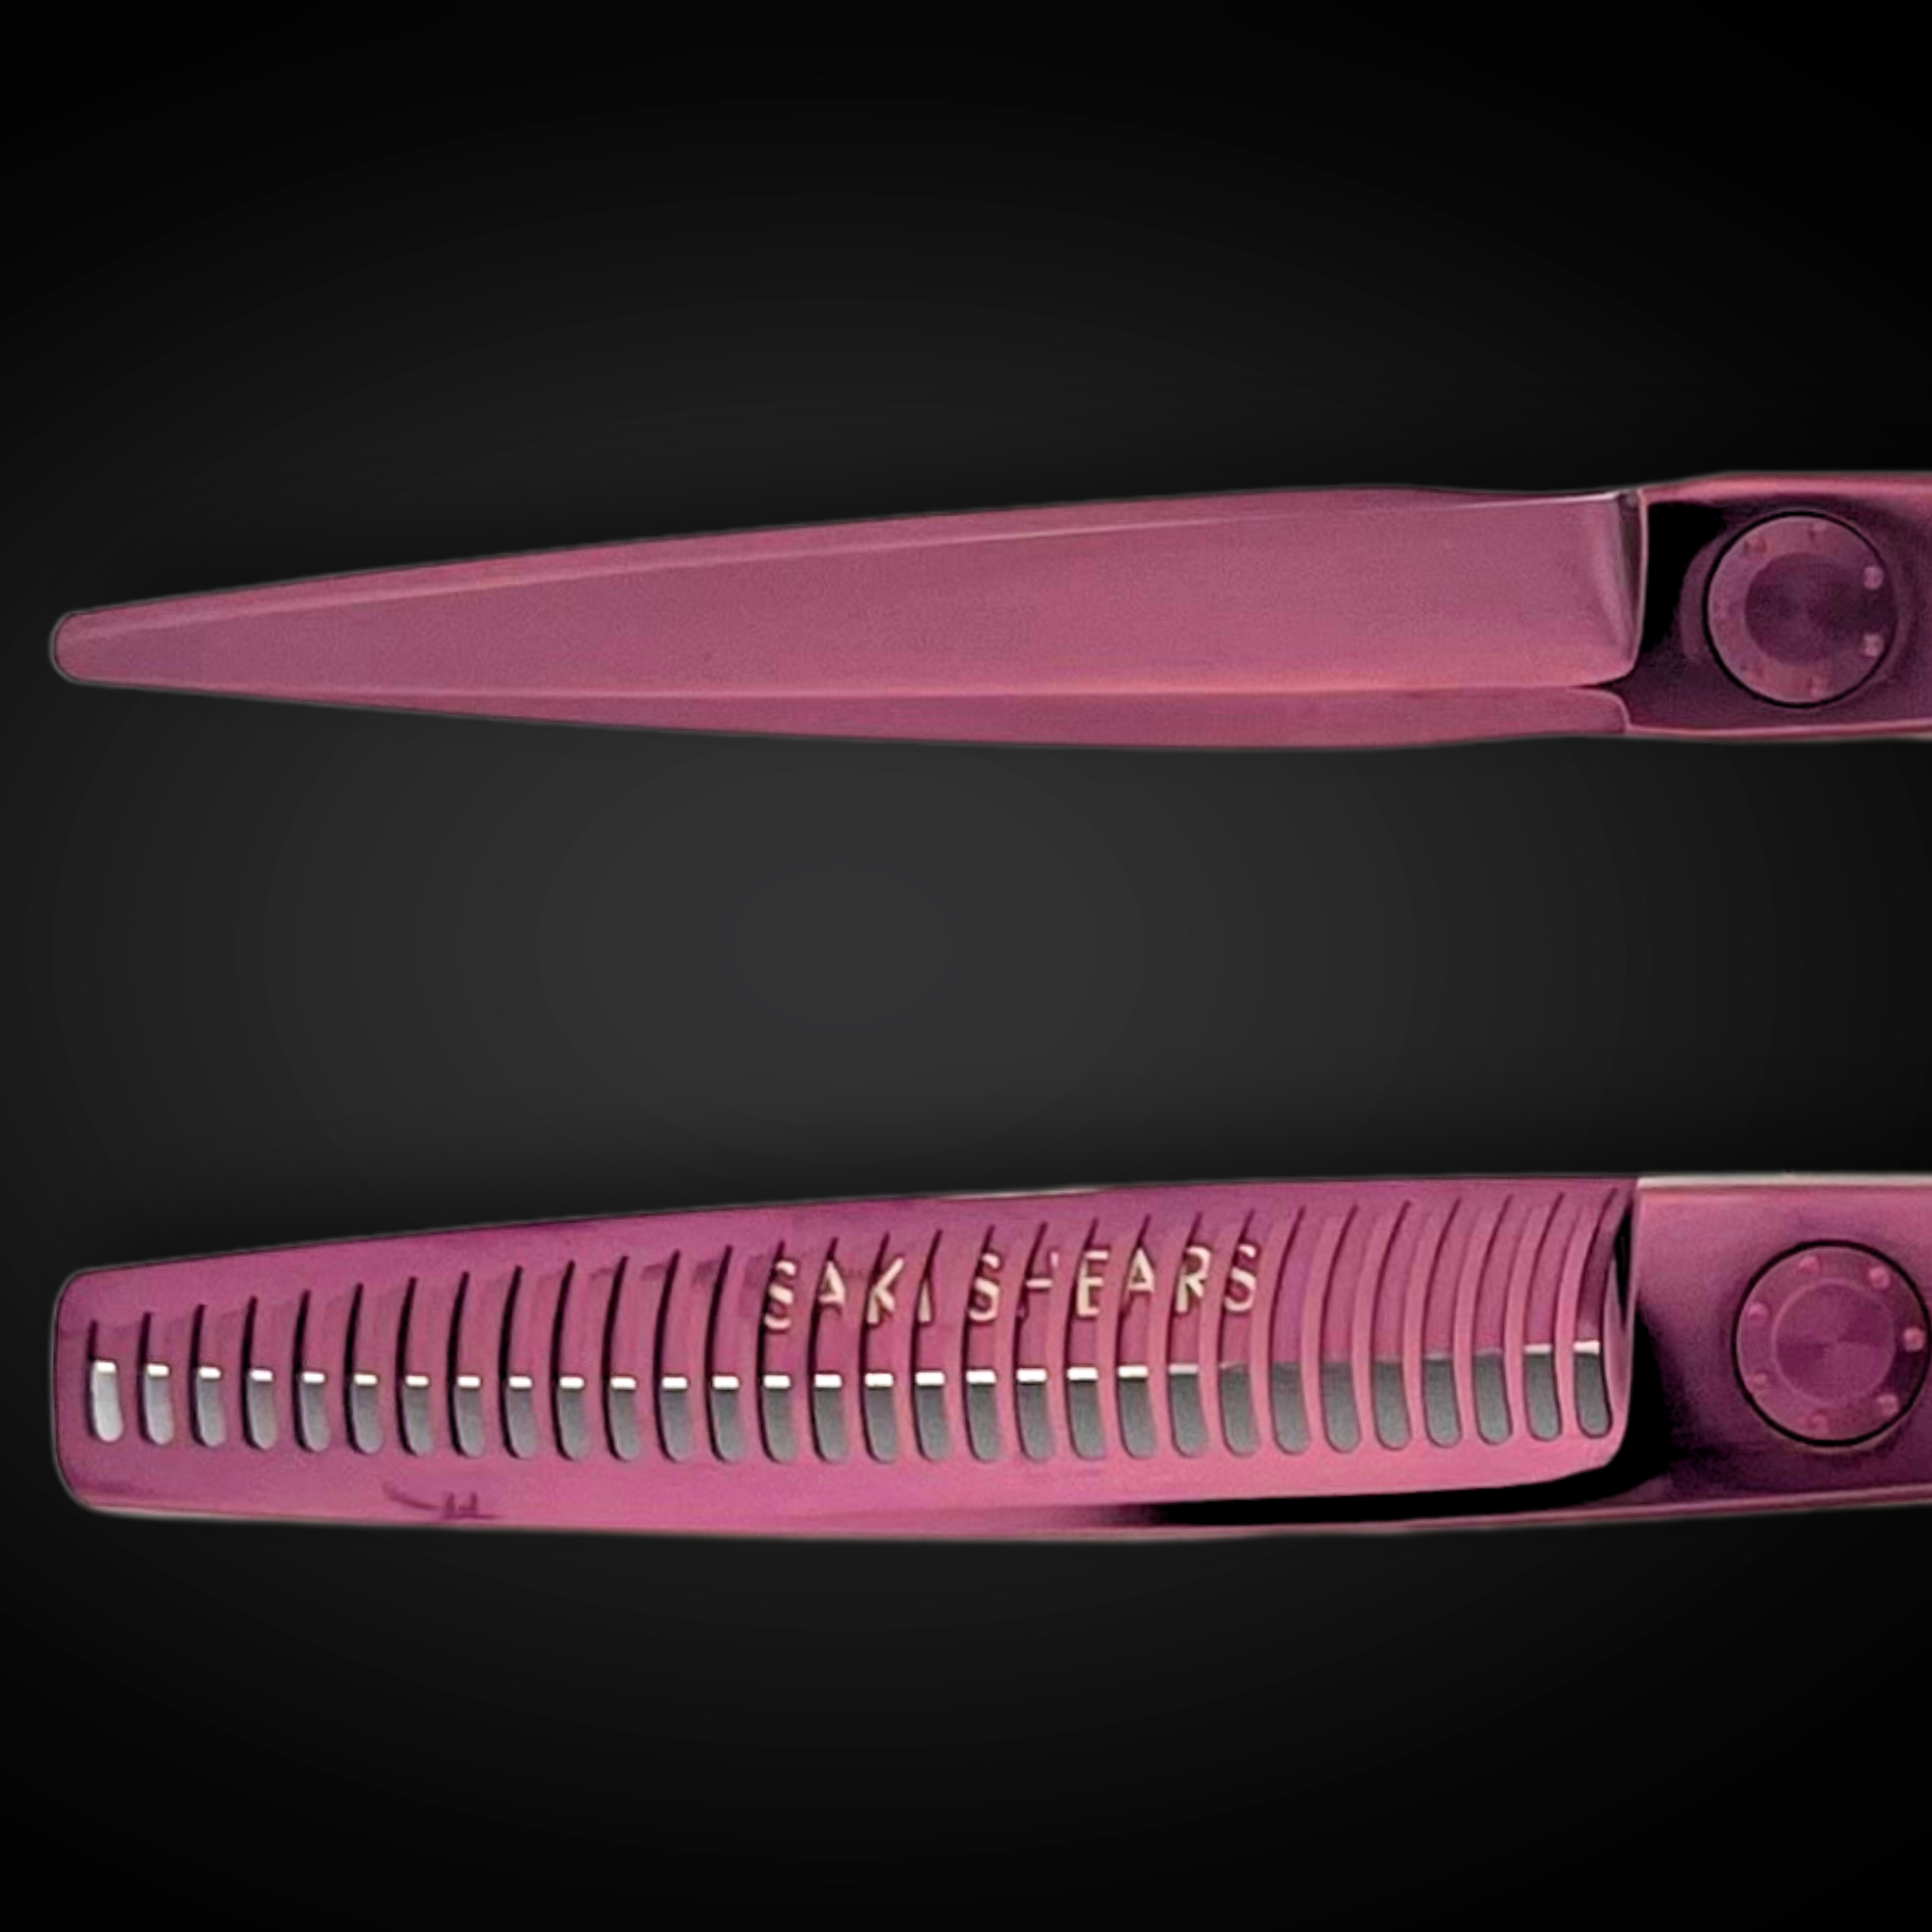
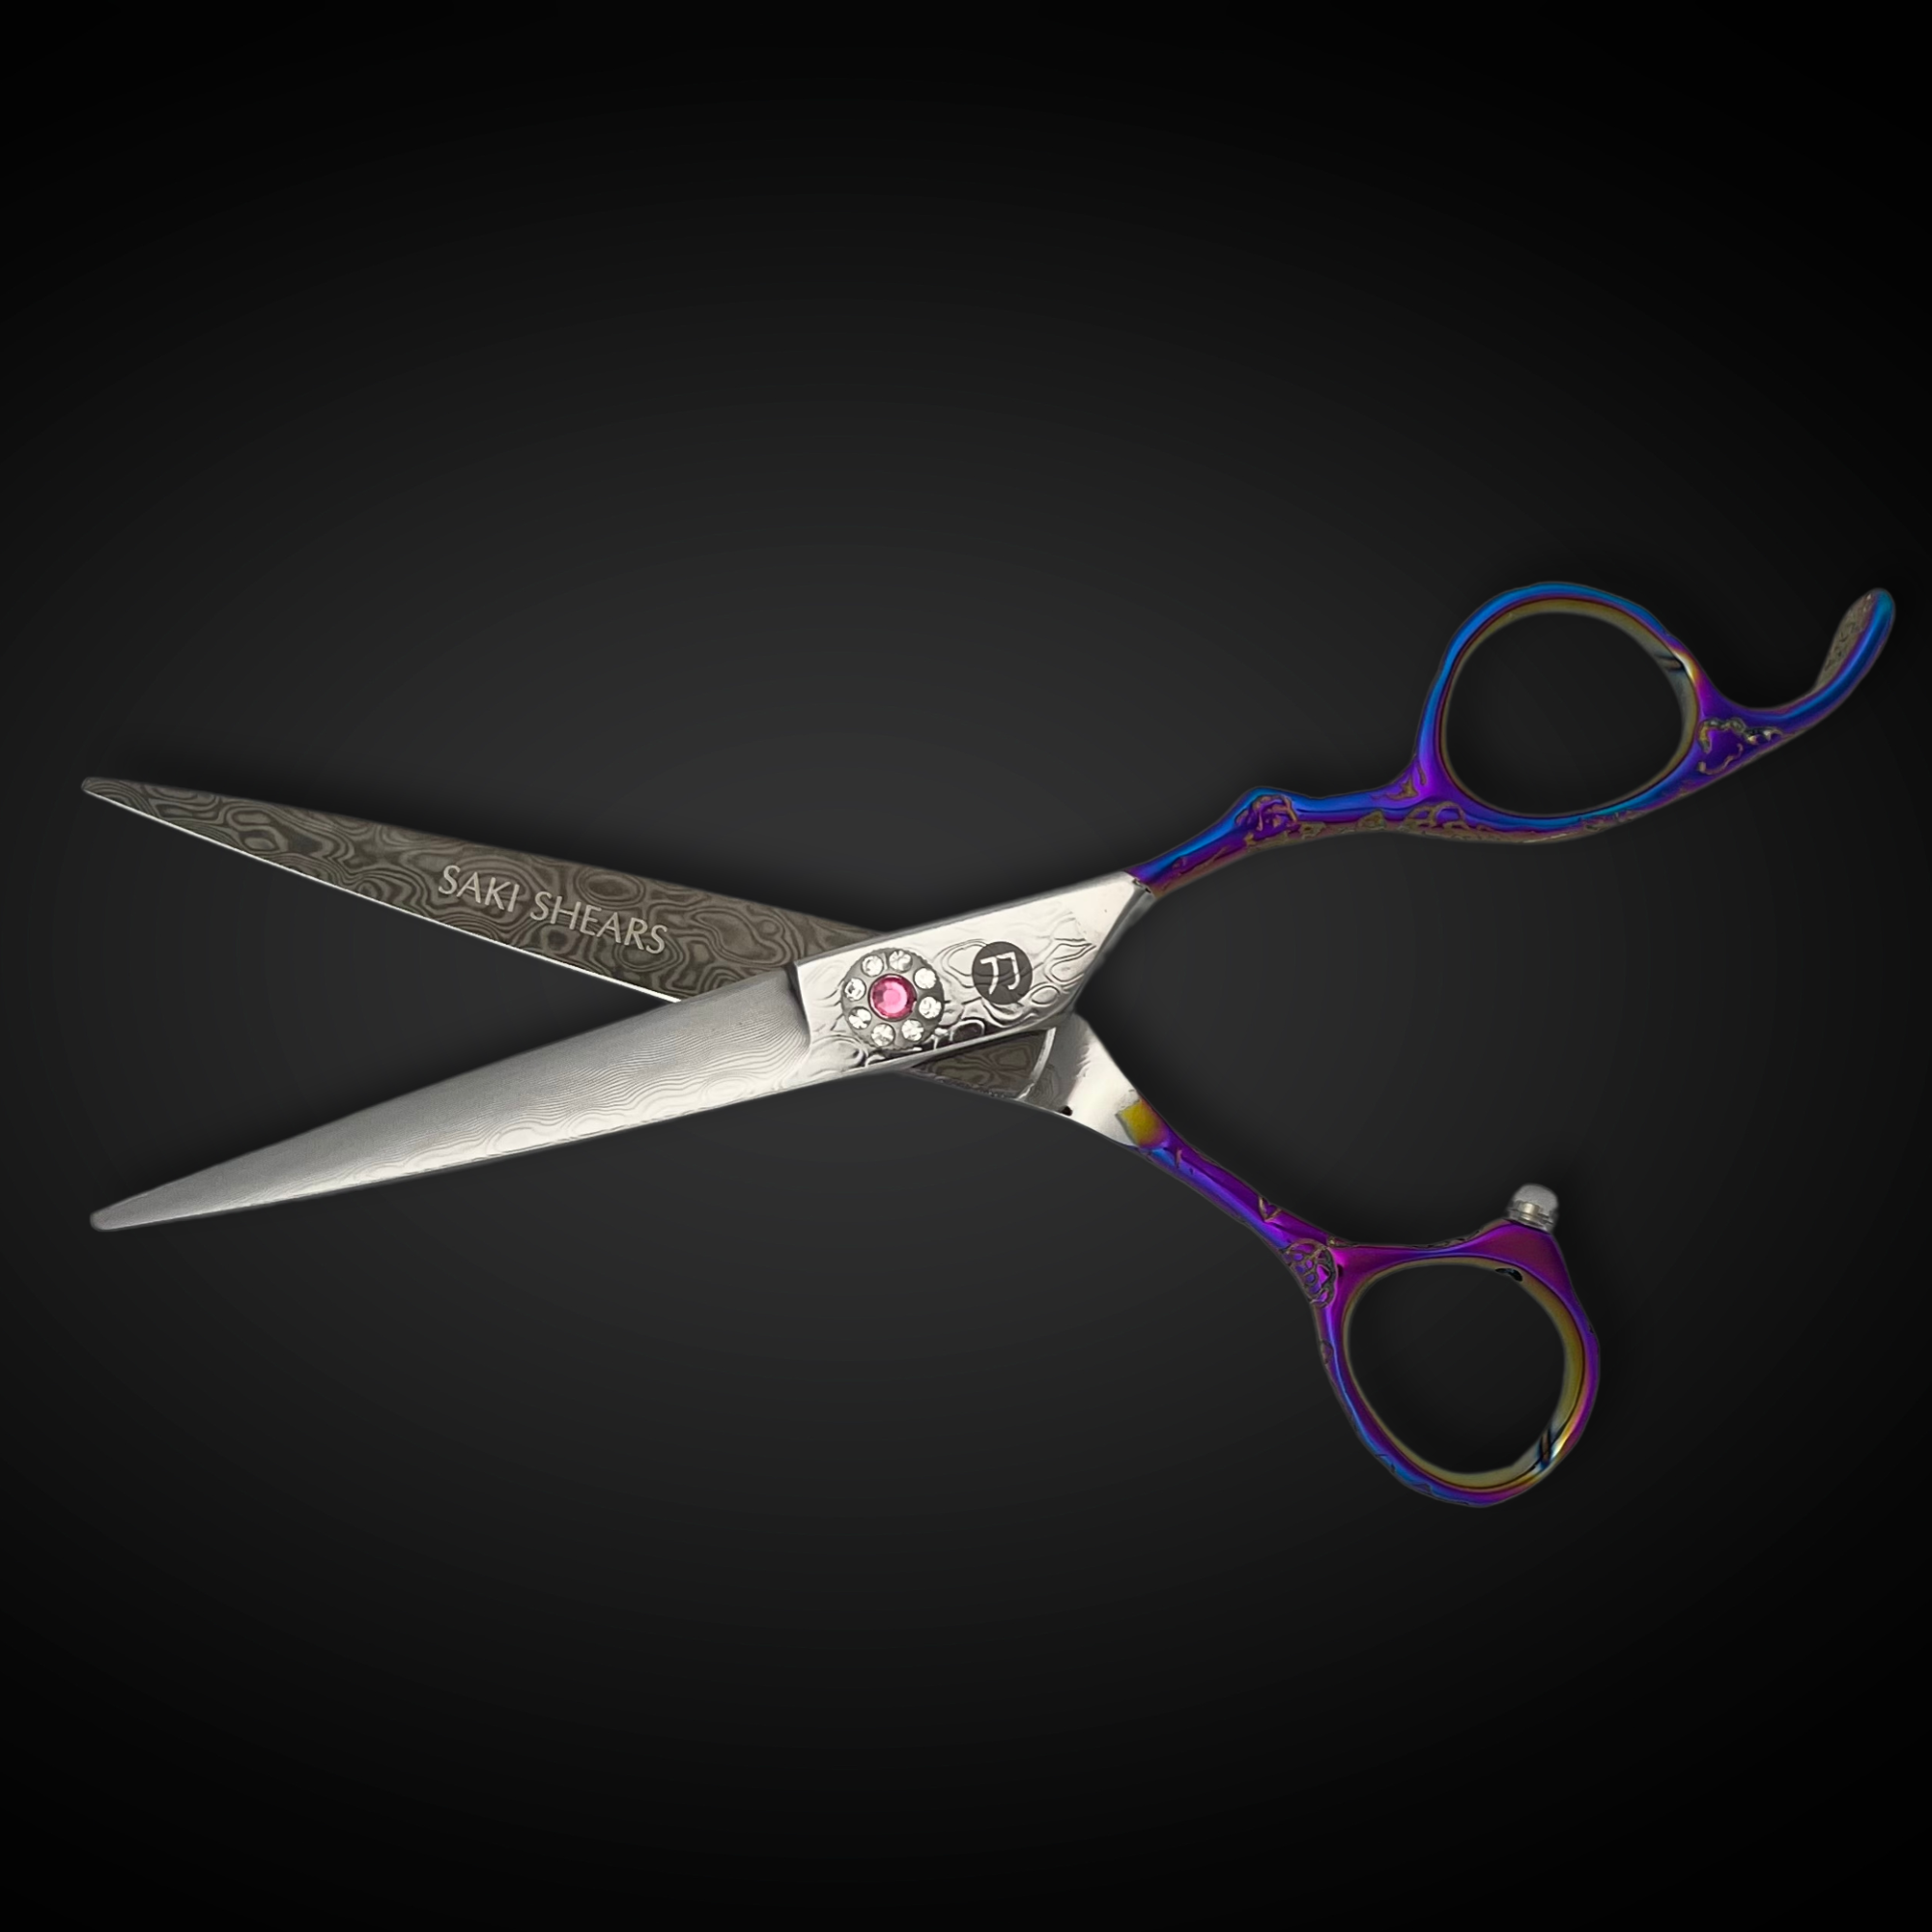
Layer cutting is vertical-section work at arm's-length elevations, which puts specific demands on the shear. You want a blade short enough to work inside a lifted section without over-cutting, 5.5 to 6 inches for most hands, and a convex edge. The convex requirement is non-negotiable for the slide-cutting pass that finishes most layered shapes: a beveled edge grabs and bends hair mid-glide, where a convex edge slices through. (A bevel point-cuts acceptably, since that's a chopping stroke; it just pushes more on thick sections.) The full comparison lives in the guide to convex versus beveled edges. Hardness is what makes the edge last: a convex apex ground into soft stainless rolls quickly under daily work, which is why shears in this class run 59–61 on the Rockwell scale.

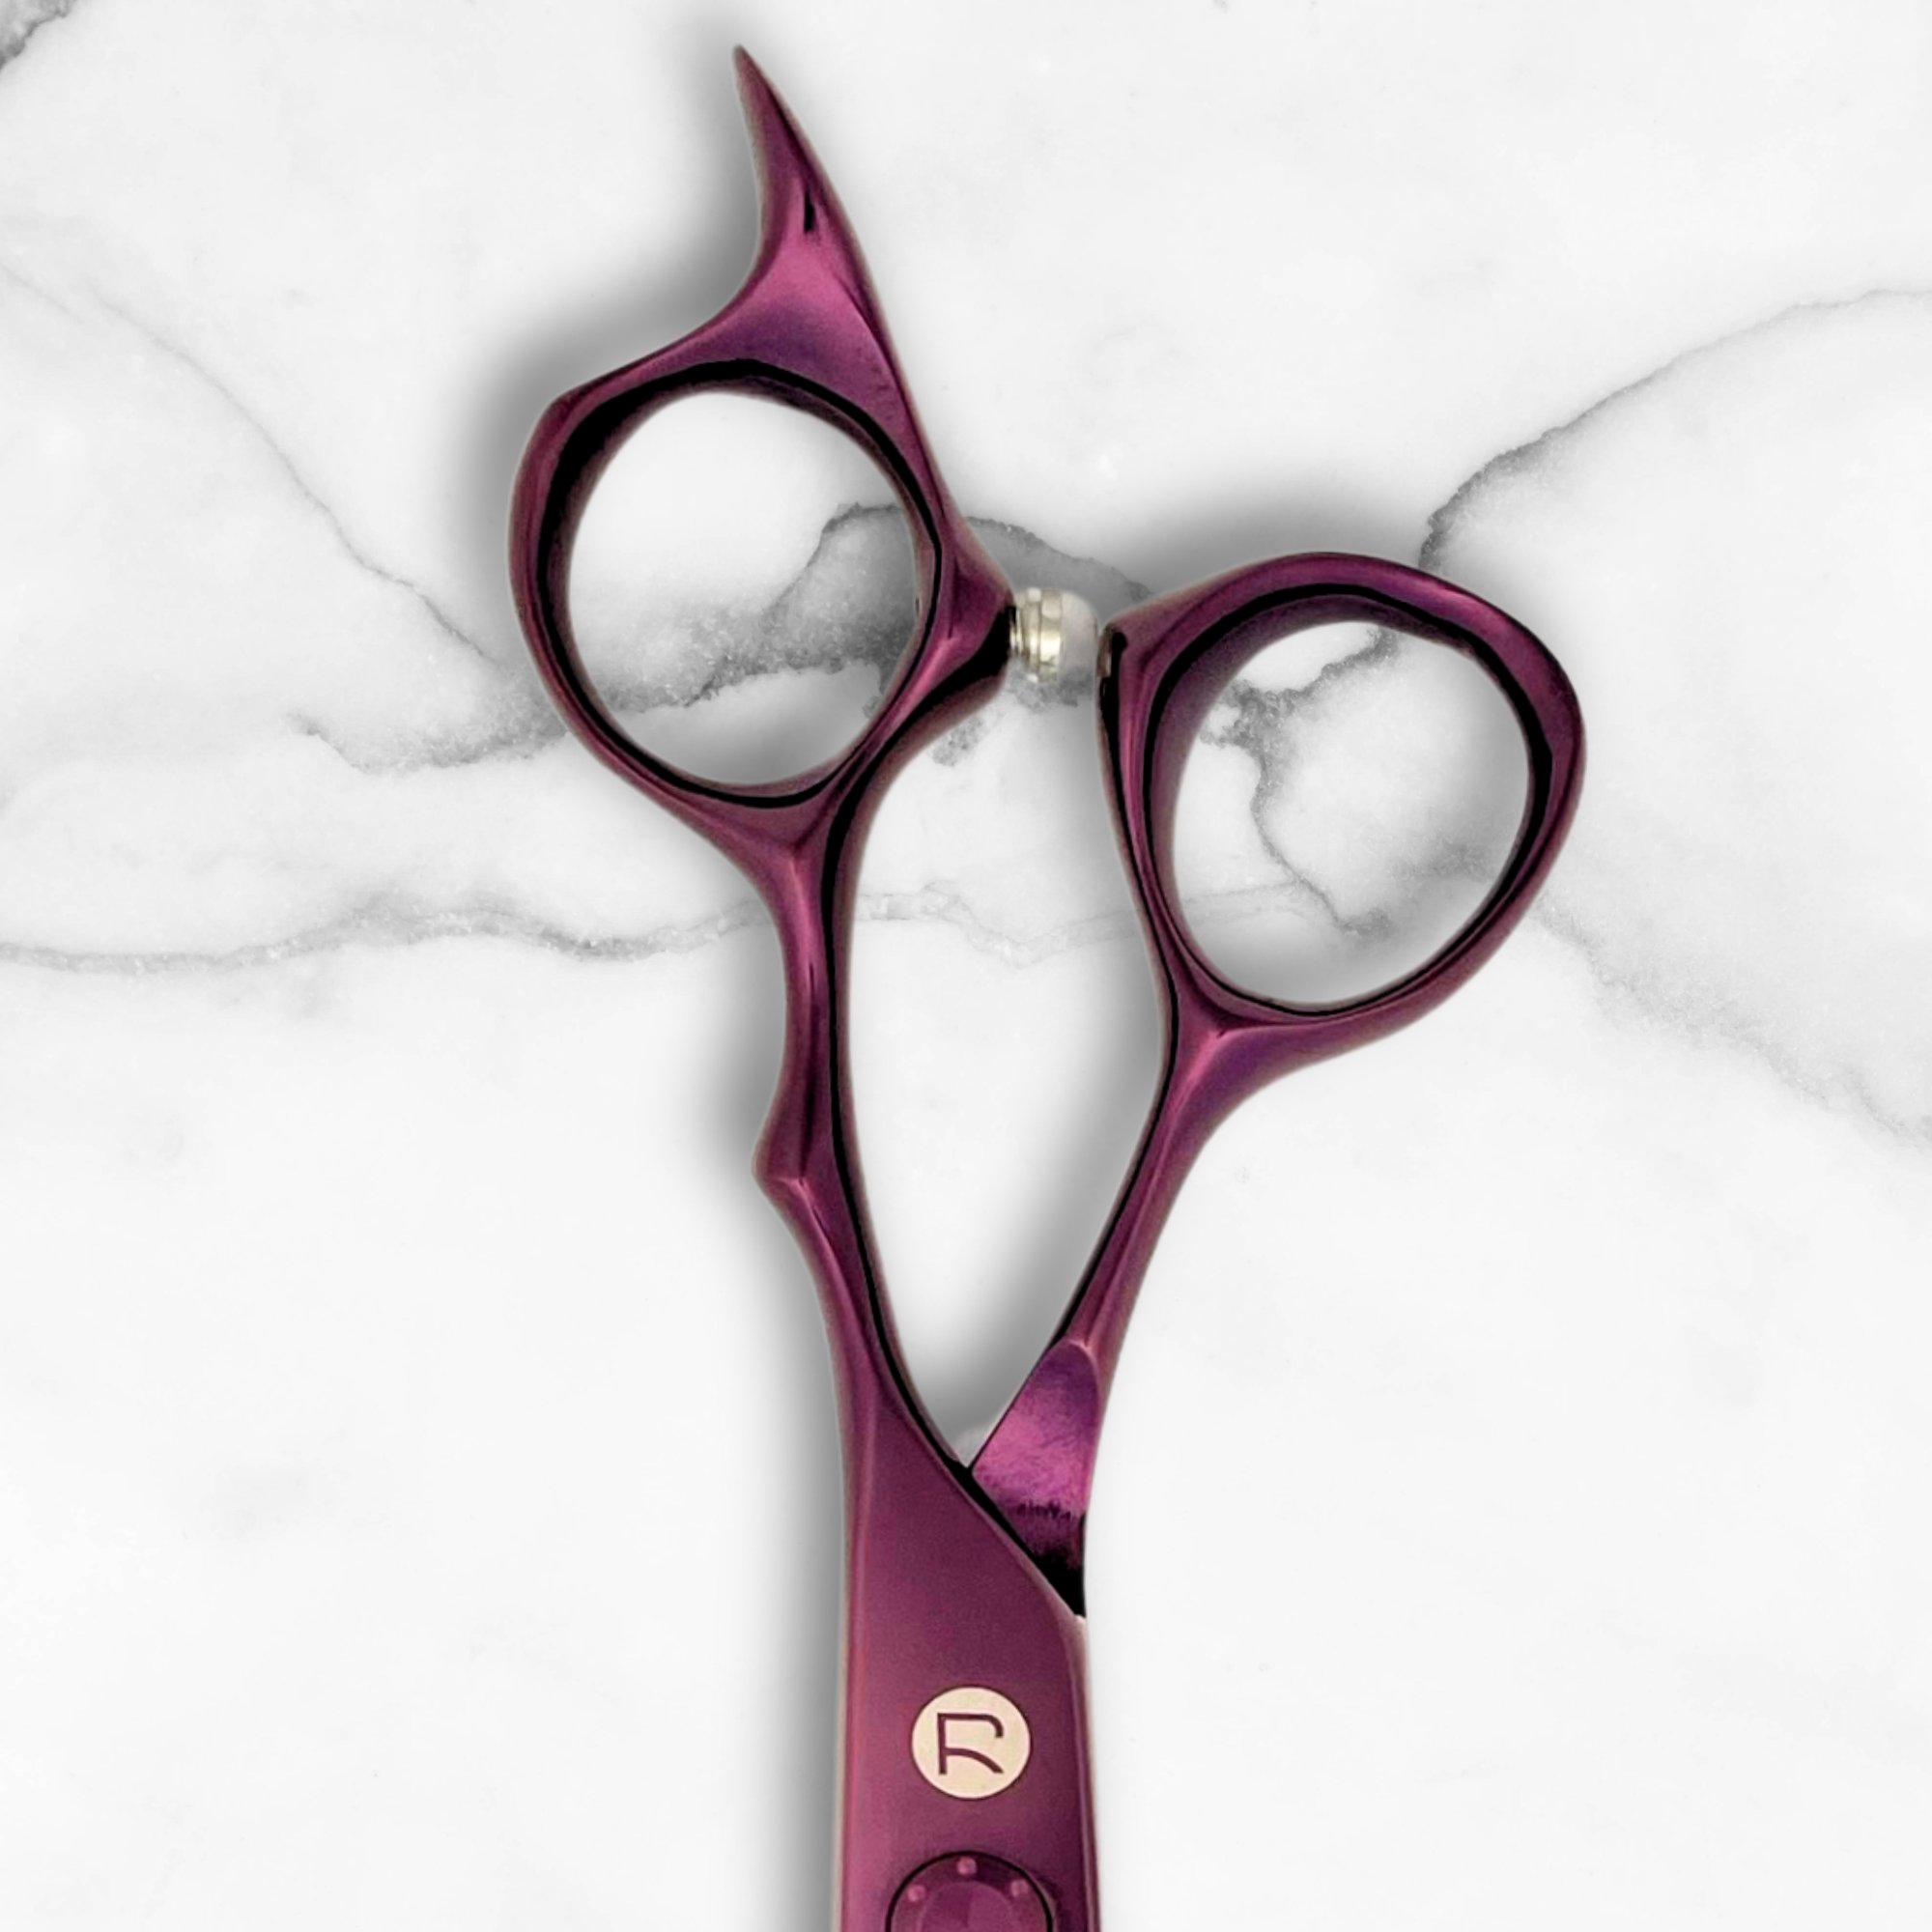
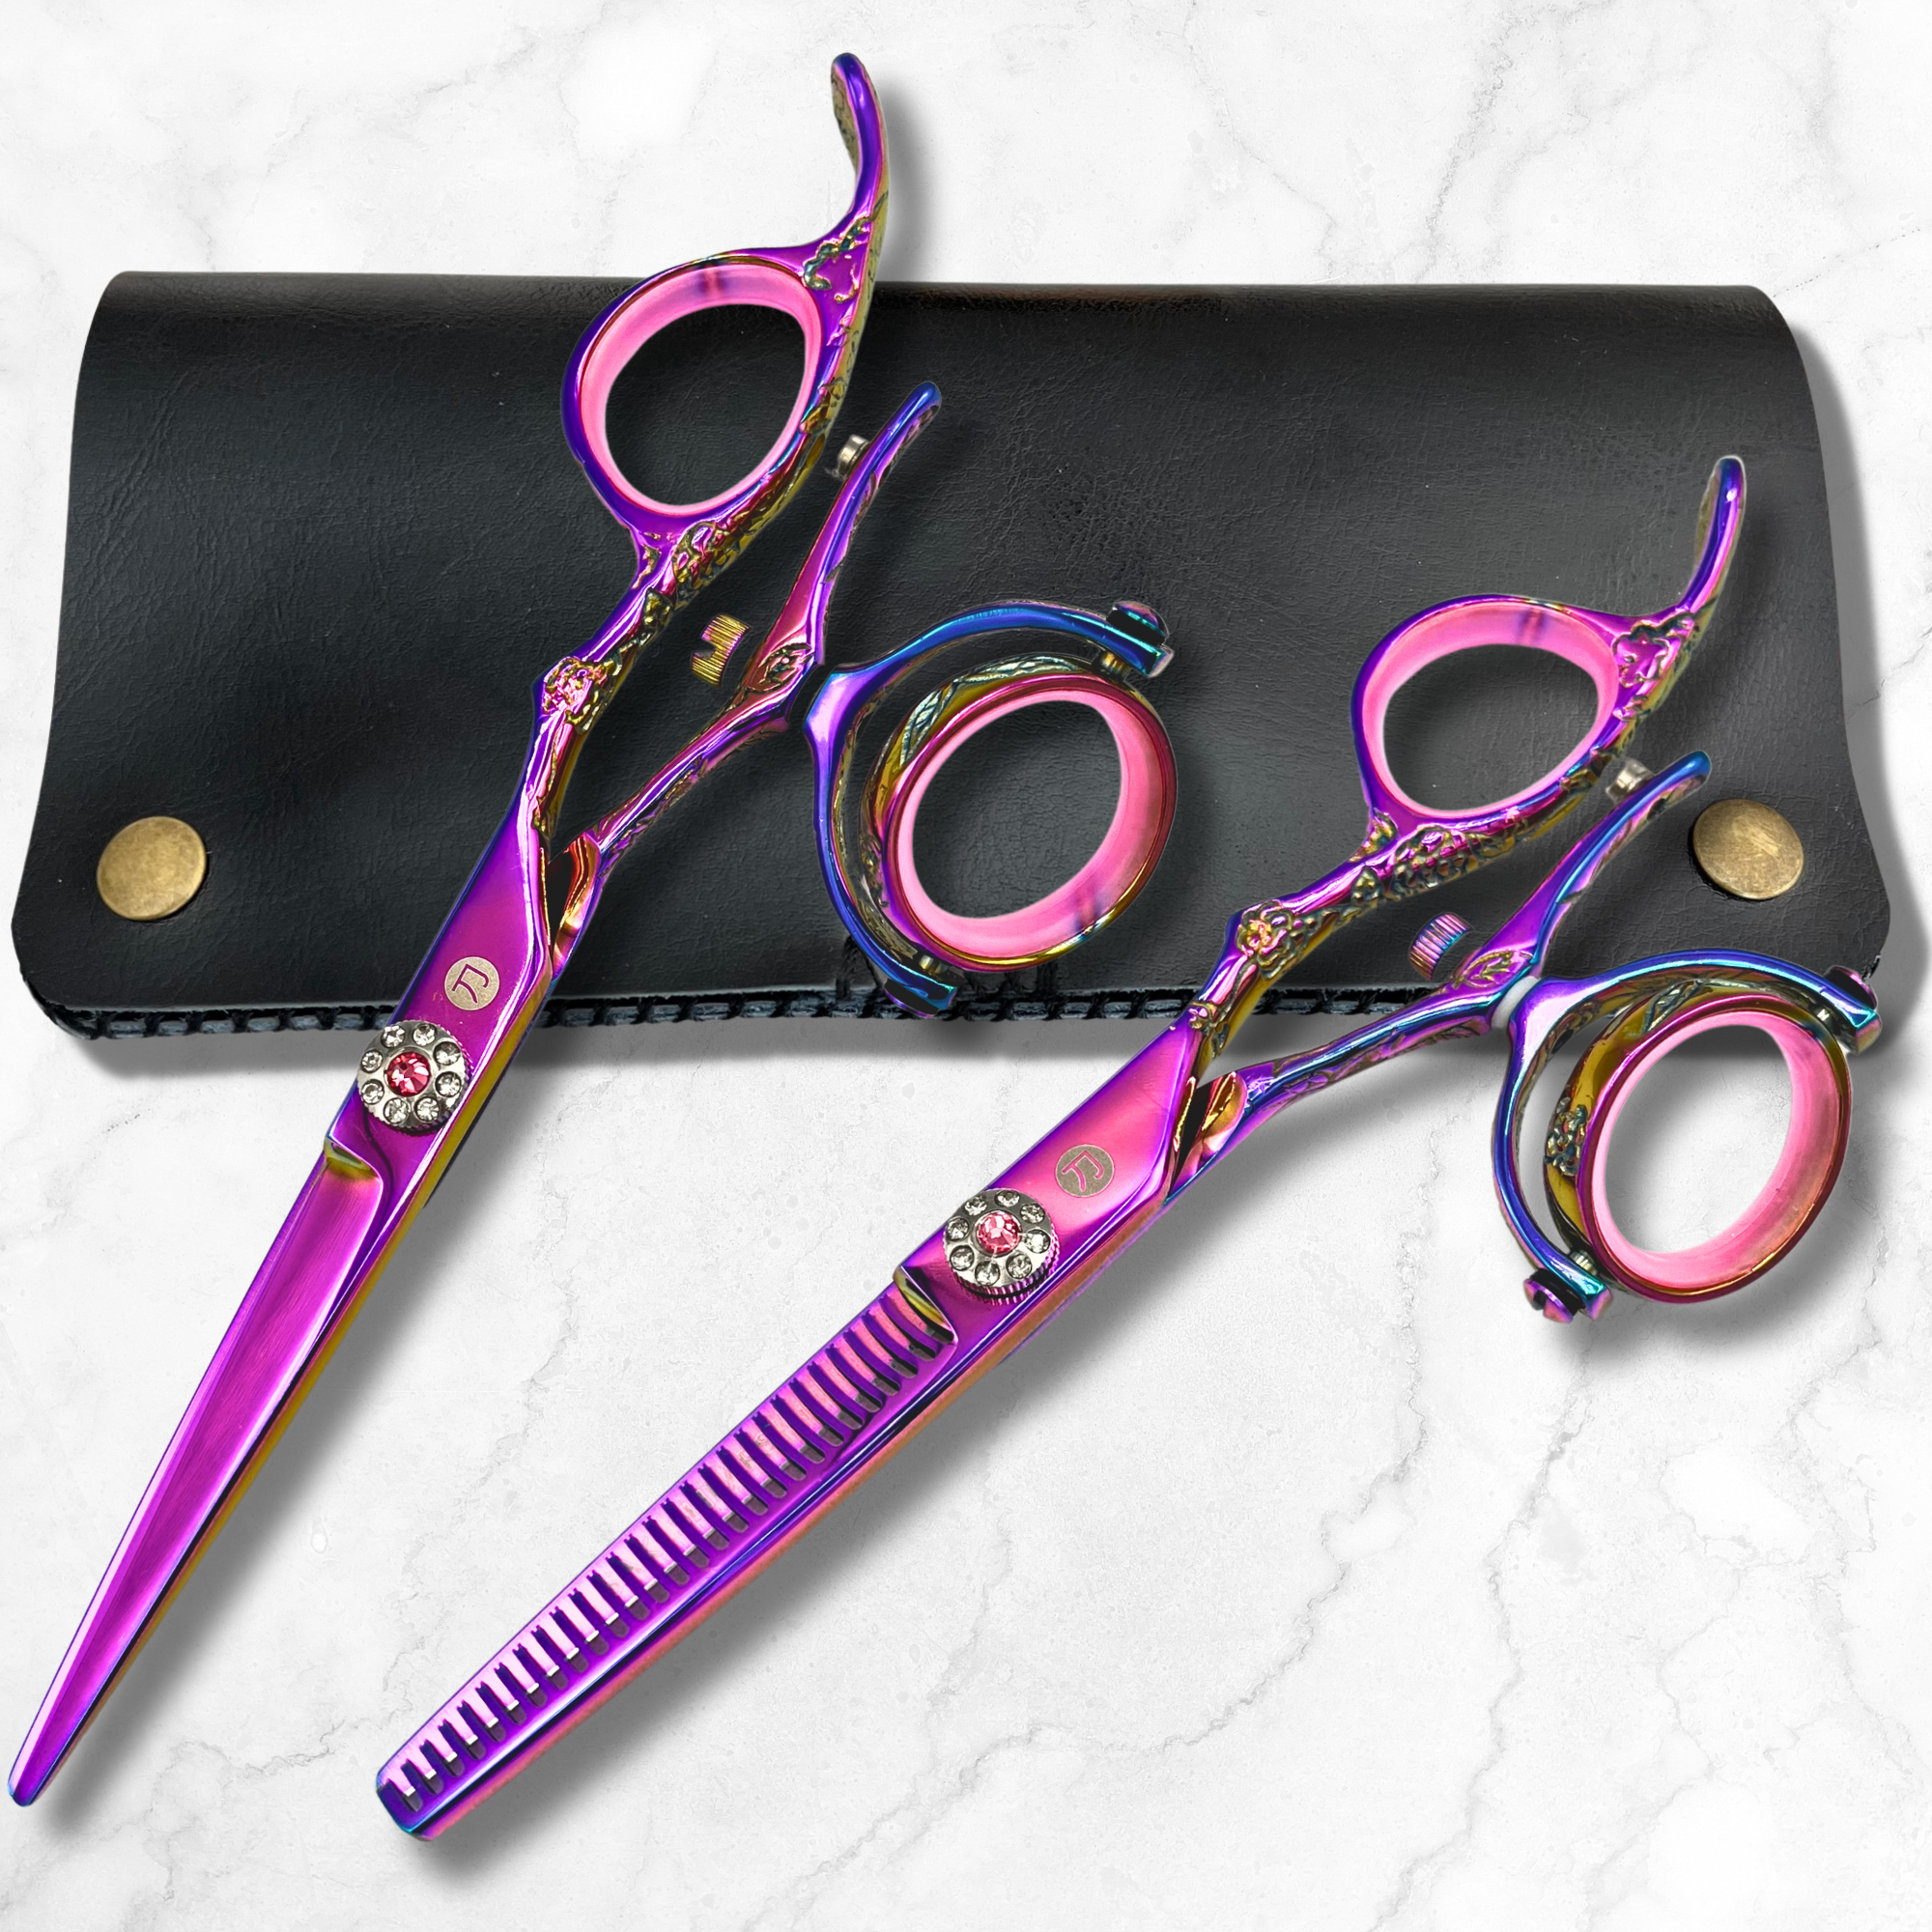
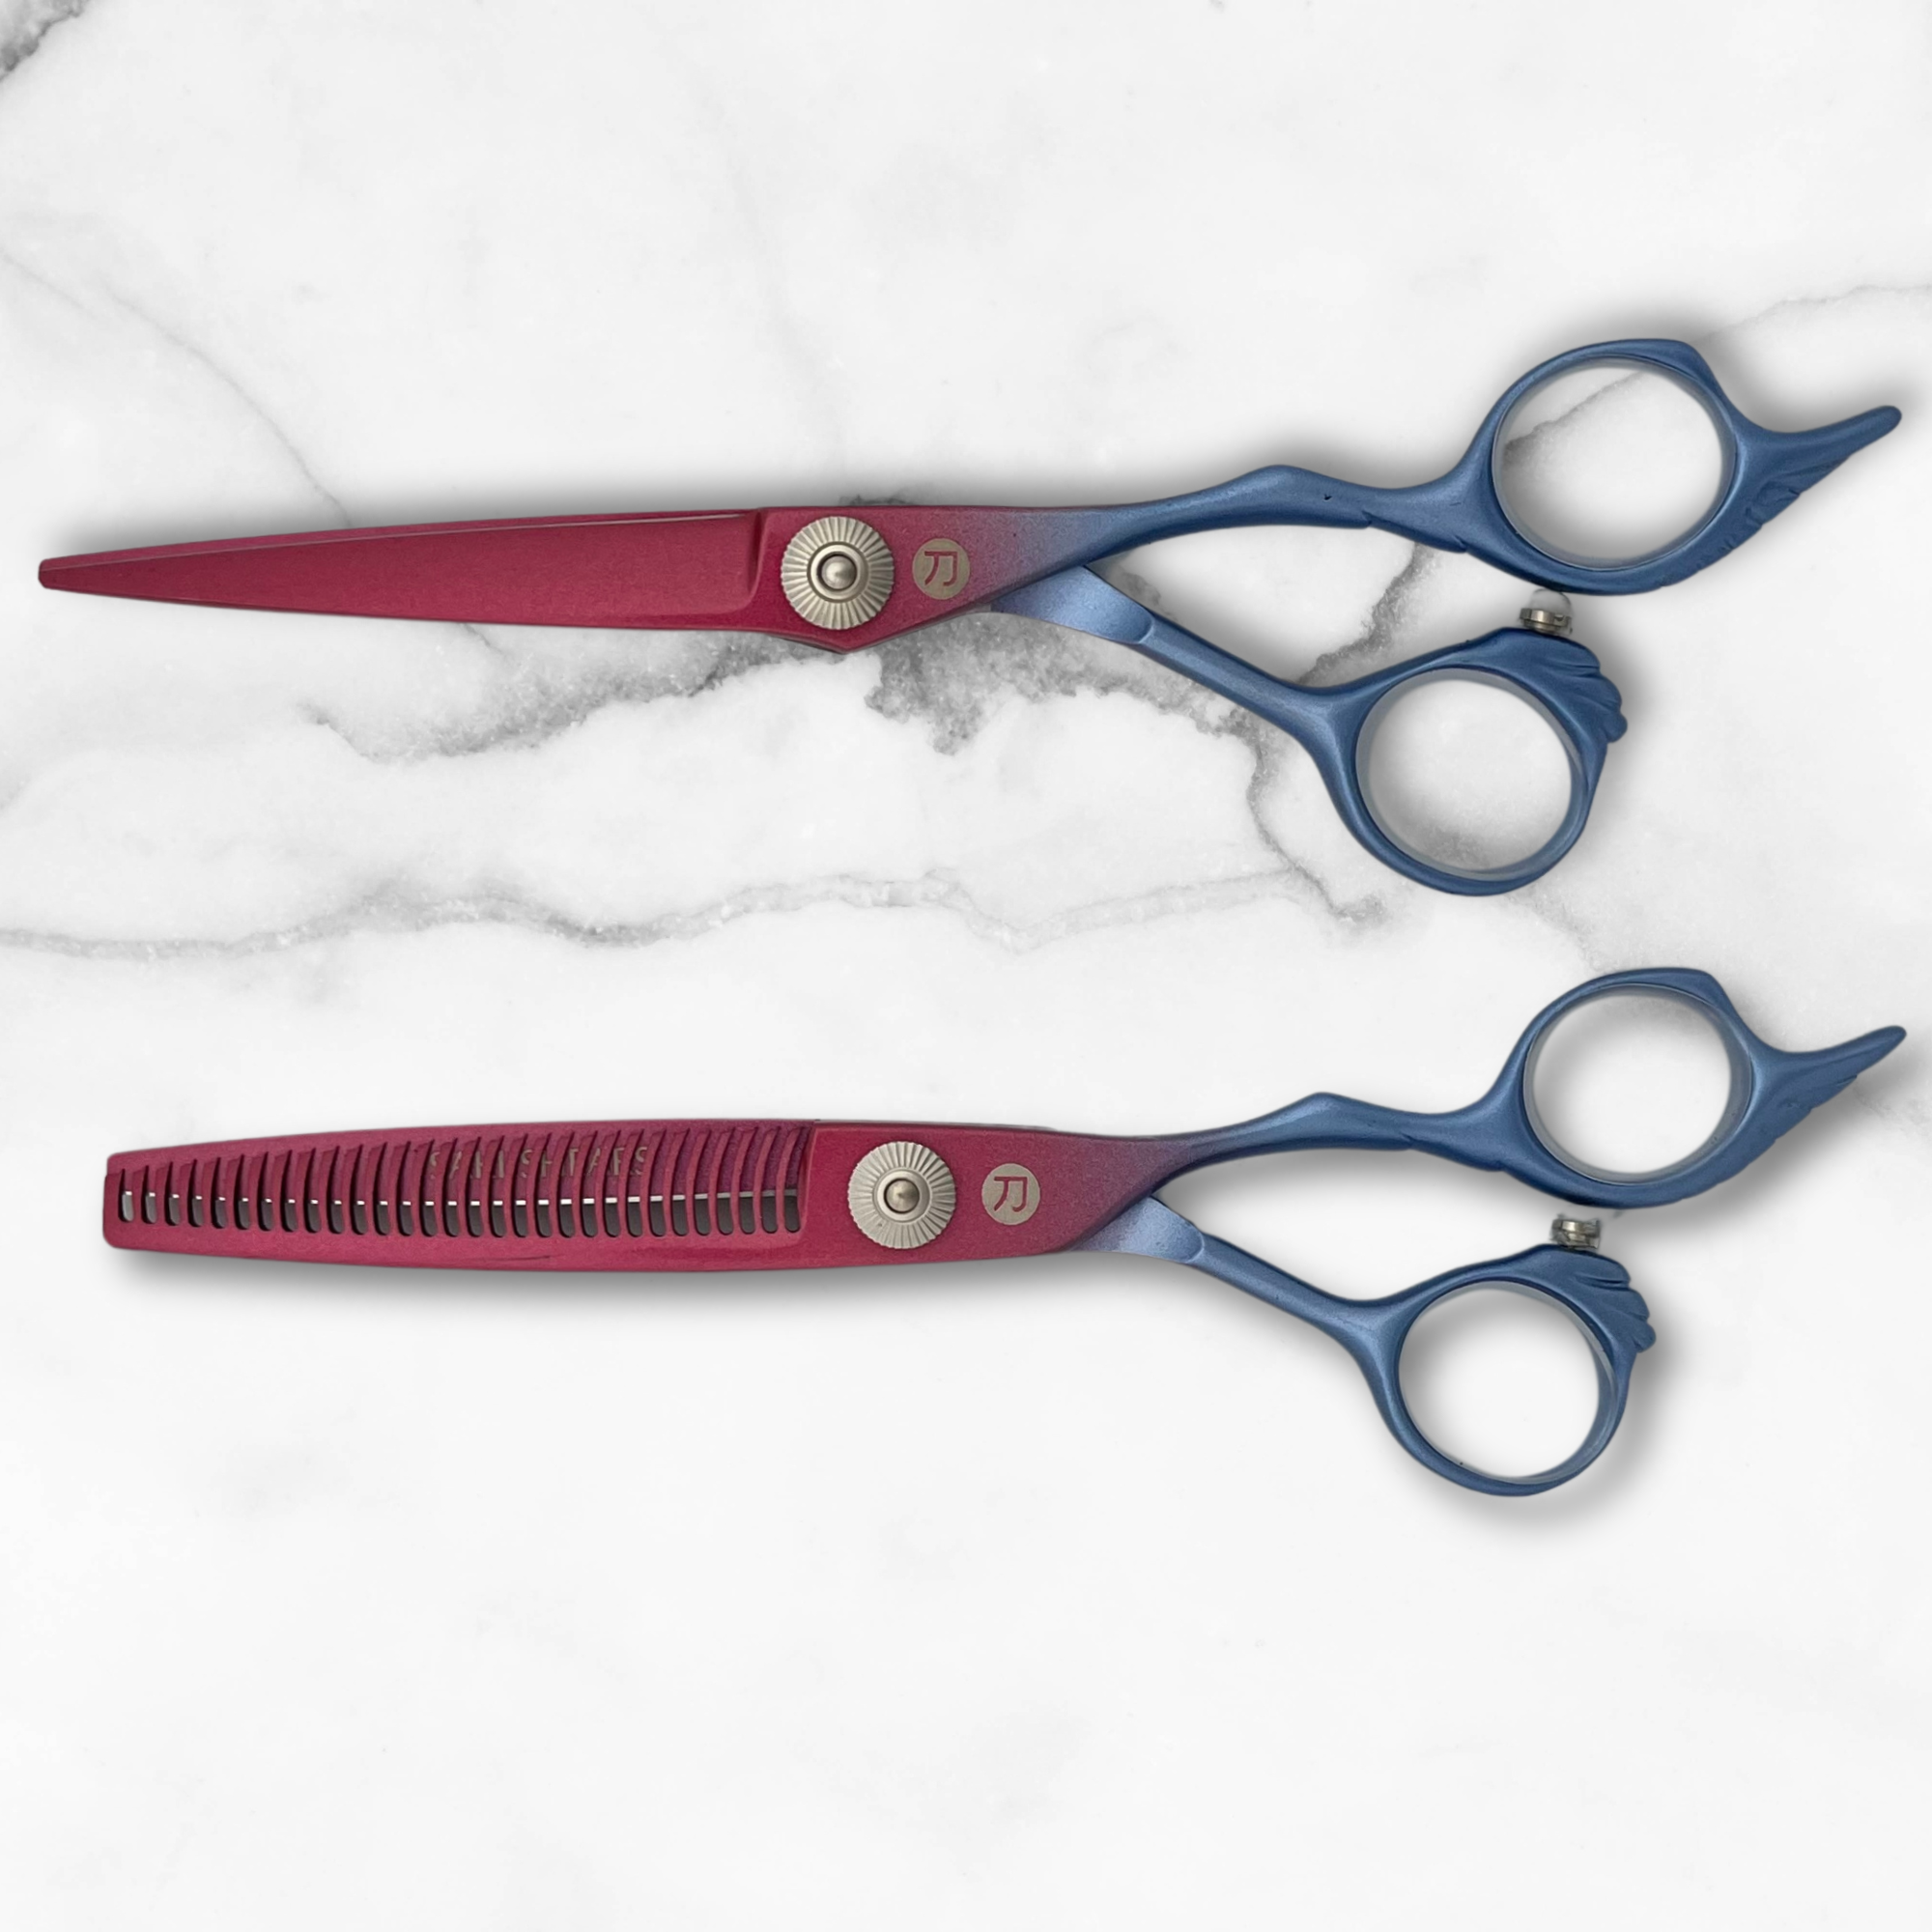
Three shears cover the realistic range of layer work, and this is the one place the spec sheet matters, so here it is once. The Katana is a 5.5-inch shear in Japanese 440C steel with a convex blade at 59–61 HRC, an extra-long offset handle, and a ball-bearing pivot, at $199. Both it and the Kotaro are two-piece welded builds, which is how Saki pairs hard blade steel with a tougher handle alloy at this price. The Kotaro runs the same 440C at 60–61 HRC in 5.5 or 6 inch (plus a left-handed 6"), with an offset handle and a removable finger rest, at $189. The trade-off between them is feel rather than capability: the Kotaro's finger rest suits stylists who brace the pinky, and its 6-inch option buys faster work through long uniform-layer sections; the Katana's longer handle drops the elbow a touch at high elevations. Saki's own spec sheets call out slide cutting on wet or dry hair for both, which is the stroke layer finishing leans on.

The third option addresses the physical cost of layer work. Holding sections at 90 and 180 degrees keeps your cutting elbow up for most of the haircut, and that posture is where wrist and shoulder strain accumulates. The Sakura swivel (5.5 inch, $189) puts the thumb on a rotating ring so the elbow can drop while the blade stays vertical. What you give up is a learning period: most stylists need a week or two before a swivel thumb feels controlled. What you gain is a full day's book of layered cuts without the forearm burn at the end of it.

Step-by-Step: Uniform Layers at 90 Degrees
This is the foundational layered cut: every strand the same length, weight removed evenly, a round finished shape. It's the method to drill until the mechanics are automatic.
1. Section into four quadrants on damp hair. Center part forehead to nape, ear to ear across the crown, clip each quadrant. Damp, not dripping: soaked hair stretches and lies about length.
2. Establish the interior guide at the crown. Take a subsection at the apex, lift it to 90 degrees from the head's curve, and cut it to the target length. Keep subsections between a quarter-inch and a half-inch thick. Any thicker and you can't see the previously cut guide through the section, and accuracy goes with it.
3. Work down the back with a traveling guide. Take vertical subsections, each one carrying a sliver of the last cut section as its guide. Lift each to 90 degrees from its own position on the head; your hand drops as you move toward the nape. Comb twice, check tension, cut once.
4. Slow down through the occipital. The head's curve accelerates there, which means the "90 degrees from the curve" hand position changes faster per subsection than anywhere else. It's the spot juniors blow most often. Keep your shoulders square to each subsection and walk around the chair rather than reaching across; a reach tilts the wrist, the wrist tilts the blade, and the blade writes that tilt into the layer.
5. Complete the sides, then cross-check. Finish both side quadrants the same way, connecting to the back at the ear. Then take horizontal sections through the finished cut and hold them out at 90: the ends should form a clean, even line. Anything poking through gets cleaned up now, before styling hides it.
Step-by-Step: Long Layers That Keep Their Length
Long layers answer a different brief: movement and shape through the interior without sacrificing the perimeter the client spent three years growing. The mechanism flips from the uniform layer: here the guide is stationary and over-direction does the work.
1. Establish the perimeter first. Cut the baseline at 0 degrees to the agreed length. The client's trust lives at this line; everything else happens above it.
2. Set a stationary guide at the front. Take a section at the top front, lift it straight up to 180 degrees, and cut it to the length of the shortest layer you've agreed on. Be conservative, and check the guide at natural fall before committing the rest of the head: hair cut at 180 degrees lands lower on the face than the lifted length suggests, because it travels back over the curve of the head on the way down. Pull the cut guide down, see where it actually sits, then proceed. You can always take more.
3. Over-direct every subsequent section to that guide. Work backward in vertical sections, combing each one up and forward to the stationary guide. Sections from the crown travel farther to reach it, so they stay longer; the cascade comes from that geometry, not from guesswork. Do not chase the guide backward; the moment it travels, you're cutting uniform layers by accident. The tell: if you can see freshly cut ends inside the guide of your current section, the guide has traveled. Stop and re-comb to the original.
4. Leave the underneath alone. The bottom third of the hair never reaches a 180-degree guide without extreme stretching, so let it stay at perimeter length. Forcing it into the layer structure thins the ends and undoes the weight the baseline established.
5. Check in the mirror, dry. Long layers read differently at natural fall than in sections. Dry the hair and look for the layer seam: the transition from shortest layer into the lengths should be invisible. If it isn't, the blending pass below is where you fix it.
Blending the Layer Seam: Three Strokes
A technically correct layer can still photograph badly if the transitions show. Three strokes handle virtually all blending work, in escalating order of subtlety.
Point cutting is the default. Enter the ends of a held section with the blade at roughly 45 degrees, removing small notches rather than a straight line (shallower on fine hair, deeper on coarse). It breaks up any corner the layering left behind, and it's the reason the cross-check matters: point cutting erases small errors, not structural ones.
Slide cutting blends the layer seam itself. With the shear slightly open, glide down the section from short to long, letting the convex edge shave length progressively. This stroke is where edge quality stops being abstract: a blade that can't slice cleanly bends and chews hair mid-glide. There's a full breakdown of the stroke in the guide to slide cutting technique.
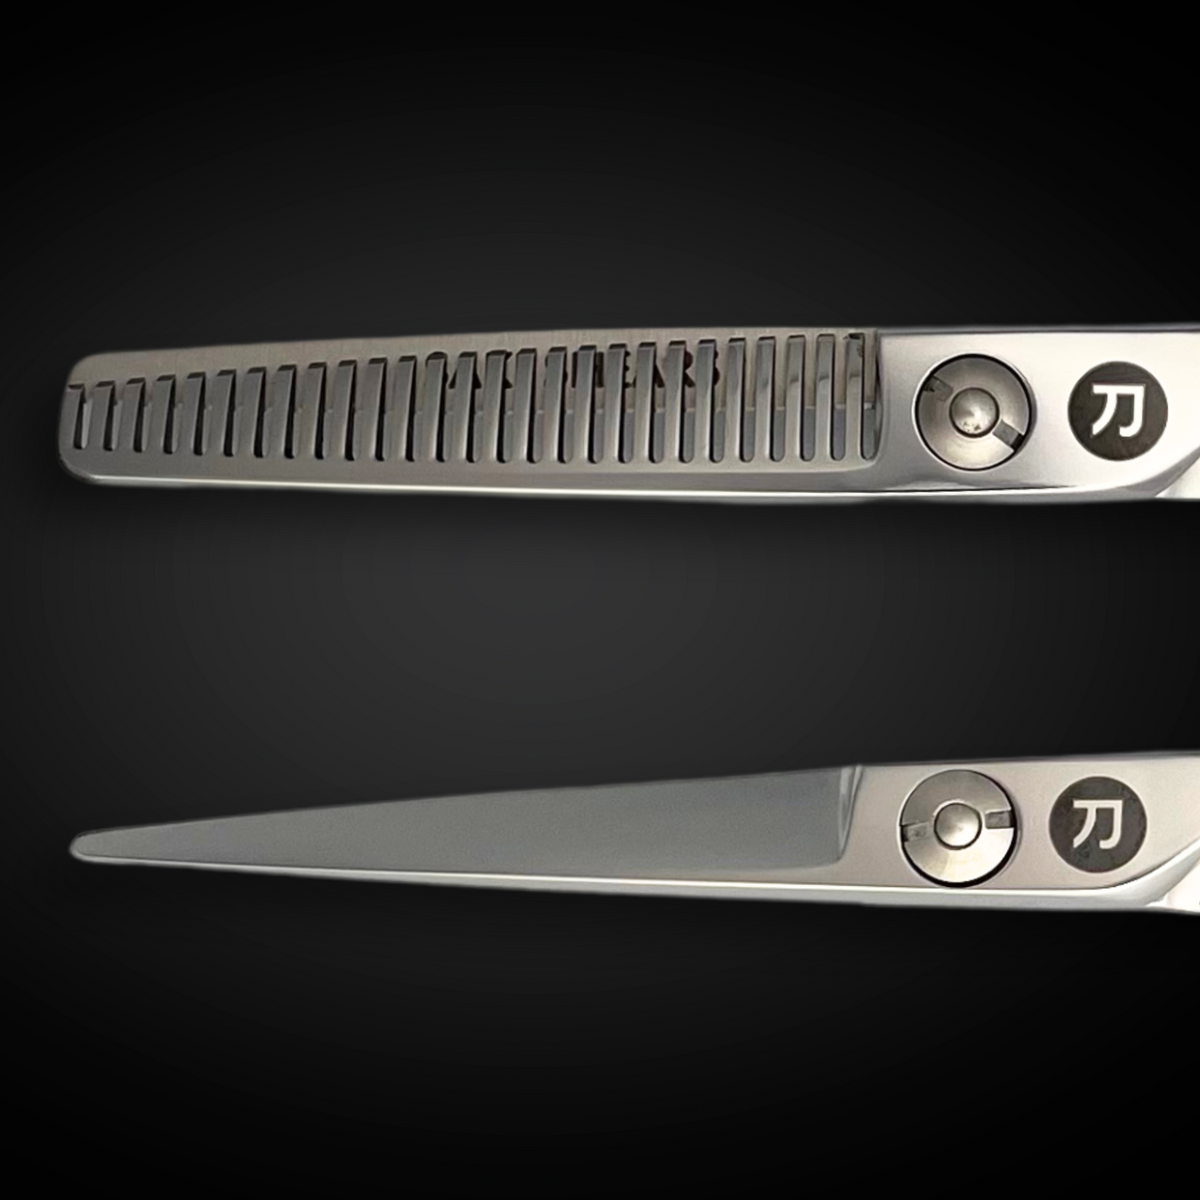
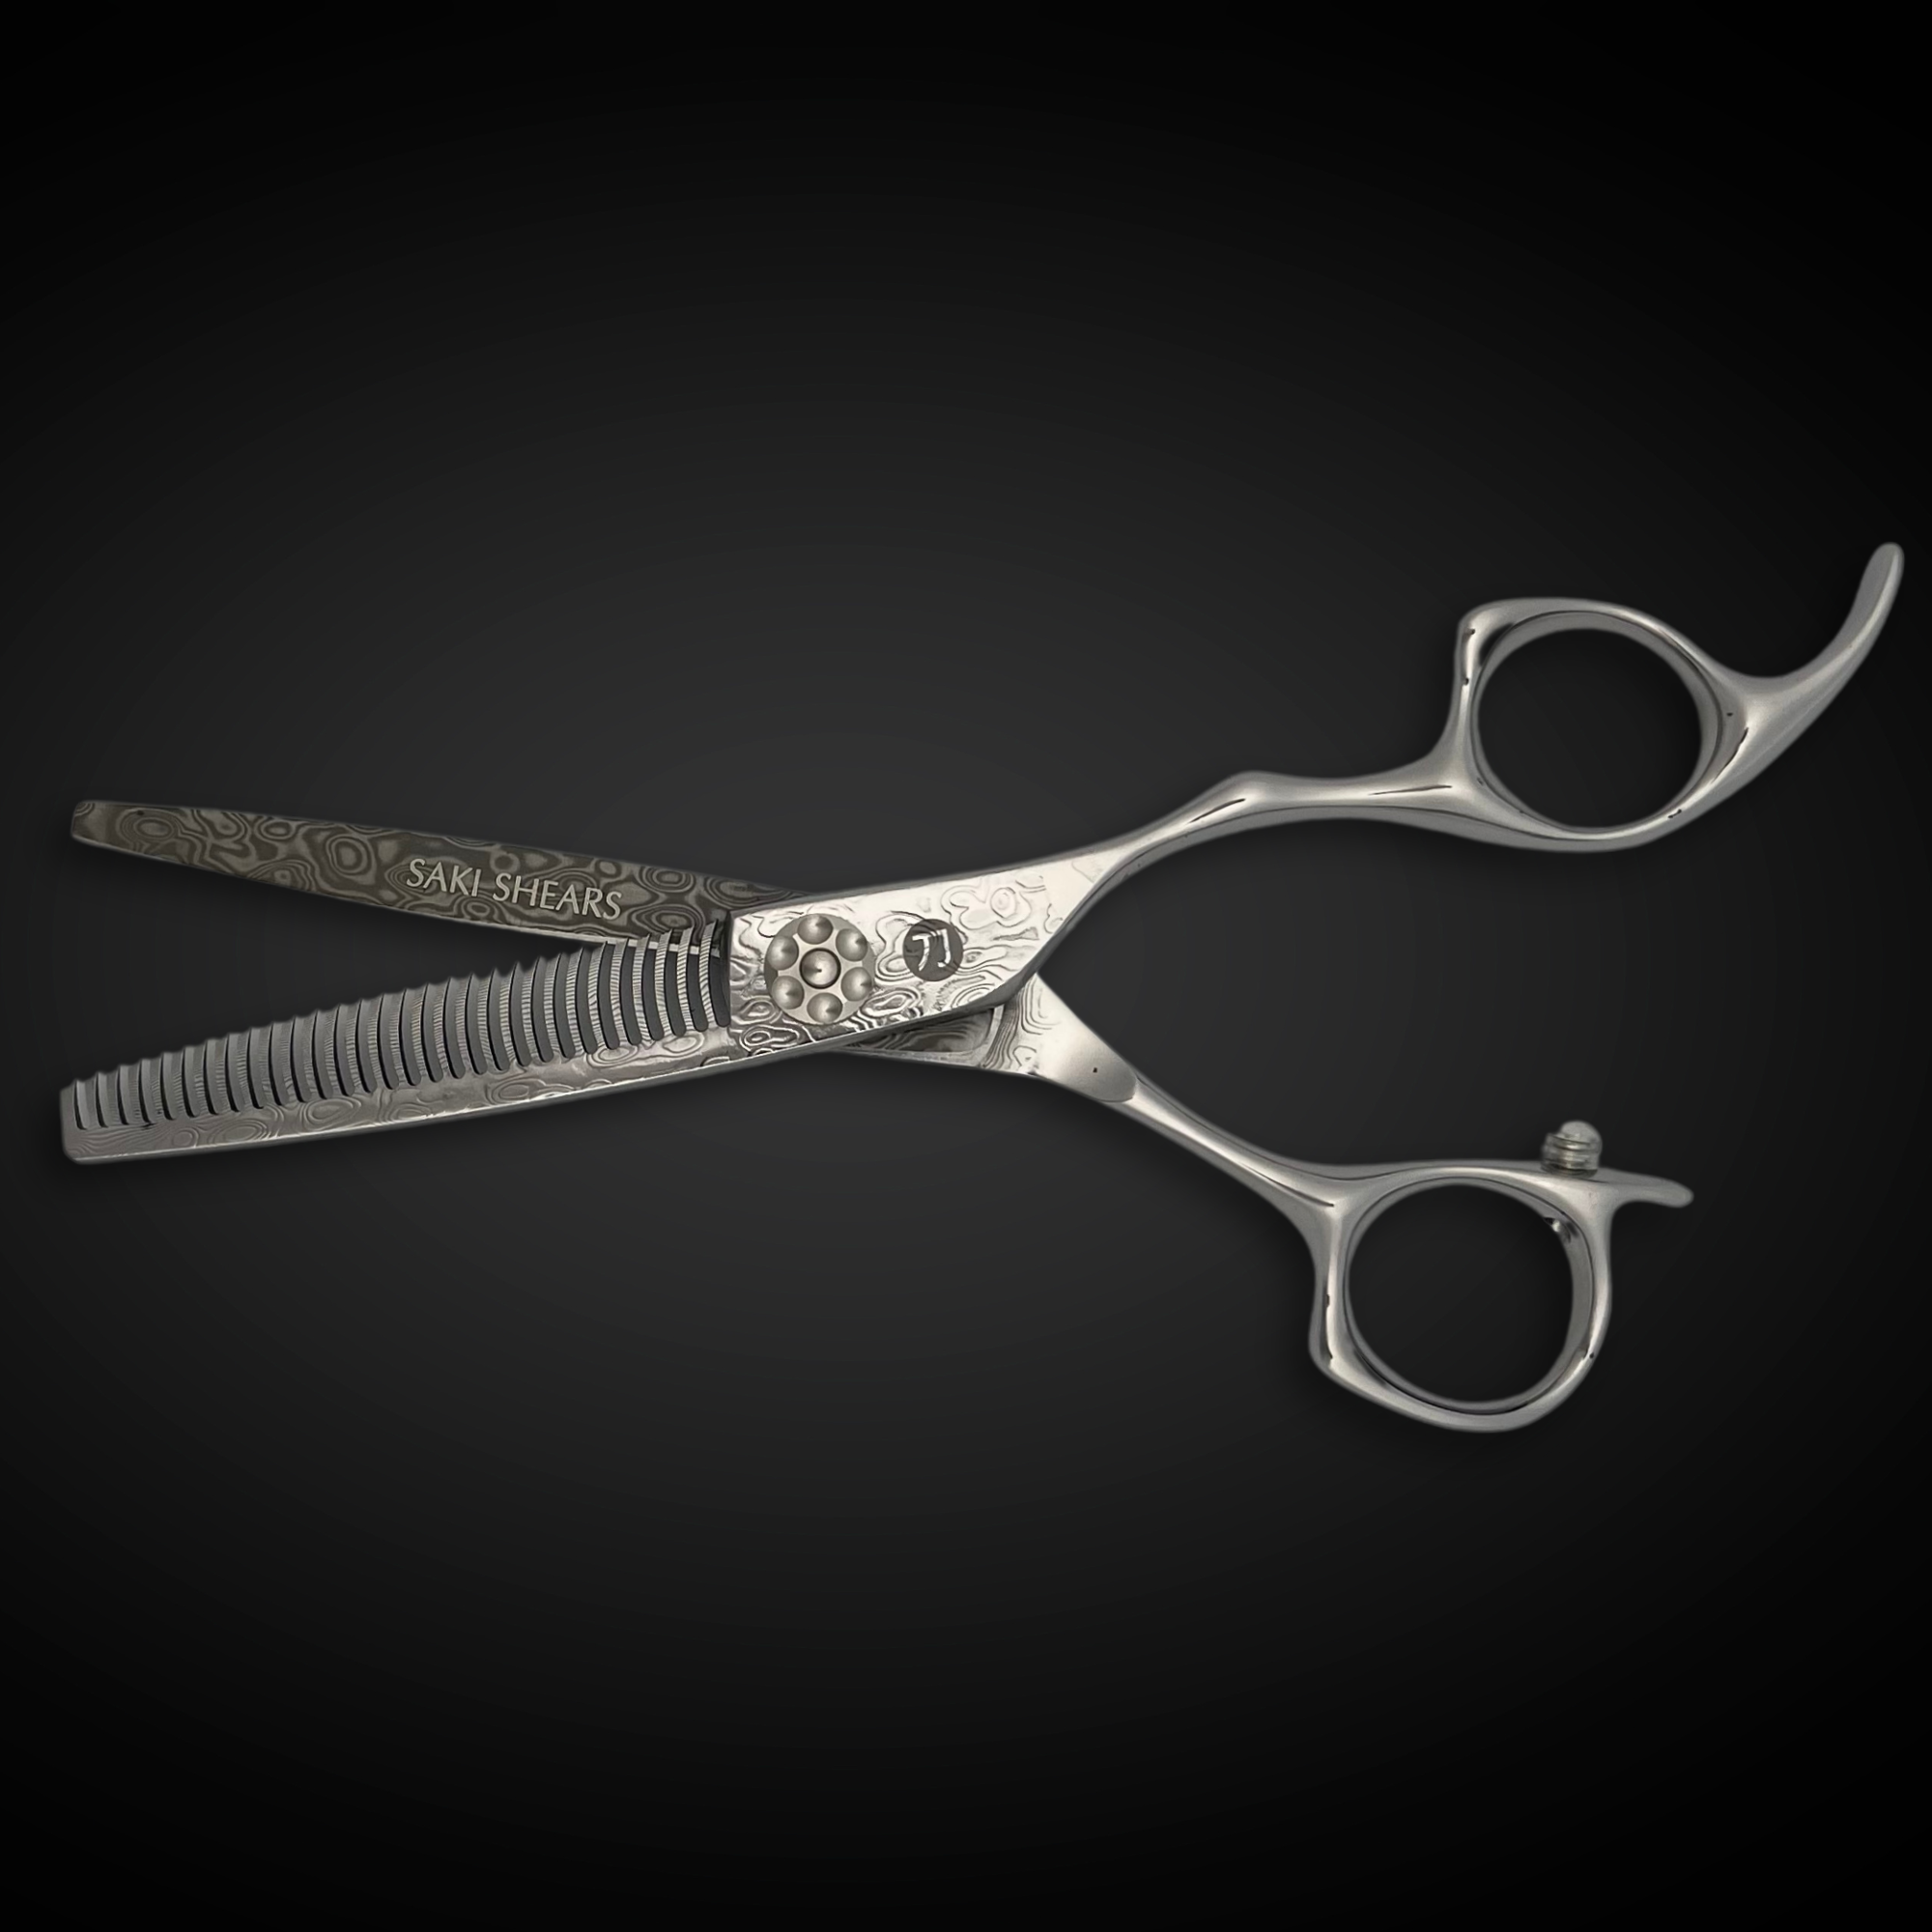
Thinning shears come last and least. Where a weight line persists (commonly at the occipital on thick, straight hair), one or two closes of a Katana thinning shear (30 teeth, 6") through the mid-lengths dissolves it. The restraint matters: thinning shears remove bulk invisibly but irreversibly, and over-thinned layers look fine under your hands at the chair, then go stringy the first time the client styles them at home.
Why Layers Go Wrong: The Five Repeat Offenders
Sit in on enough correction appointments and you can usually name the cause before the client finishes describing the problem. It's nearly always one of five.
Wandering elevation. The hand drifts between 70 and 110 degrees across the head, and each drift writes a different layer length. The client sees it as a visible shelf an inch or so above the occipital, usually on the side you cut reaching across your body. Fix: watch the hand, not the shear, re-anchor to the head's curve at every subsection, and walk around the chair instead of reaching.
Subsections too thick. Past a half-inch, the guide disappears inside the section and you're cutting from memory. Thick sections also fold under tension, so outer hair cuts longer than inner hair: instant steps.
Uneven tension. Ripping the comb through once and cutting produces sections held at different tightness. Wet hair stretches; hair cut tight springs up short when it dries. Comb to even tension, then cut. Go lighter over the ears and around growth patterns, where stretch costs the most.
Mixing guide types mid-cut. Starting with a stationary guide and unconsciously letting it travel converts a long-layer plan into semi-uniform layers. Decide the guide strategy before the first cut and say it out loud if you have to.
Cutting past what the shear can carry. Forcing a full two-inch-wide section through one close pushes hair toward the tip and off the blade: the push-cut. The ends come out bent and frayed rather than sliced, and the layer line reads fuzzy no matter how accurate the angle was. Smaller bites, sharper blade. If your shear pushes hair even on thin sections, the edge is gone. That's a sharpening problem, not a technique problem.
Adjusting for Texture and Density
Everything above assumes the mannequin-head default: medium density, straight to loosely waved hair. Real heads need the plan adjusted before the first section comes down.
Curl changes the length math entirely. Curly hair cut damp is stretched hair, and it recovers as it dries: a layer cut wet at the cheekbone can sit at the eyebrow by the time the client leaves. The tighter the curl, the bigger the lie. Options: cut the interior noticeably longer than the target and check dry, reduce tension to near-zero so the curl stays close to its lived length, or move the whole haircut to dry cutting and shape the curls where they actually live. The comparison in dry cutting versus wet cutting covers when each approach earns its keep.
Density decides how much layering the head can afford. Fine, low-density hair loses visible thickness with every layer you add, so keep layering shallow and in the top sections only, and let the perimeter keep its weight, or the ends read see-through. Coarse, high-density hair is the opposite problem: uniform layers alone leave a dense pad at the occipital, which is exactly where the thinning-shear pass from the blending section belongs. Growth patterns get the same respect: around a strong whorl or a cowlick, cut with less tension and leave extra length, because that hair will jump when it dries no matter what the protractor said.
The Maintenance Angle Nobody Connects to Layers
Layered cuts expose edge condition more than blunt cuts do, because so much of the work (point cutting, slide cutting, vertical sectioning) depends on the blade slicing at an angle instead of closing straight across. A dull convex edge still cuts a 0-degree baseline acceptably; it fails loudly at a 90-degree point-cut. Stylists who do heavy layer work should expect to feel edge decline sooner, and the daily routine costs five minutes: wipe the blades after every client, oil the pivot at closing, and run the drop test: hold the shear tips up, open one blade to 90 degrees, and let it go. If it slams fully shut, the tension is too loose to hold a clean vertical section; if it barely moves, it's too tight and the blades are grinding each other dull. A smooth partial close is the target. Harder steels hold their edge longer between sharpenings than soft stainless does, which over a year of layered cuts is a real cost difference in sharpening services and in days spent cutting on a declining edge.
For stylists cutting layers daily, this is also the argument for a matched cutting-and-thinning pair from the same steel. A set like the Saki Gold set (VG10 cobalt steel cutting and thinning shears at 60–61 HRC, $350 with the razor and case) keeps both tools on the same sharpening schedule and the same edge feel, so the blend work behaves identically to the layer work.
Frequently Asked Questions
What angle do you cut layers at?
Ninety degrees from the head's curvature for uniform layers, and up to 180 degrees (hair lifted straight up) for long layers that preserve perimeter length. Anything held at 45 degrees produces graduation rather than layering. The angle is always measured from the head's surface at that section, not from the floor.
Why do my layers look choppy instead of blended?
Almost always one of three mechanical causes: elevation drifting between sections, subsections cut too thick to see the guide through, or uneven tension making stretched hair snap up shorter as it dries. Find which one by cross-checking: hold horizontal sections out at 90 degrees and look at where the line breaks. Point cutting softens minor steps; structural steps need the elevation re-cut.
Is it better to cut layers wet or dry?
Cut the structure damp, refine dry. Damp hair sections cleanly and shows tension honestly, which is what elevation work needs. But wet hair hangs longer than it lives, especially with any curl or wave, so the final check and the blending passes belong on dry hair, where you see the shape the client will actually wear.
The Short Version
Layers are a system of three decisions: how high you lift (elevation), what you cut to (guide), and where you send the hair before cutting (over-direction). Uniform layers run a traveling guide at 90 degrees; long layers run a stationary guide at 180 with everything over-directed forward. Keep subsections under a half-inch, keep tension even, decide your guide strategy before the first close, and do the blending on dry hair. The hardware requirement is simple: a short convex-edge shear with an edge that slices rather than pushes. A Katana or an equivalent 440C shear will carry every technique in this guide for years, if you hold up the maintenance end.